
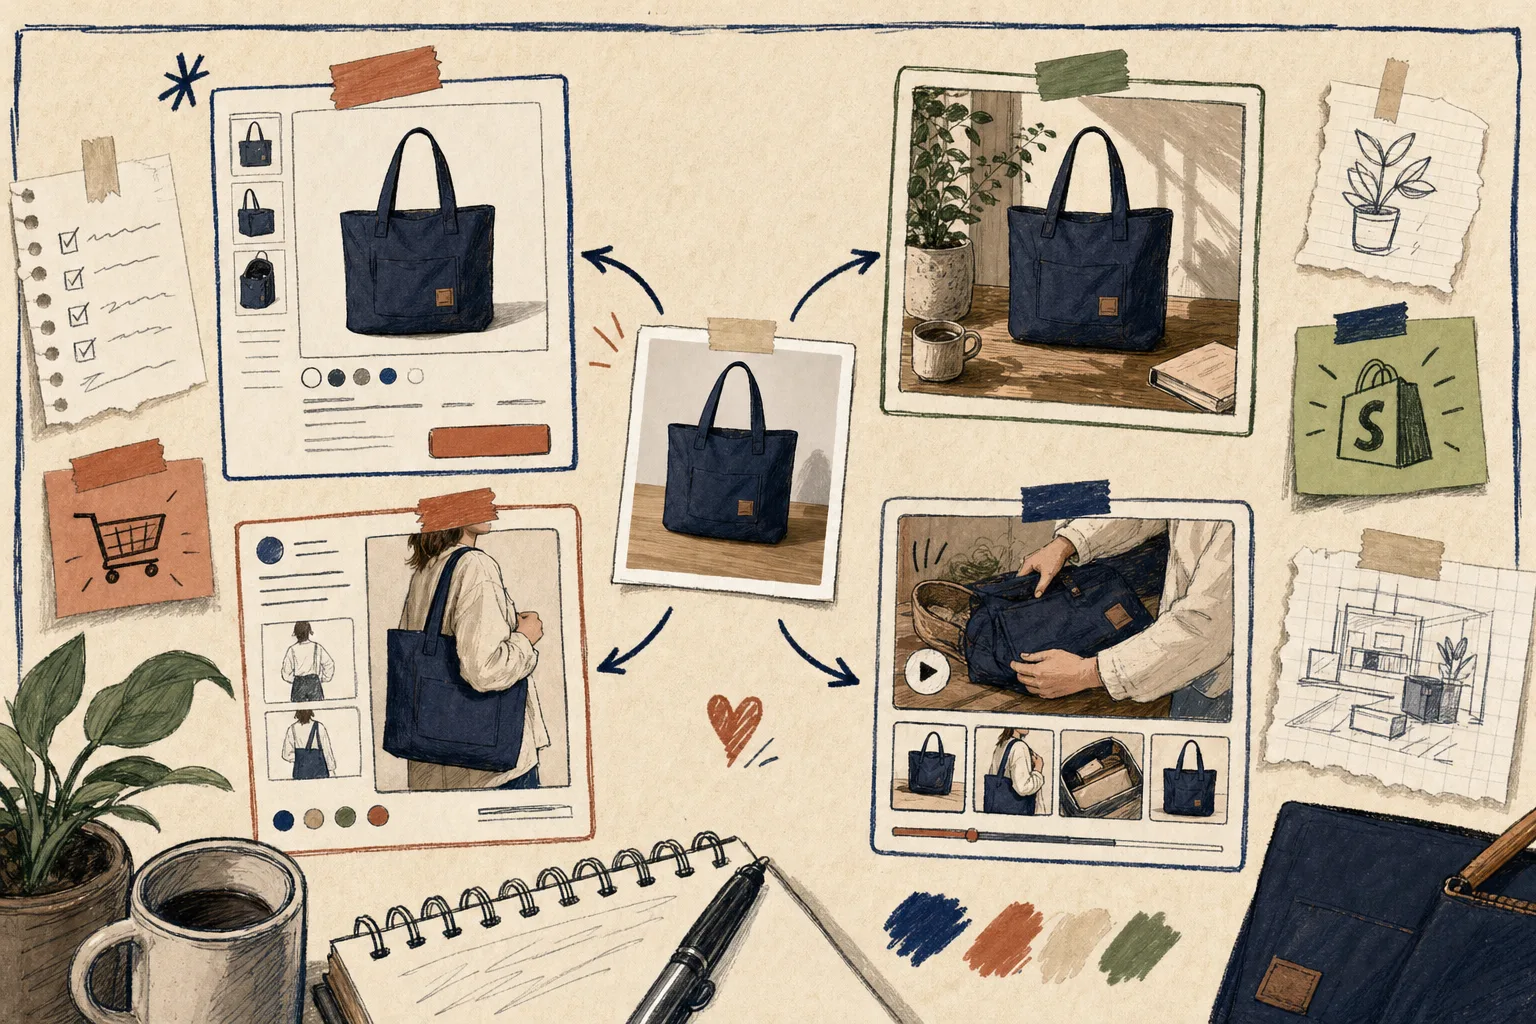
How to Turn One Product Photo Into Listings, Lifestyle Shots, and Ads
I used to treat the first decent product photo like the finish line. It is not. It is the starting image that decides whether I can make the listing sharper, the lifestyle shot more believable, and the ad creative less repetitive without booking another shoot.
That is the part I like about Supra AI Photo Studio. It keeps the work inside Shopify and gives me the pieces I actually need: background removal, upscaling, auto enhance, model try-on, object placement, UGC videos, and b-roll videos. The landing page makes the workflow easy to see if you want the short version first.
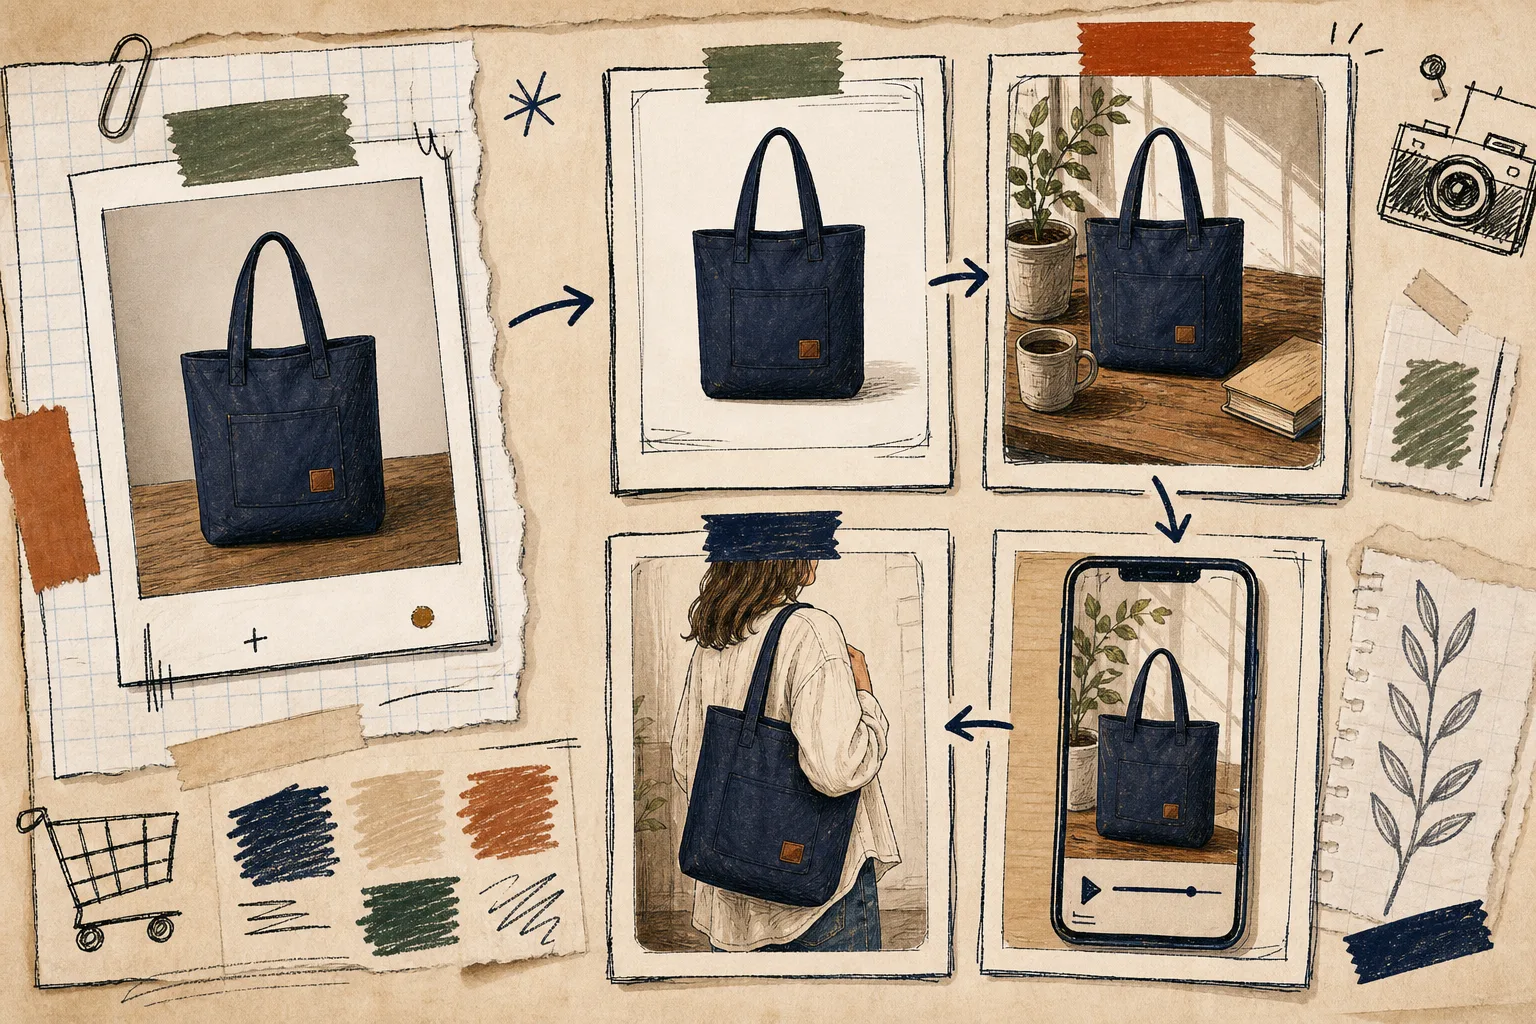
What I want from one source image
I do not need a magic button. I need one product photo to do four jobs without drifting away from the real product:
- Look clean enough for the product page.
- Pick up enough context for the shopper to imagine it in use.
- Adapt to the channel without needing a full reshoot.
- Stay recognizably true to the original item.
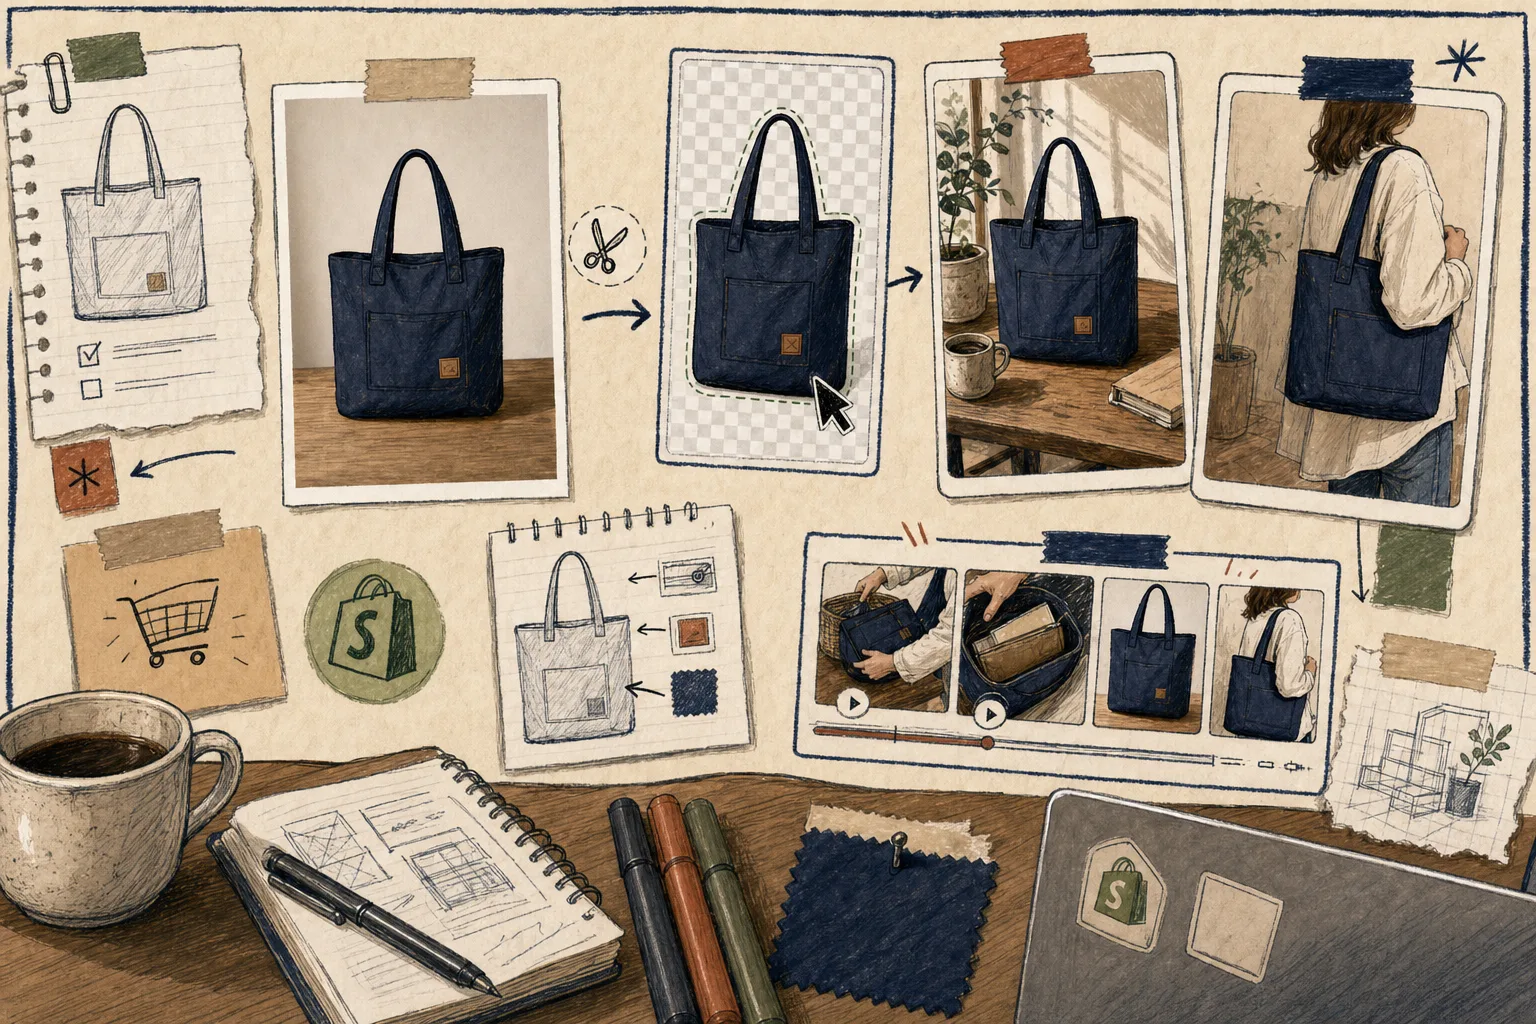
That is the practical win. If the source is decent, the rest of the workflow becomes a series of small decisions instead of a production project. I can isolate the product, improve the lighting, place it in a scene, and then decide whether I need a model shot or a short video variation.
The four-pass workflow I actually use
I keep the process boring on purpose.
- Clean the source image first.
- Put the product into a believable context.
- Make versions for the channel I need.
- Stop before the image starts looking fake.
The editor overview is useful because it shows the whole path in one screen. The top bar handles undo, redo, download, and publish. The tools sit on the left. The canvas sits on the right. The image gallery stays below, which matters when I am comparing versions instead of guessing.
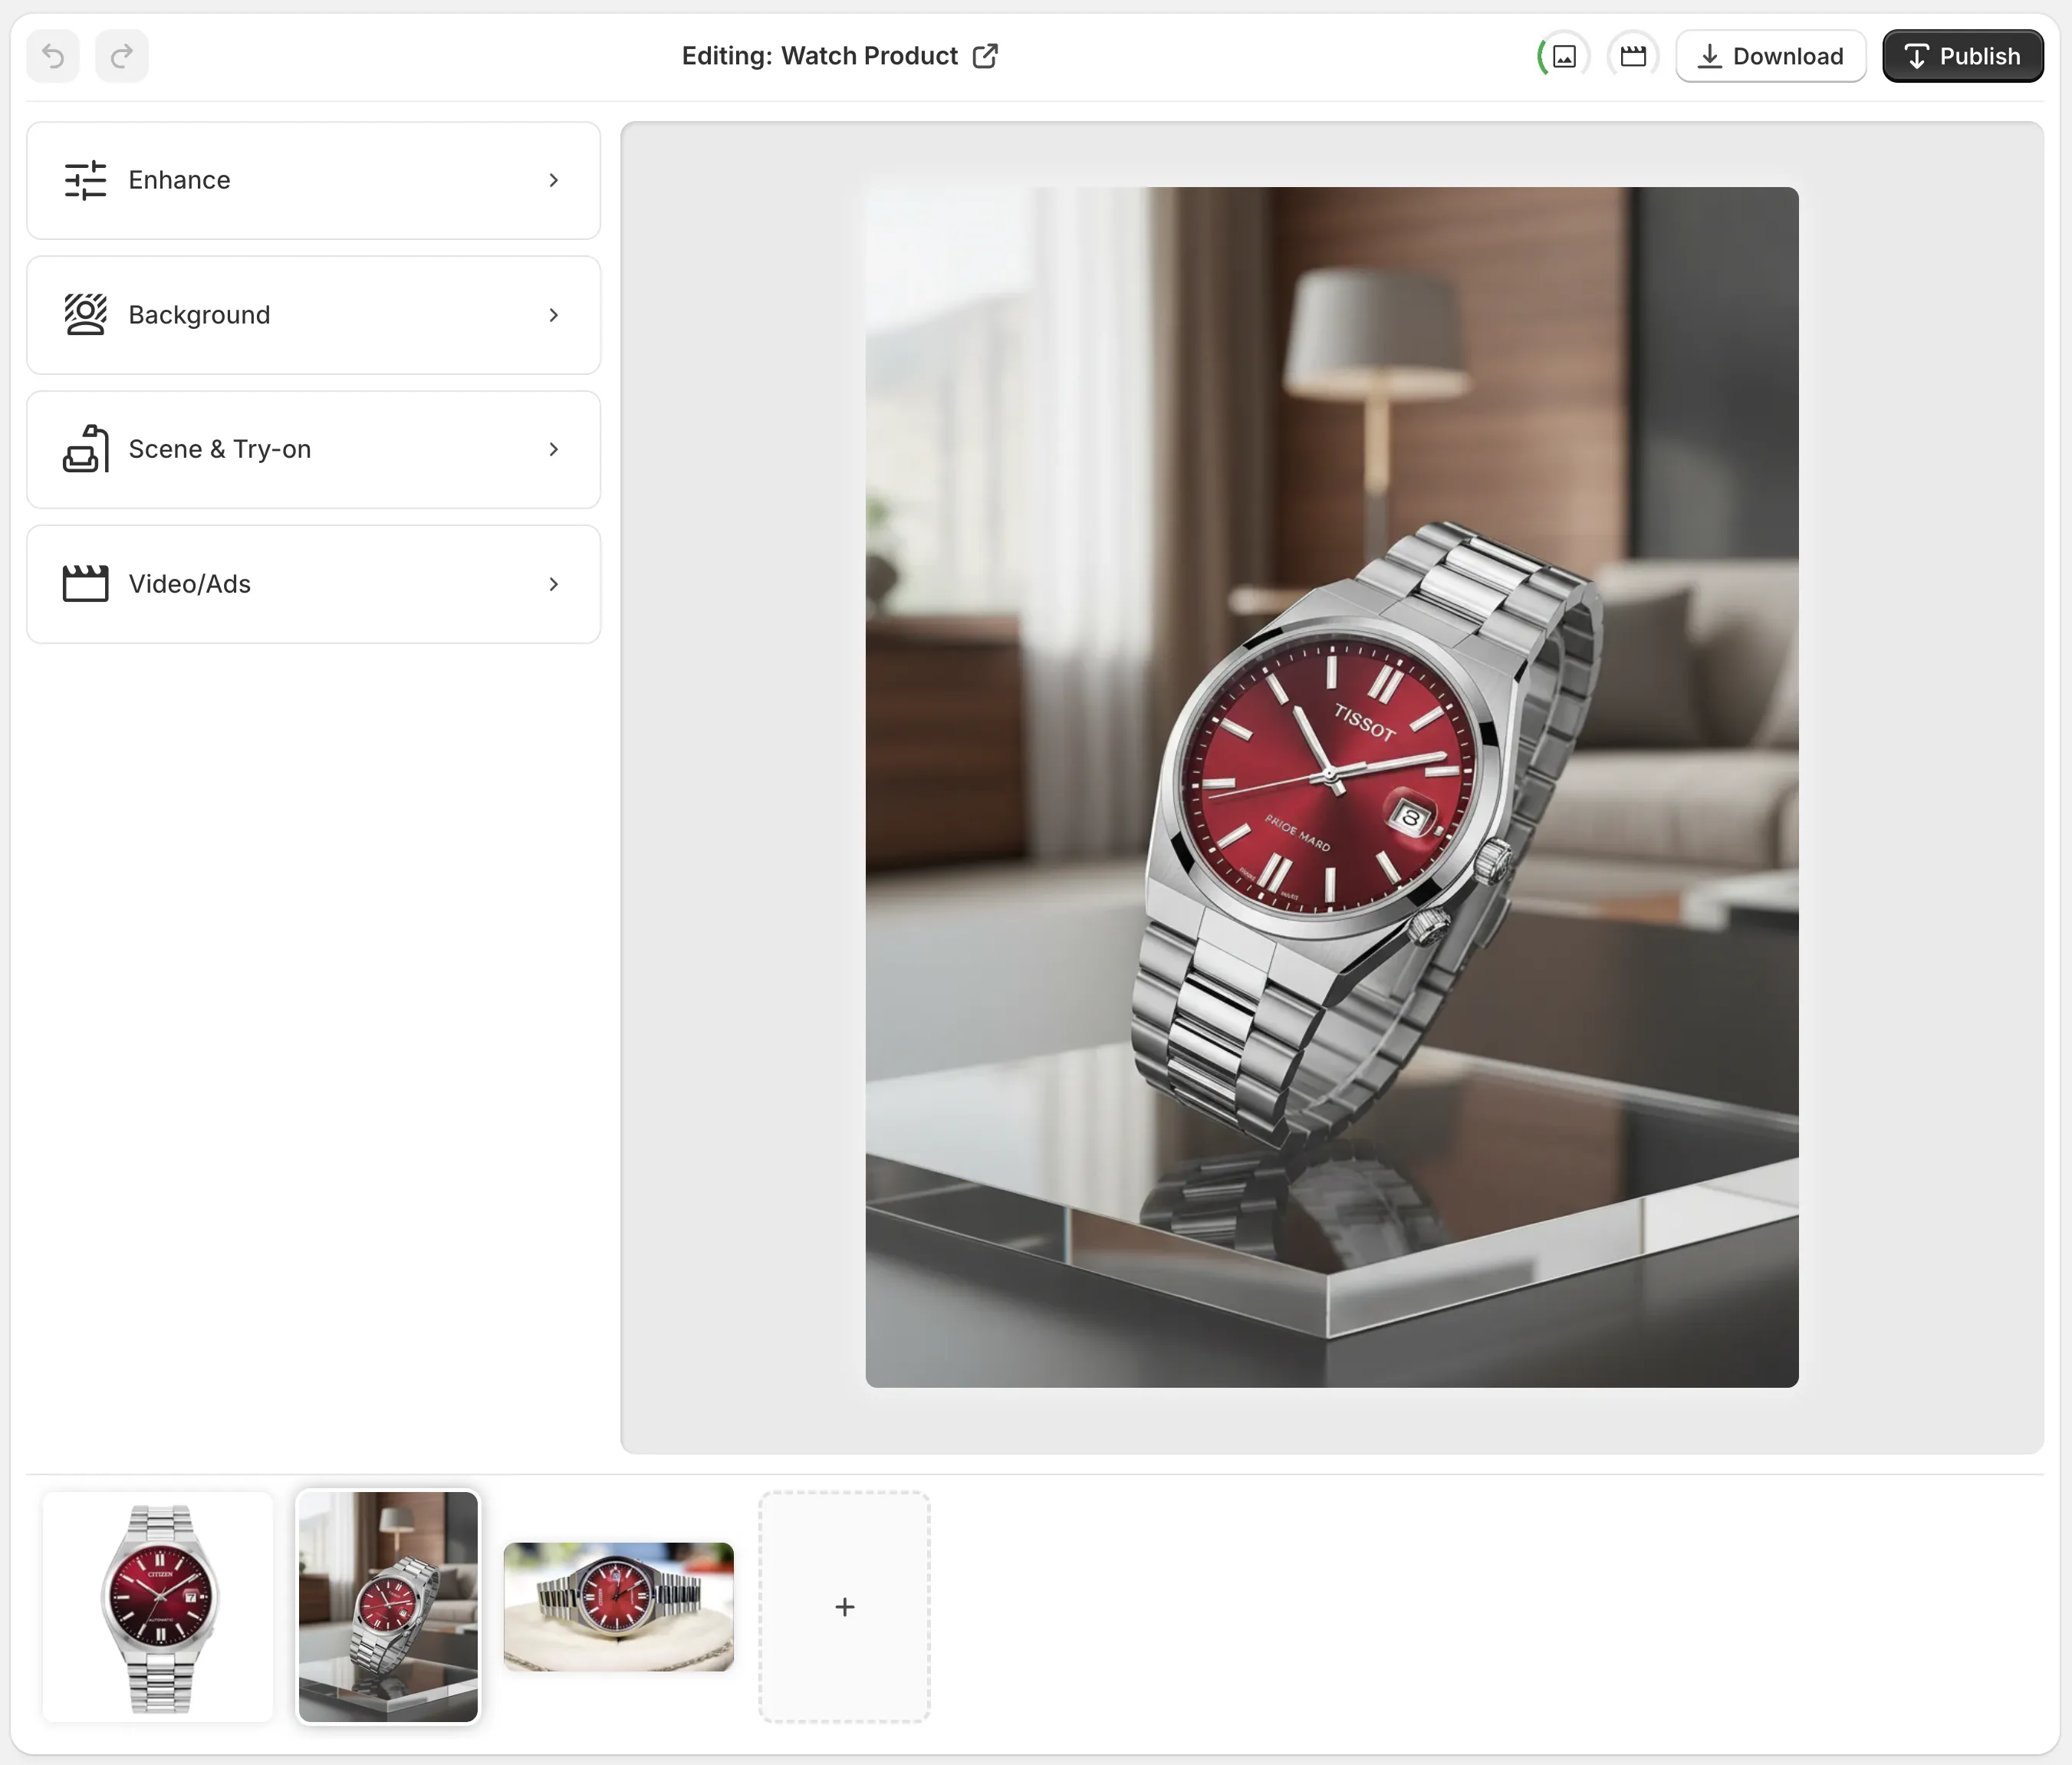
That layout sounds ordinary, but ordinary is exactly what I want when I am moving from cleanup to export. I am not trying to solve design and production in the same step. I am trying to make the next decision obvious.
Where the app does the most work
Background removal and upscaling
If the source image is cluttered, background removal is the first pass I reach for. If the image is soft or slightly undercooked, upscaling and auto enhance help me recover enough detail to make the photo useful.
That combination is what turns a plain shot into a candidate for a real listing image. It is not glamorous, but it saves the most time because it removes the tiny edits that usually eat the first hour.
Model try-on
For apparel, accessories, and similar products, the try-on flow is the part that changes the conversation. Instead of showing a static cutout, I can move the product onto a model and test whether the fit and presence still feel credible.
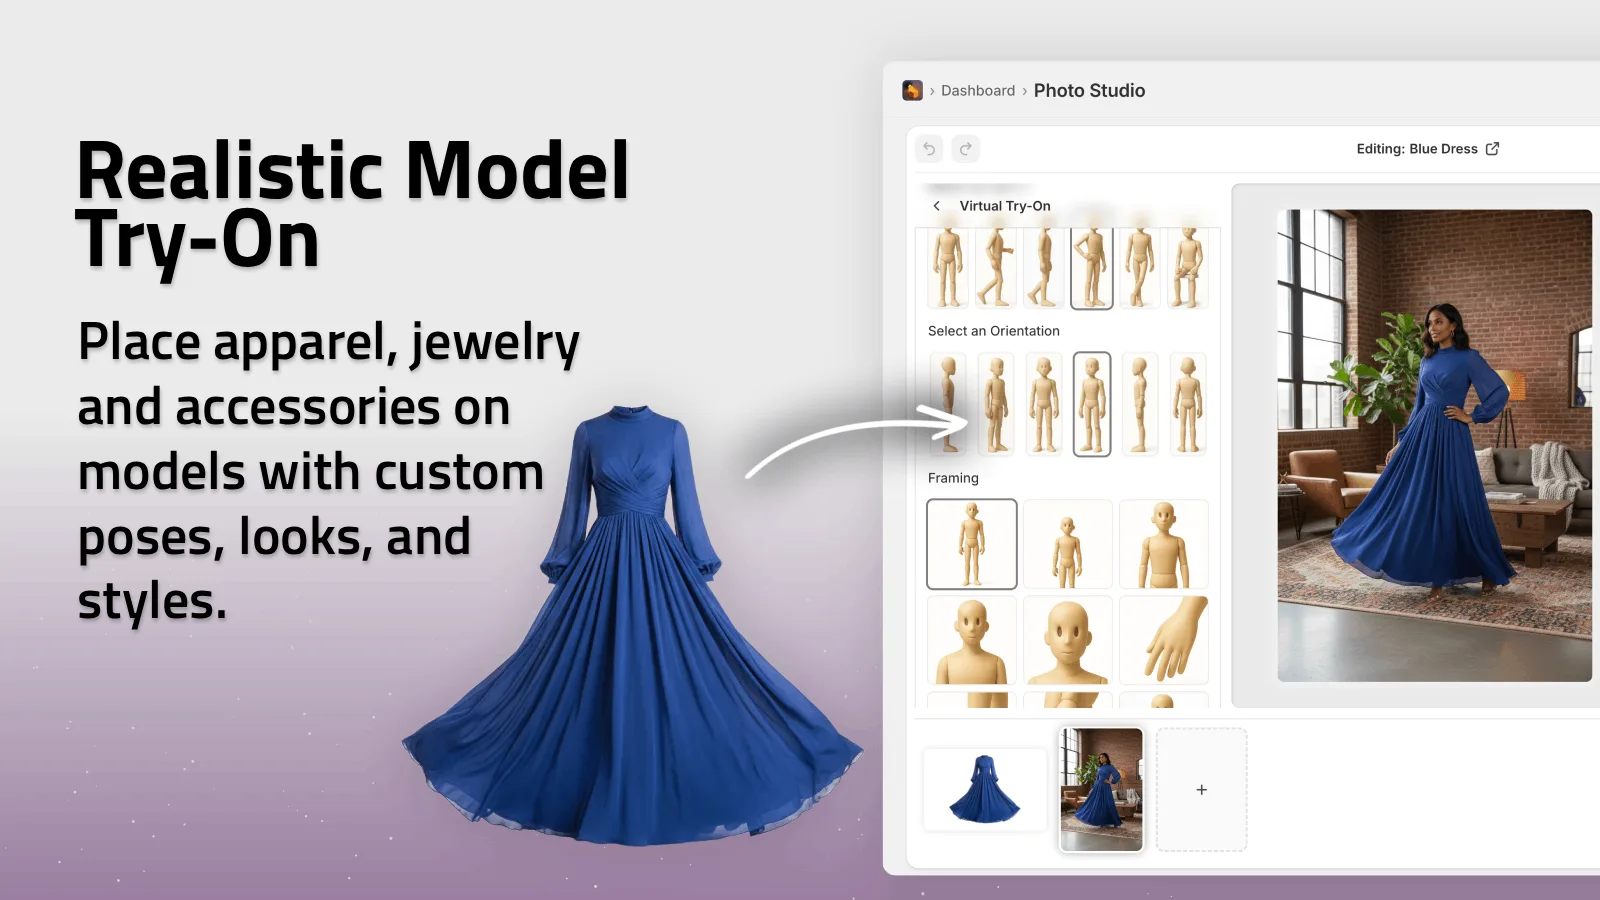
This is the part that tends to separate a useful workflow from a novelty demo. If the product still looks like itself on the model, I have something I can use on a product page or in an ad. If it starts to drift, I know to keep the output as a concept test instead of a final asset.
Object placement
Not every product needs a person. Sometimes the better move is simply placing it in a kitchen, boutique, office, or outdoor scene so the shopper can understand scale and mood.
That is where object placement helps a lot. It keeps the product visible while giving it a believable environment. I use that when I want the image to feel editorial, but not overdesigned.
UGC videos and b-roll
Still images do a lot, but they do not cover everything. When I need ad variations or social-ready clips, the UGC and b-roll tools are the part worth testing next.
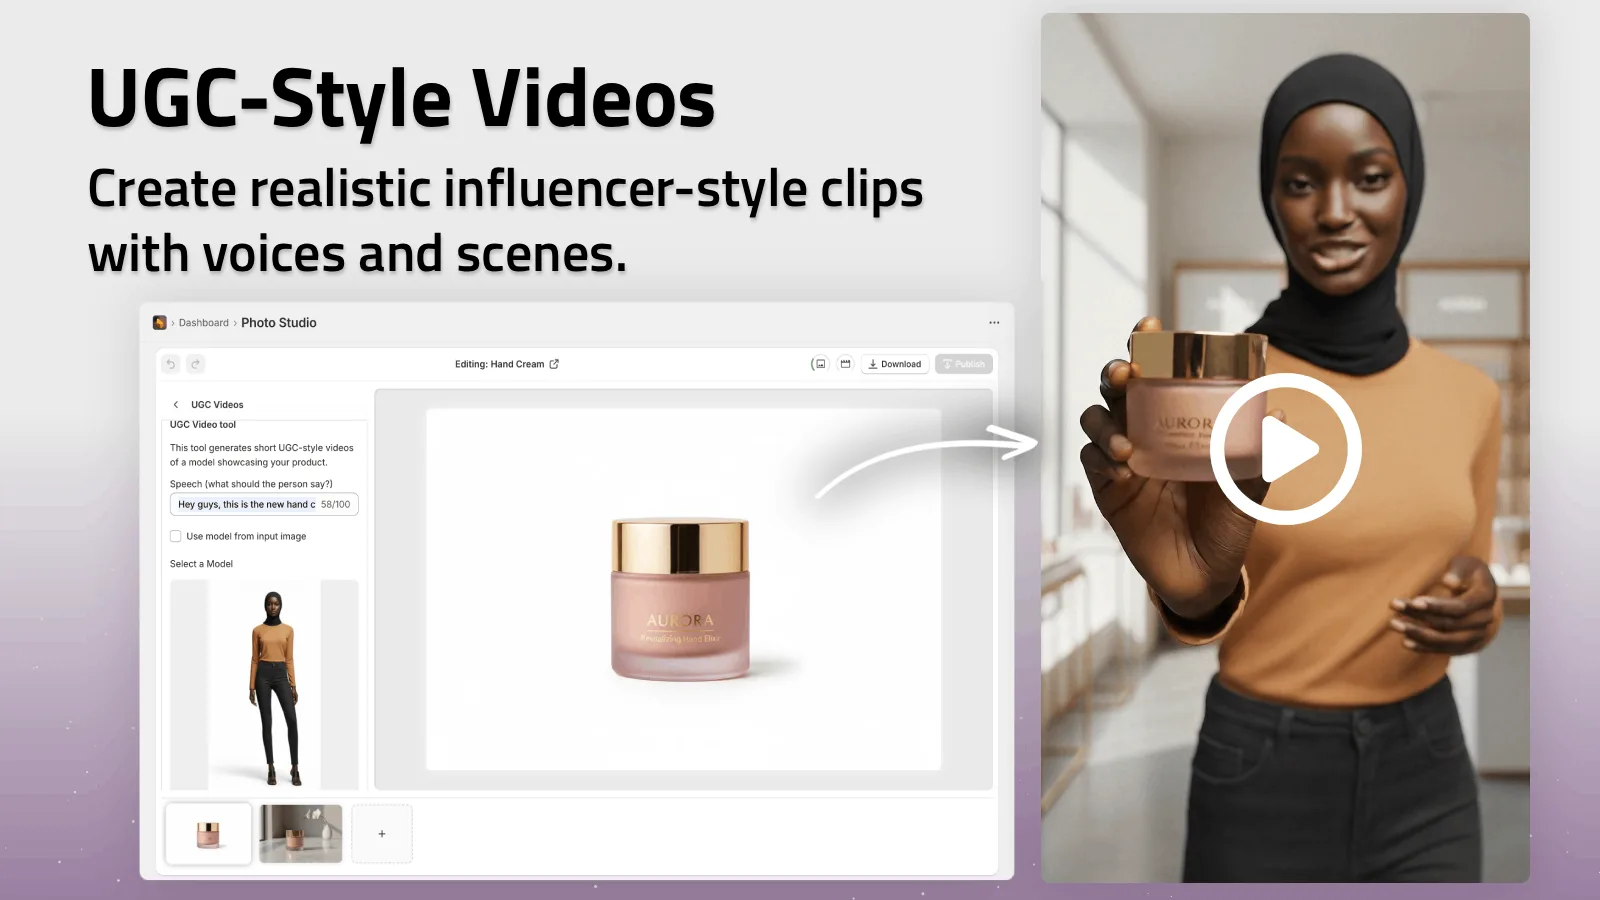
I like that the app keeps the image work and the video work close together. I am not exporting one asset set from one place and then rebuilding the same visual idea in another tool just to make motion versions.
What I check before I call it done
I usually run the same quick check before I publish or hand the asset off:
- Does the product still look like the product?
- Is the background helping, not distracting?
- Would the image still make sense if the shopper zoomed in?
- Does the visual match the channel I am using it for?
- Am I using this as a final asset or just a test variation?
That last one matters more than it sounds like it does. Not every output needs to become the hero image. Some versions are there to help me decide what deserves to be final.
The part that keeps the workflow sane
The cleanest way to use a tool like this is to treat it as a visual system, not a one-off generator. I want one source photo to feed a listing image, a lifestyle shot, a try-on, and a short video. I do not want to rebuild the same product from scratch every time I need a different format.
That is also why I keep a few earlier notes nearby. If I want a tighter pass on the source shot itself, I go back to How to Create Studio-Quality Shopify Product Photos From Plain Shots and How to Create Lifestyle Product Photos for Shopify Without a Shoot. If I am thinking bigger, How I Turned One Product Photo Into a Full Shopify Marketing Kit Without a Shoot and How to Turn Plain Product Photos Into Shopify Marketing Assets are the better companion reads.
Bottom line
One good product photo should not be the end of the process. It should be the point where the asset gets more useful.
Supra AI Photo Studio is helpful because it keeps that next step practical inside Shopify: clean the image, place it in context, make a model or video variation if it helps, and keep the result tied to the real product instead of a generic AI look.
If you want to test that workflow, start with one SKU and one source photo, then try the free plan on the Shopify App Store listing or the landing page.