I keep reaching for tools like this when I want Claude Code to stay local, stay interactive, and still act like something I can script. dash-p is the bridge: a CLI and TypeScript library that drives the real Claude Code terminal session instead of pretending the UI is not there.
If you want the package, it is on npm as @ybouane/dash-p. If you are still getting Claude Code installed, the official quickstart covers install and login first.
TL;DR: use dash-p when the job is small, repetitive, and local. It works well for repo summaries, structured output, and helper scripts that live beside your code. It is not a production API wrapper, and that is the point.
What dash-p actually gives you
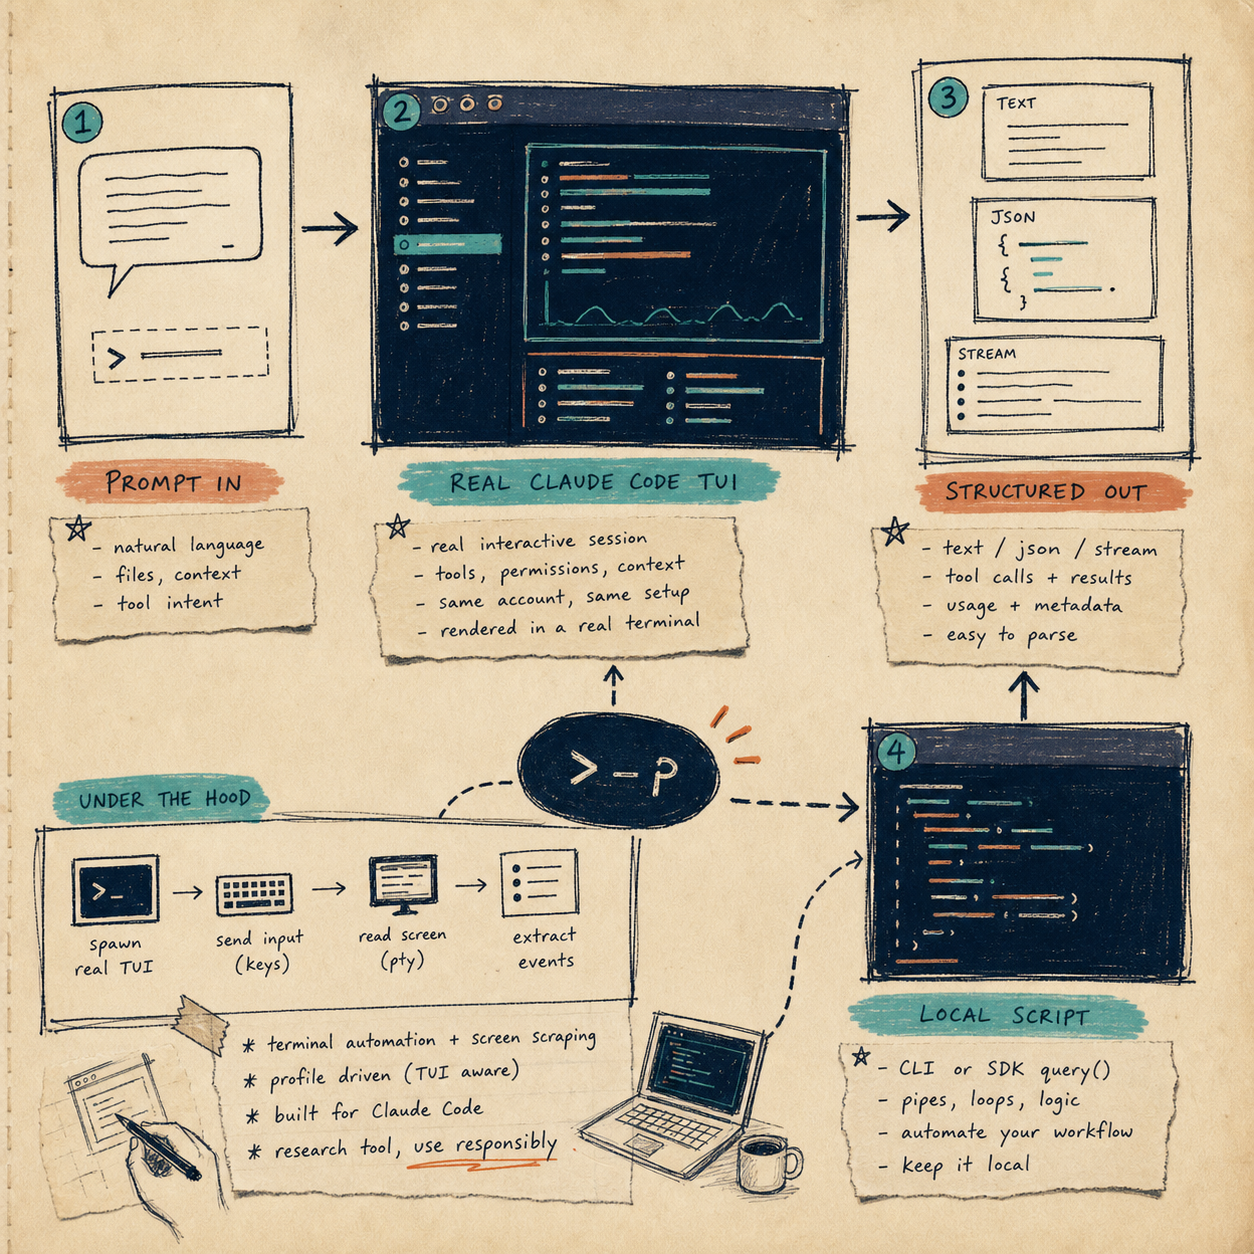
The value is simple: dash-p launches the official claude command, feeds it input programmatically, reads the rendered terminal, and turns that session into something a script can use. It can return text, JSON, or stream JSON, and it exposes a query() shape for TypeScript callers who want the same flow from code.
That makes it useful for people who already trust the interactive Claude Code workflow and do not want to rebuild their habits around a separate headless path. You keep the same local session, the same login, and the same permissions model; dash-p just makes that session easier to compose.
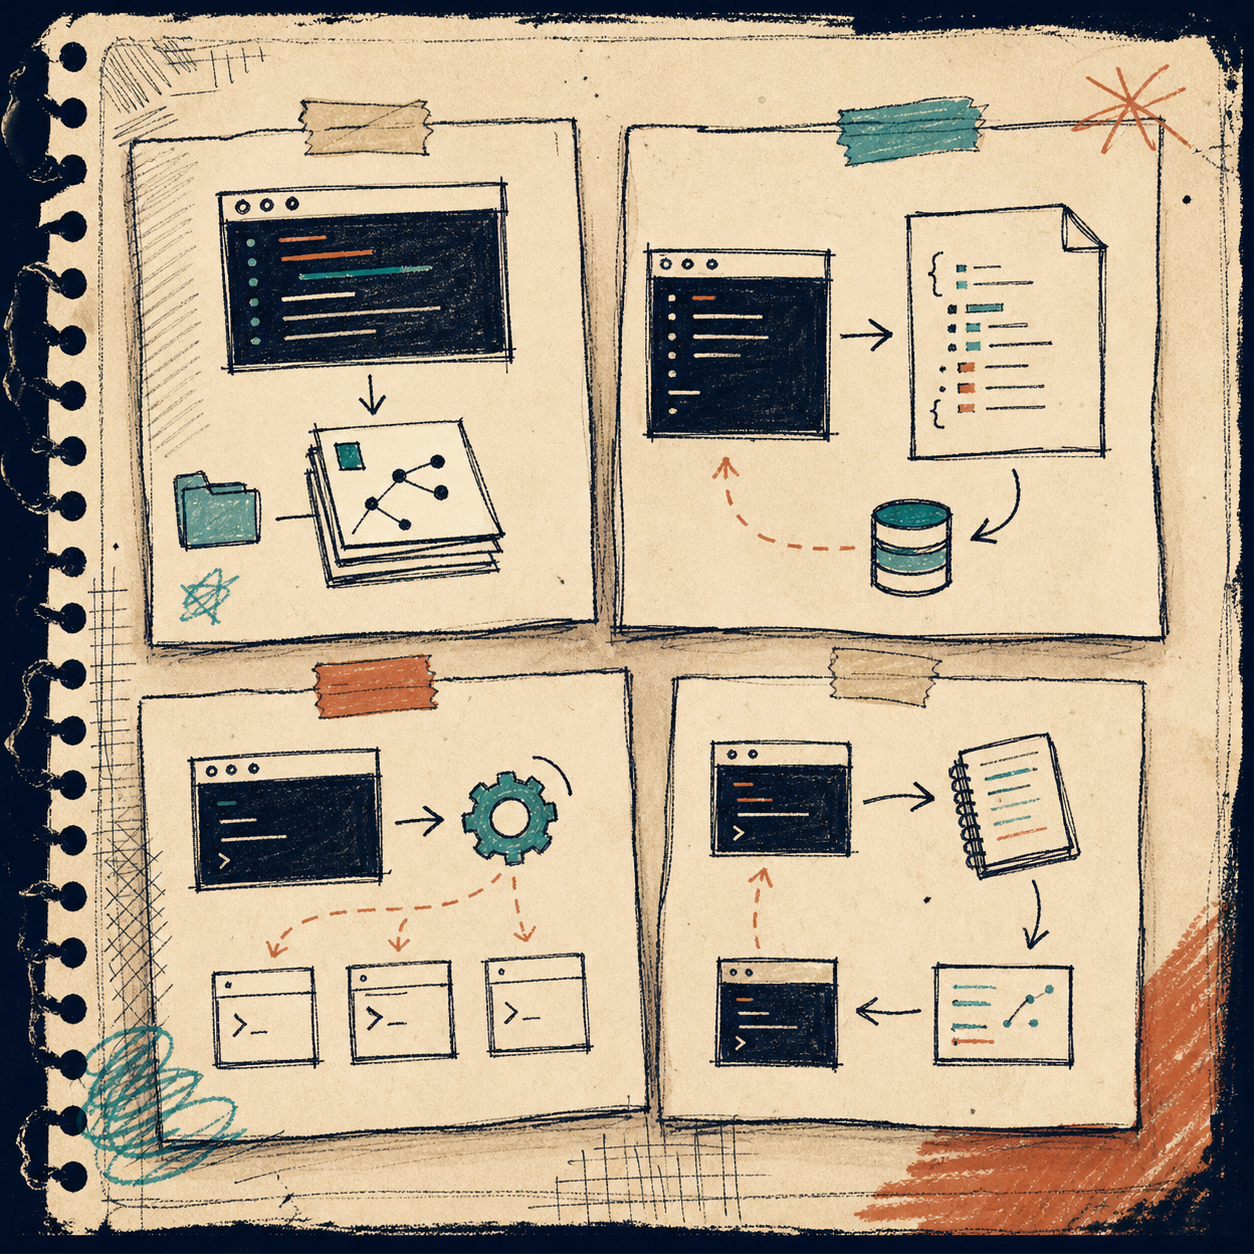
Three ways I would use it
- A quick CLI summary when I want a repo overview without writing a wrapper first.
- A small TypeScript helper when I want repeatable output that I can pipe into the next step.
- A local shell workflow when the prompt, the working directory, and the output all belong to the same project.
The third case is the one I think most people underestimate. Once the command becomes stable enough to reuse, it stops feeling like an experiment and starts feeling like a tool.

A small starter setup
The smallest useful setup is one CLI command and one SDK call.
npm install -g @ybouane/dash-p
dash-p "summarize this repo"
import { query } from "@ybouane/dash-p";

for await (const msg of query({
  prompt: "In one sentence, what is a pseudo-terminal?",
  options: { model: "sonnet", includePartialMessages: true },
})) {
  if (msg.type === "result") console.log(msg.result);
}
I like this shape because it keeps the automation layer thin. The heavy lifting still happens inside the real Claude Code session, which means the script stays readable and the session stays familiar.

Trade-offs I would accept
- You need the official Claude CLI installed and logged in.
- It depends on
node-pty, so some platforms may need local build tools. - It is tied to the rendered terminal UI, so a Claude Code UI change can break scraping.
- It is best suited to local scripts, research, and workflows you can maintain.
- It is not an official Claude product and it does not bypass authentication, permissions, or account limits.
That last point matters. The appeal here is not escape velocity from the platform. It is composability. If the real session is the thing you already trust, dash-p lets you wrap that session in a local developer workflow.
Where this fits in the series
If you want the adjacent versions of this idea, I would pair this post with How to Script Claude Code Locally With dash-p, How to Turn Claude Code Into a Local Shell Pipeline, How to Automate the Claude Code TUI With dash-p, and How I Turn Claude Code Into a Scriptable Workflow With dash-p. Together they cover the same pattern from different angles: local, repetitive, and scriptable.
My practical advice is to start with one repo and one command. If dash-p saves time there, keep it. If it feels brittle, leave it as a niche helper and move on. The useful part is not that every Claude Code task should become automated. It is that the right small tasks can become reusable without changing the way you already work.
If you want to try it, install @ybouane/dash-p, point it at a real repo, and compare the output to the manual Claude Code session you would have run anyway.