
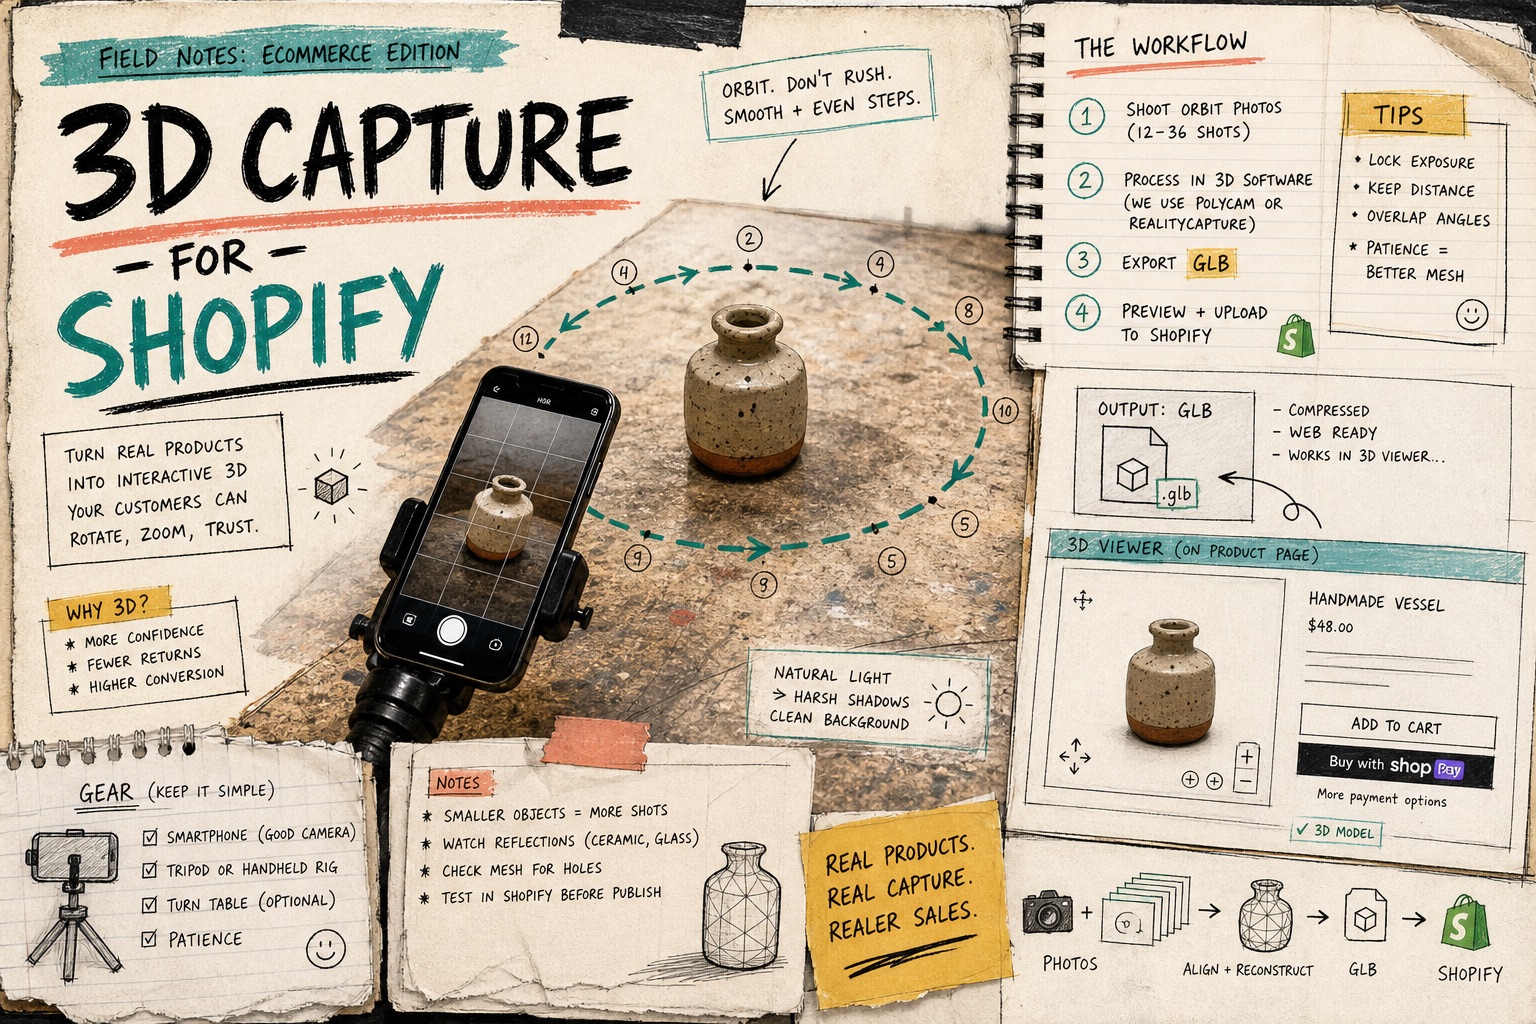
I keep seeing the same mistake: merchants try to 3D-scan the whole catalog, then the first bad session convinces them the workflow is too slow.
The easier move is to treat 3D capture like a selection problem first. Supra 3D Capture is built for that kind of work: you guide a regular phone through a photo orbit, process the set into a web-ready GLB, and publish it into Shopify without hiring a 3D artist or buying special gear.
The question is not, “Can I scan this?” It is, “Which products are worth scanning first?”
My First Filter
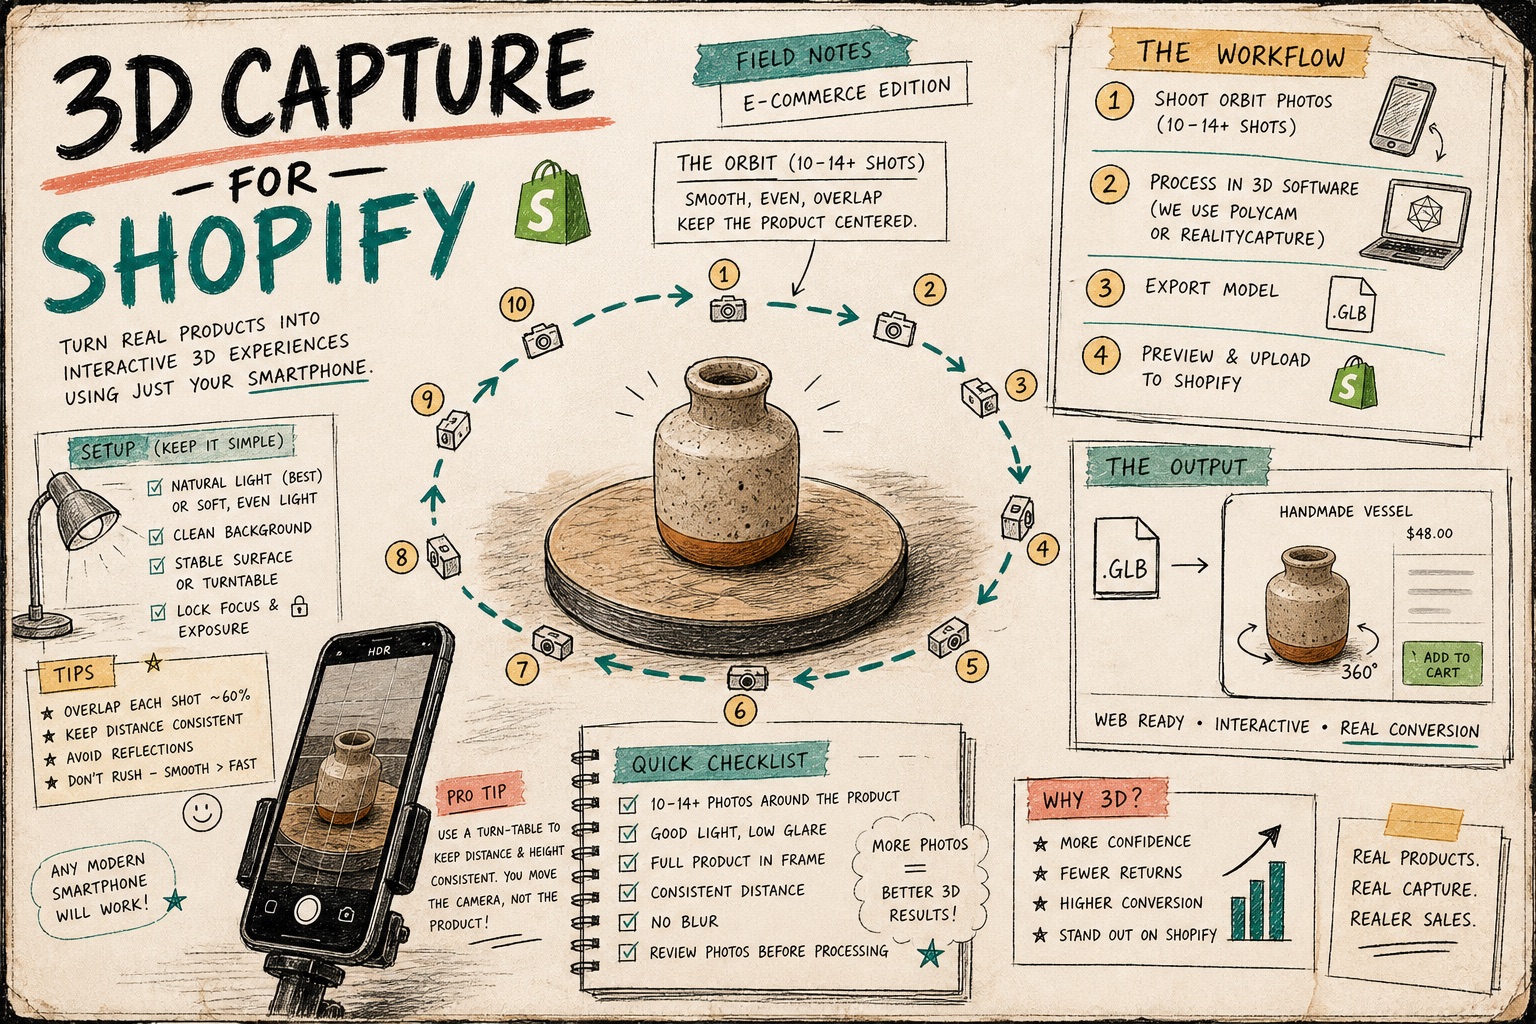
If a product sells mostly because of shape, fit, texture, or mechanism, it belongs near the top of the queue.
I usually start with SKUs that meet at least one of these conditions:
- Customers ask the same “what does it look like from the side” question repeatedly.
- The product has a shape that photos flatten out.
- Size or proportion is easy to misread from a gallery.
- Returns happen because the buyer expected a different form, not because the item was defective.
- The product is the kind of hero item that earns more attention when the page feels interactive.
If you can explain the item in three photos, 3D is optional. If you need six angles to make the object feel real, 3D deserves a test.
For a tighter ranking pass, I would pair this with the return-risk approach in How to Rank Shopify Products for 3D Capture by Return Risk.
The Scorecard I Actually Use
The cleanest way to avoid random enthusiasm is to score each SKU before you scan it.
I keep the scorecard simple:
- Shape ambiguity: would a flat gallery hide the real outline?
- Question load: does support or sales keep answering the same visual question?
- Return risk: do customers often discover the mismatch only after delivery?
- Presentation value: would a 3D viewer make the page feel more trustworthy or memorable?
- Capture difficulty: can I get a clean orbit with normal phone photos?
If a product scores high on the first four and low on the fifth, it is a strong candidate.
That is the part a lot of teams skip. They focus on excitement and forget that the best first scan is the one you can repeat tomorrow.
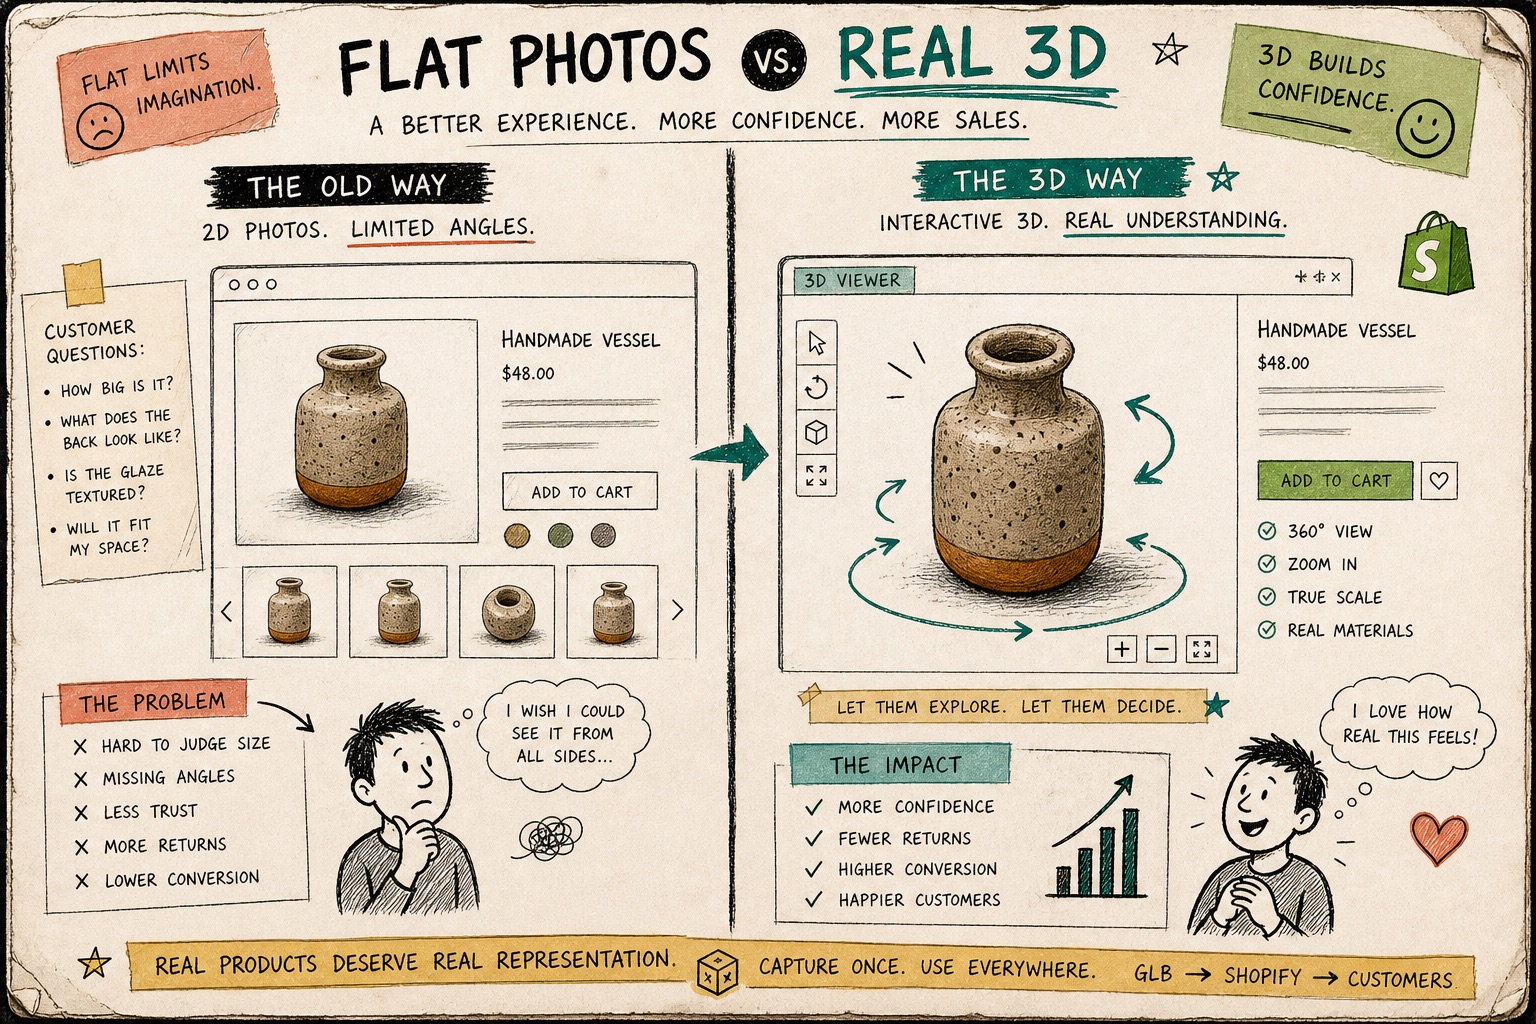
If you want a more formal version of that filter, I already wrote it up in How to Choose Which Shopify Products Deserve 3D Models First.
What I Leave For Later
Some products are poor first scans even if they eventually belong in 3D.
I usually leave these until the process is steady:
- Very shiny items that throw reflections everywhere.
- Clear or translucent objects that need careful lighting.
- Fuzzy or hairy surfaces that can confuse reconstruction.
- Tiny products that are hard to photograph with enough detail.
- Anything where the team cannot control lighting for a clean orbit.
That does not mean they are impossible. It means they are bad first-week material.
If your team wants a capture session that starts cleaner, the practical setup notes in How to Set Up a Shopify 3D Capture Session That Scans Cleanly are the right next read.
The Capture Session
Once a SKU passes the filter, I want the photo orbit to be boring in the best way.
The session should feel like a short repeatable routine:
- Put the product on a neutral surface with stable light.
- Walk a slow orbit with the phone.
- Keep the product centered and leave room for overlap between shots.
- Shoot enough images to let the photogrammetry pipeline rebuild the form cleanly.
- Review the result once, then reshoot only what is genuinely weak.
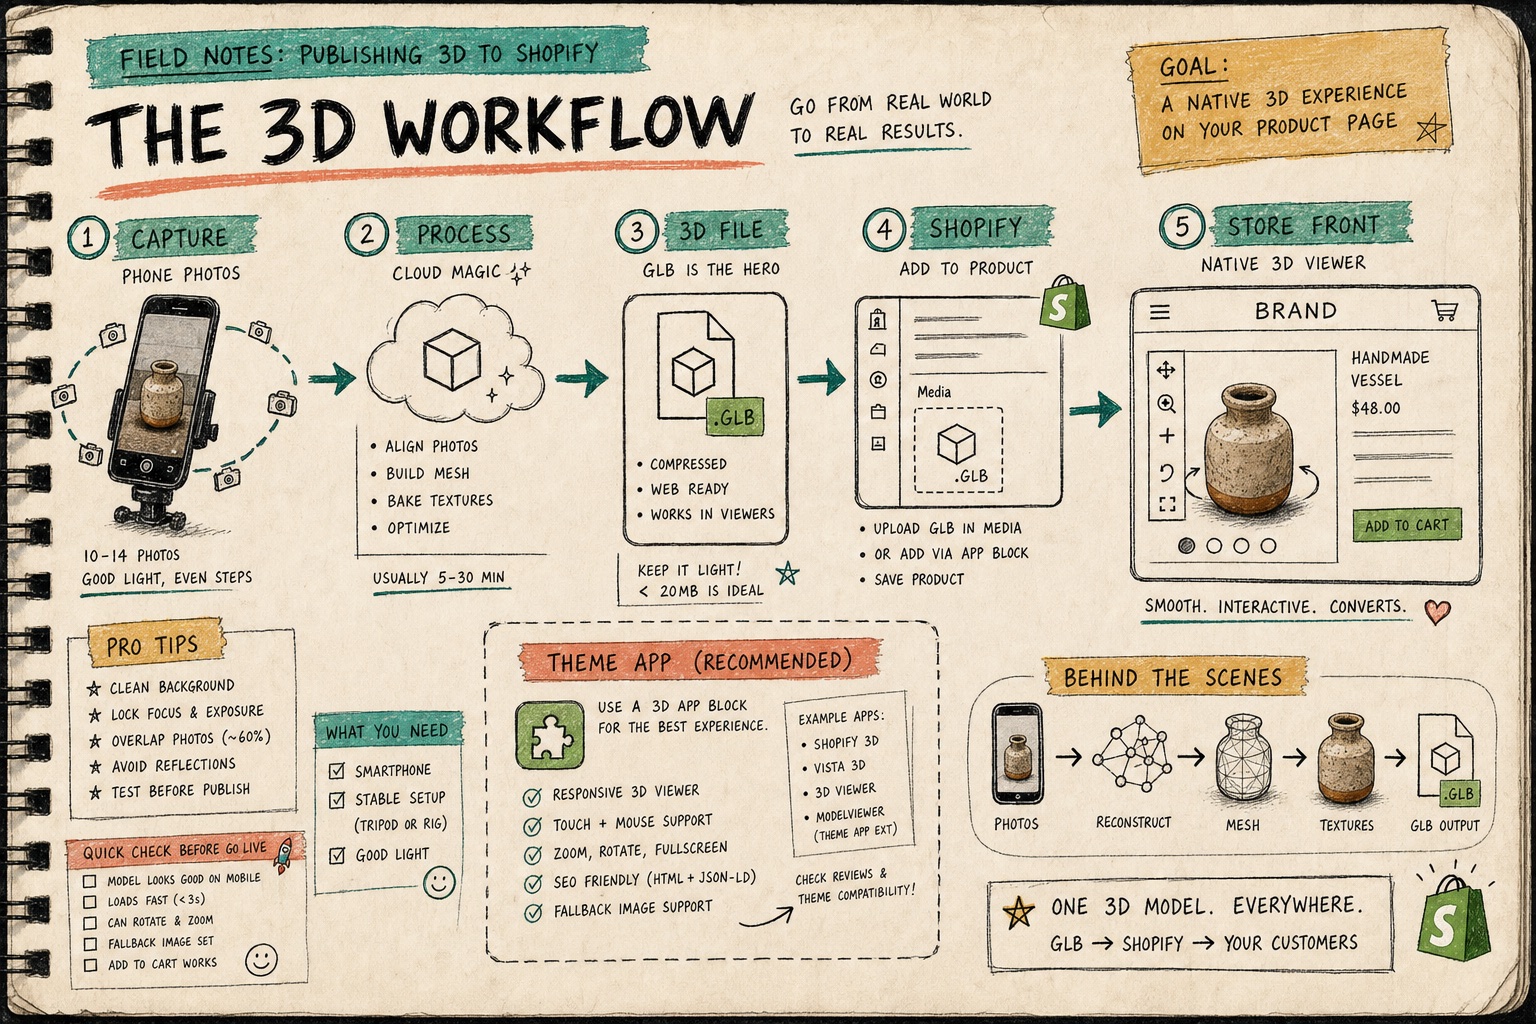
Supra 3D Capture is useful here because it keeps the process close to what merchants already know: guided phone photos, cloud processing, then a Shopify-ready model.
I also like having a scoring layer before the session starts, which is why the checklist in How to Build a Shopify 3D Capture Scorecard That Works sits close to this step in my own notes.
What Good Looks Like In Shopify
The end goal is not a fancy demo. The end goal is a product page that answers one more question without turning the page into a circus.
When the GLB is attached to Shopify product media, the native viewer gives shoppers a way to inspect the object on their own terms. When a theme needs a dedicated placement, the Online Store 2.0 app block keeps the model visible without custom glue.
That is the practical win:
- Better confidence before purchase.
- More interaction on the product page.
- Less guesswork around shape and proportion.
- A cleaner path than commissioning every 3D asset manually.
If you want the product page flow and the app-store details, the source of truth is the product site at Supra 3D Capture and the Shopify App Store listing.
The Short Version
Do not start by asking which products can be scanned. Start by asking which products deserve the extra clarity.
Pick the SKUs that carry the most shape questions, the most expectation gaps, or the most page-level value. Run a clean capture session on one of those first. If the result improves confidence, you have a repeatable workflow.
If you want to keep digging, the product blog at Supra 3D Capture Blog has more practical notes. If you want to try the workflow on a real SKU this week, start with one product that already causes questions and see whether 3D answers them better than another row of flat photos.