
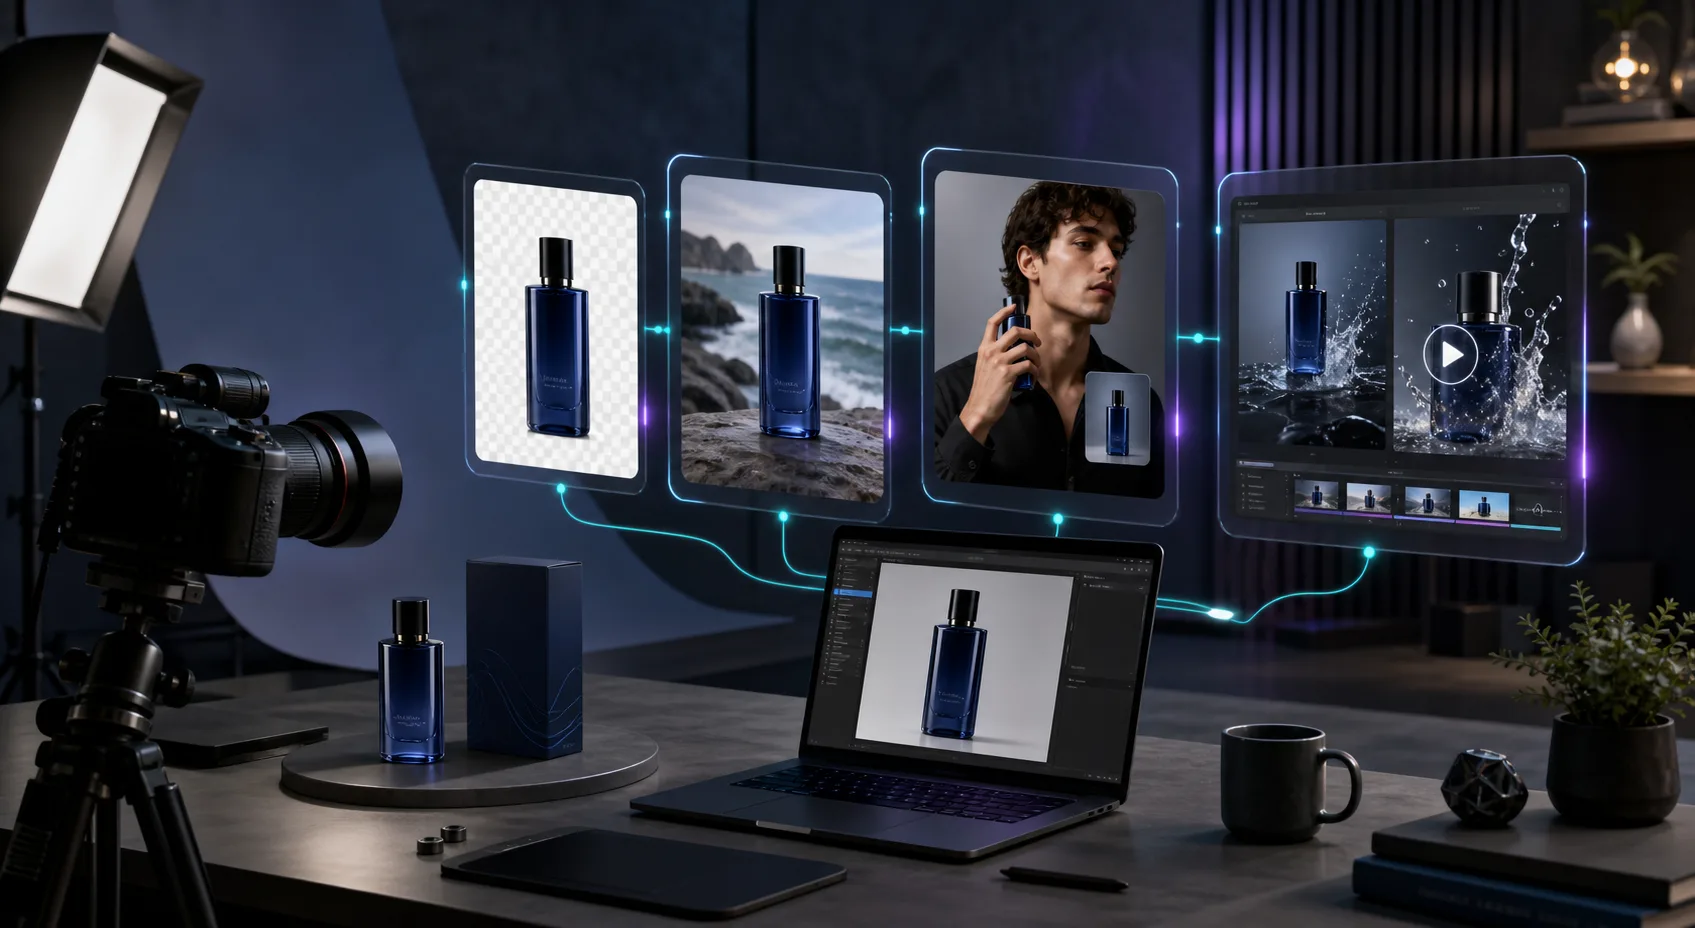
A single decent product photo can do more than feed the product page. With the right edit, it can become a cleaner catalog image, a lifestyle scene, a try-on, and a short ad clip. That is the workflow Supra AI Photo Studio is built for: edit product photos into realistic scenes, remove backgrounds, upscale images, generate videos, and keep the output inside a Shopify workflow. If you want the broad feature set first, start with the app listing or the landing page.
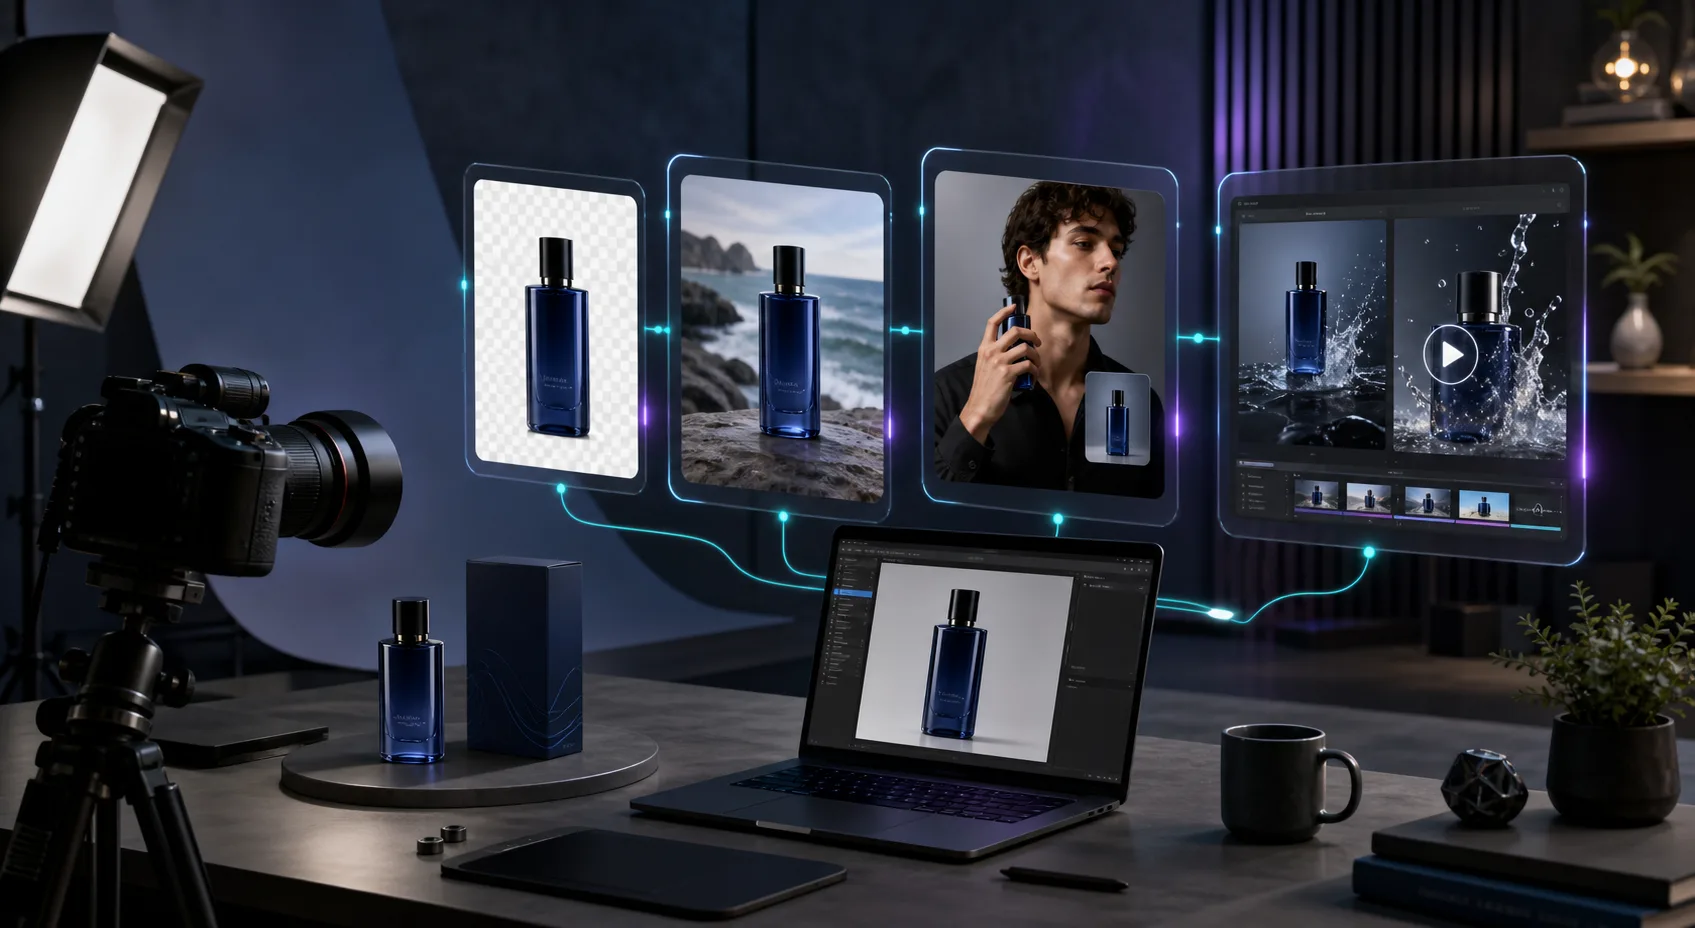
The mistake I see most often is starting with the tool instead of the job. The better question is simple: what should this photo do?
- If the page needs trust, make the image cleaner and sharper.
- If the product is worn, make the fit visible with a model try-on.
- If the product sells better in context, place it in a real scene.
- If the creative has gone stale, turn the same source into motion.
That is the reason I like this app for ecommerce content. It does not force every product into the same output. It gives you separate paths for enhancement, try-on, placement, mockups, and video, so you can choose the least complicated edit that solves the actual problem.
1. Clean The Source Image First
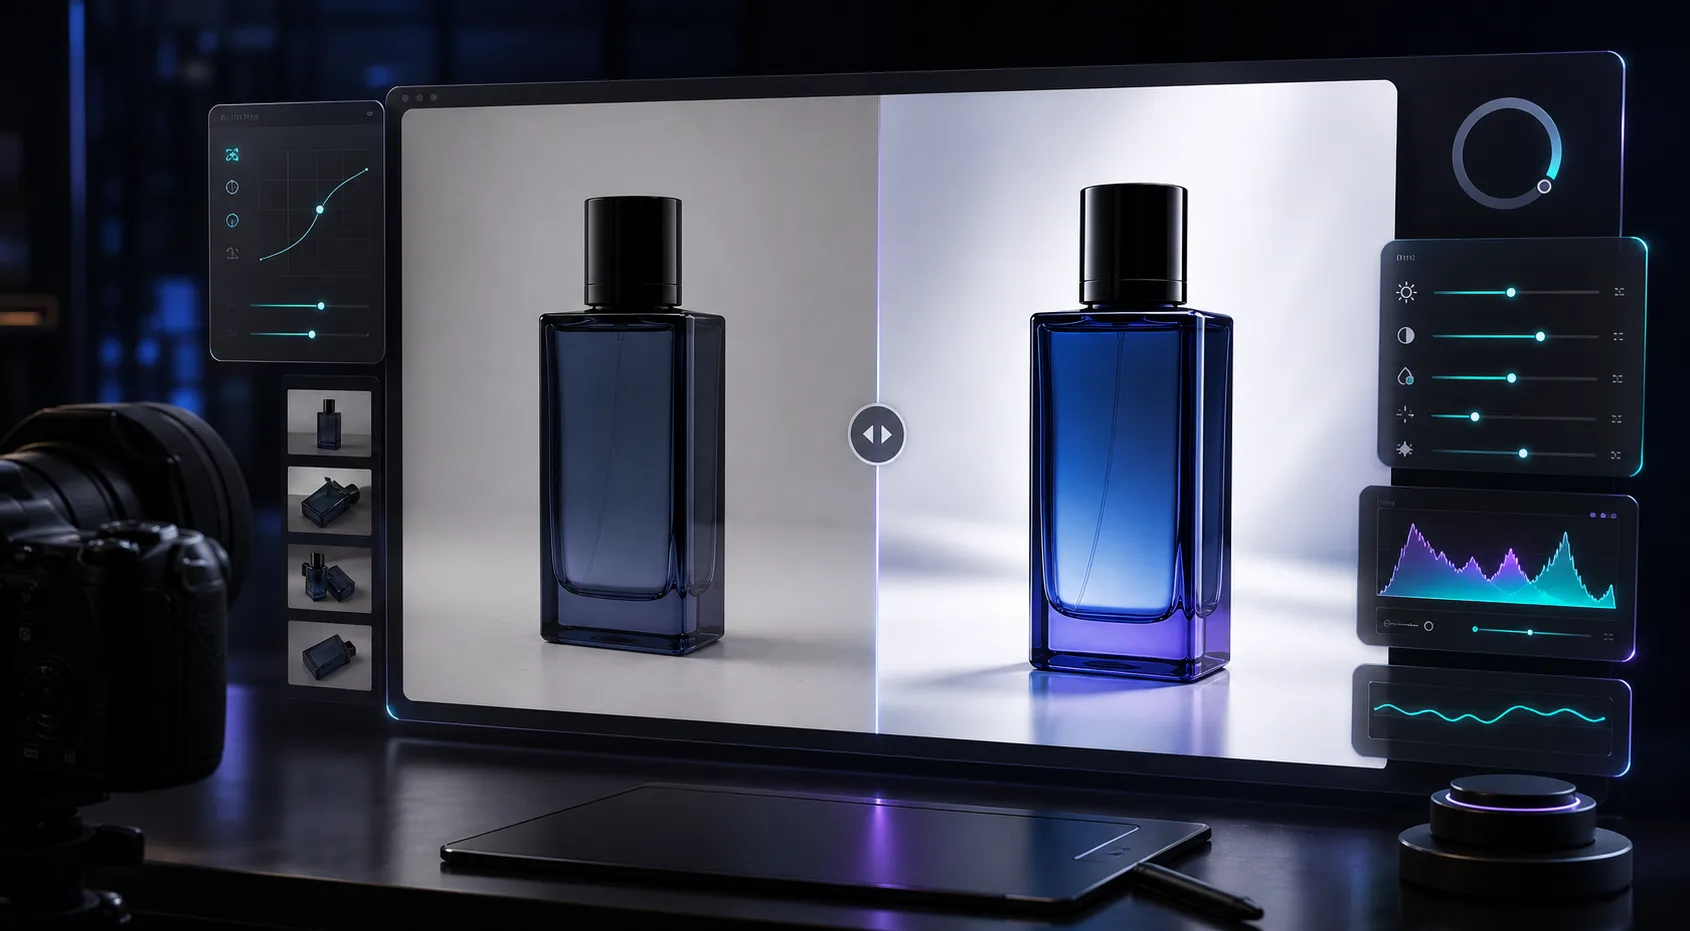
I start by making the source image boring in the right way. Background removal, upscaling, denoising, and lighting correction are the cheapest wins in the stack because they improve almost every downstream output.
If the original shot is soft, uneven, or visually noisy, every later edit inherits those problems. A cleaner base photo makes the catalog look more consistent, and it gives the AI a better object to work with when I move into try-on or scene placement.
This is especially useful when you are converting a set of plain supplier photos into something that looks like it came from the same shoot. You do not need to invent a new brand look first. You just need the base image to stop fighting the rest of the page.
If you want a more general system for that first pass, How to Build a Shopify Product Photo Workflow Without a New Shoot is the closest companion piece.
2. Use Try-On When Body Context Matters
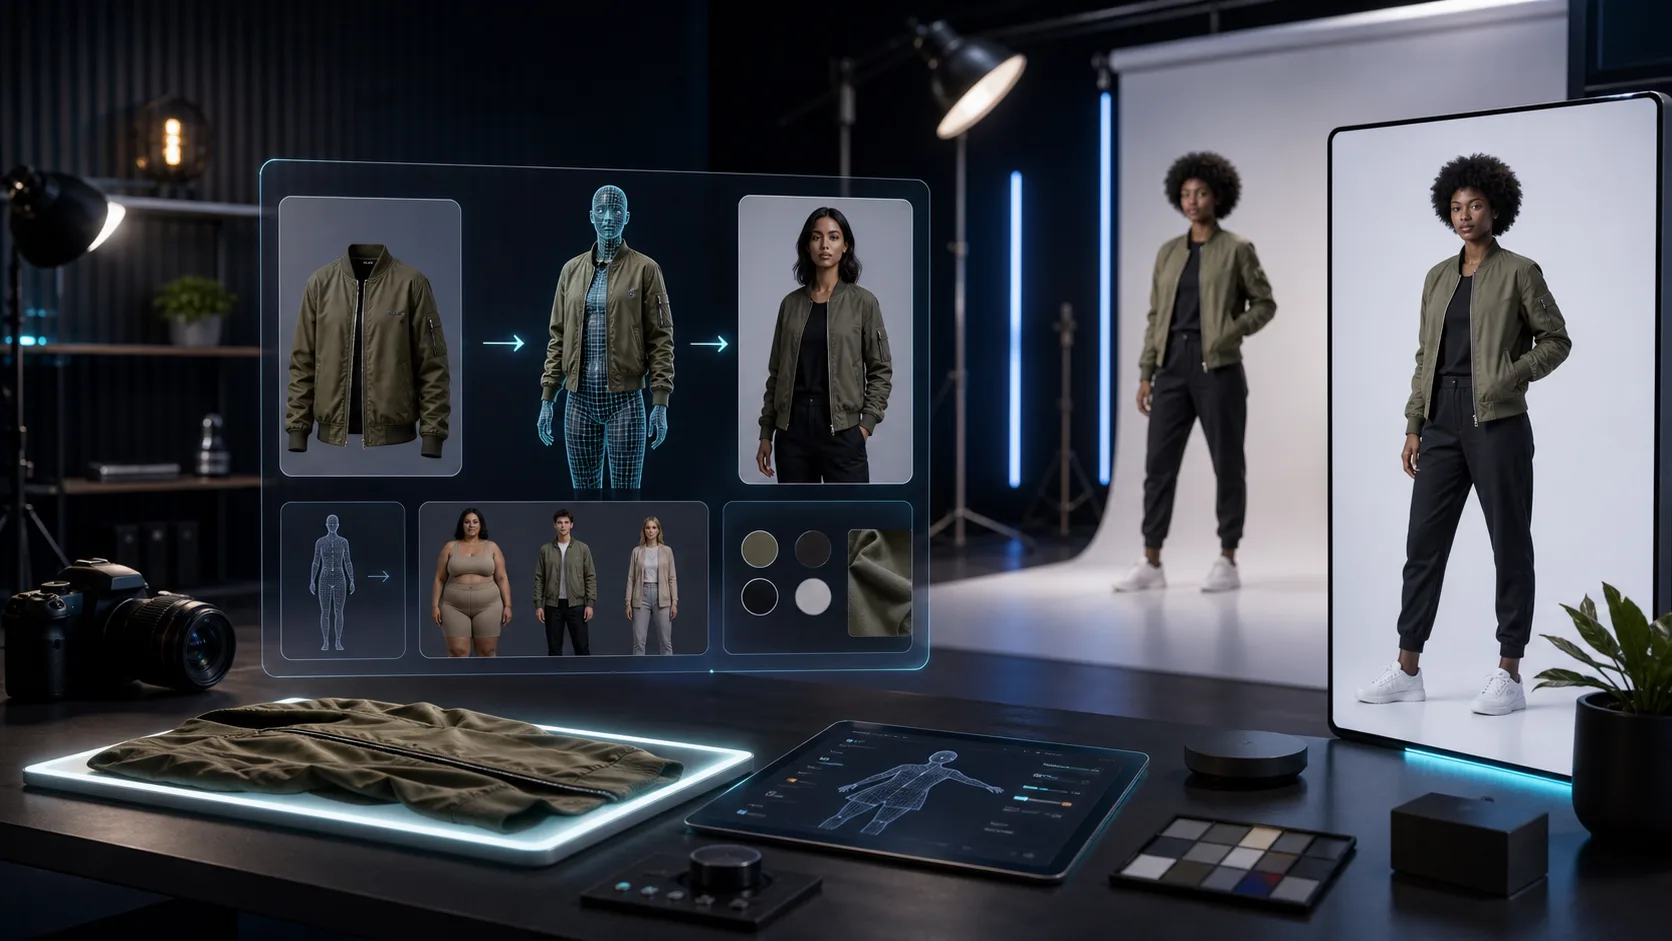
Try-on is the right move when the buyer needs to understand fit, scale, or wearability. That is why Supra AI Photo Studio calls out apparel, jewelry, and accessories specifically. A shirt, necklace, or pair of glasses often makes more sense when the customer can see it on a model instead of floating on a plain background.
I would not use try-on just because it looks impressive. I would use it when the product page needs a human reference point that a flat photo cannot provide. If the item is decorative or non-wearable, the result usually feels forced. If the item is worn on the body, it can be one of the fastest ways to make the catalog feel more concrete.
This is also where your review step matters. Keep the product accurate, make sure the fit is believable, and do not let style drift past the point where the image still represents the product.
If you want the decision logic behind that choice, How I Decide Whether a Shopify Product Photo Needs Try-On, Placement, or Video is the right follow-up.
3. Put The Product Into A Scene When Context Sells
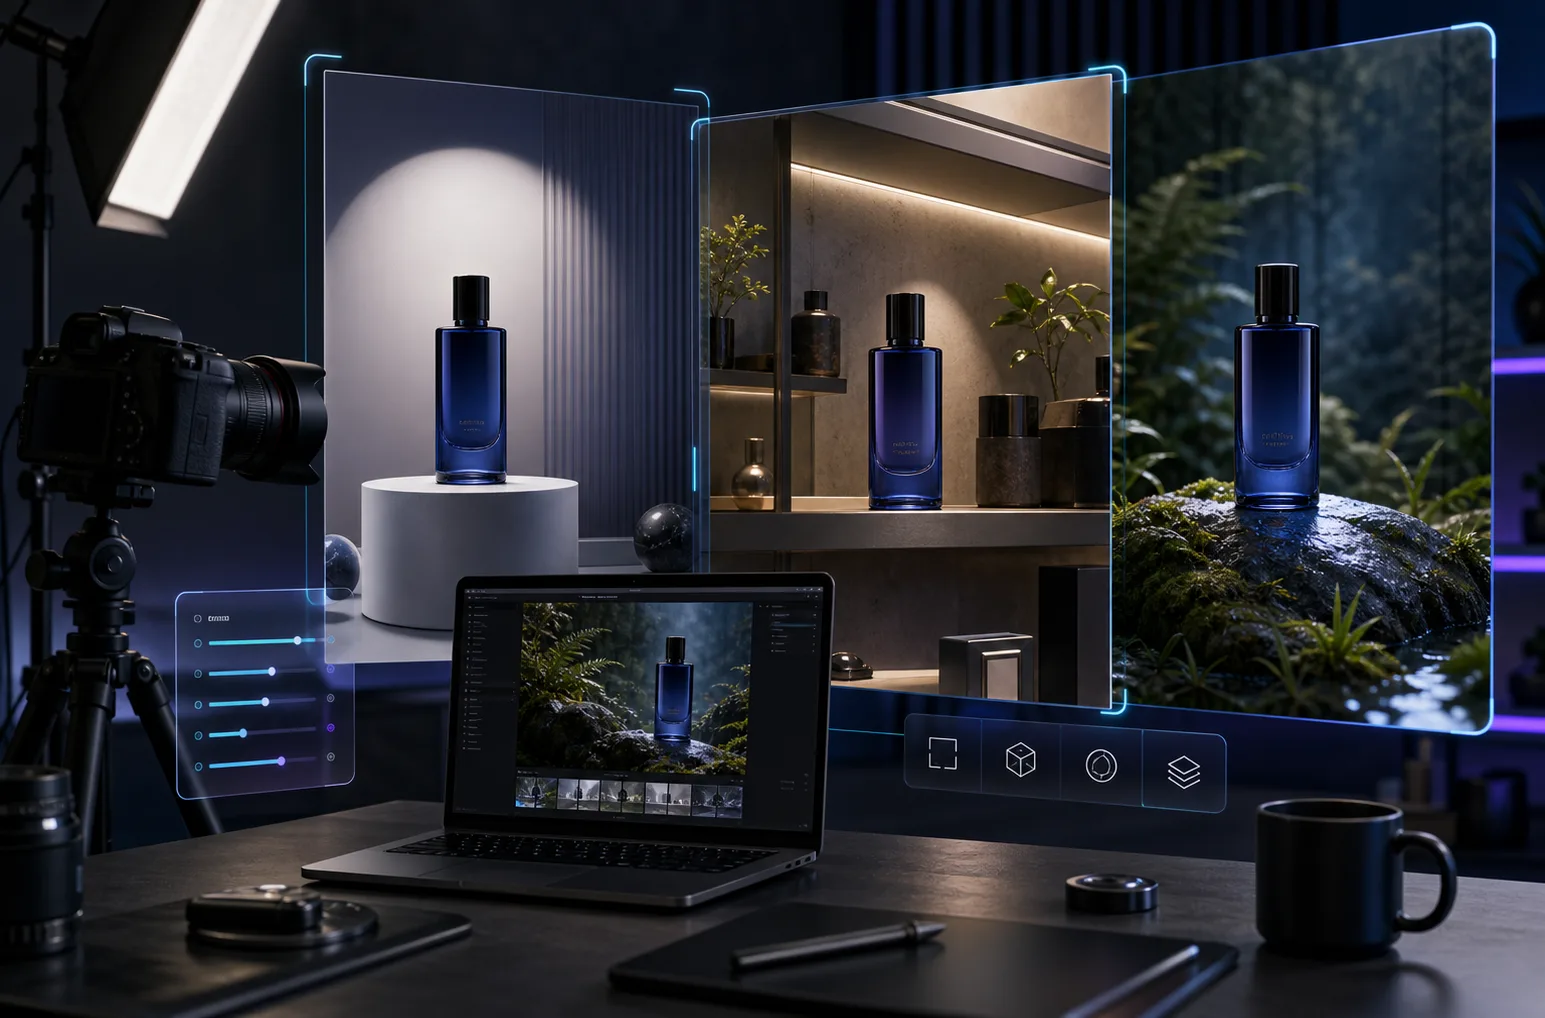
Object placement is the part of the workflow that helps when the product needs a setting, not a model. A home item, beauty product, gadget, or packaged good often sells better when it is shown in a studio, a boutique, a kitchen, or another realistic environment that matches the customer’s mental model.
The useful part is not just variety. It is consistency. Once I know which scenes belong to the brand, I can generate a family of images that feel related without looking copied. That makes product pages, collection pages, and ads easier to keep visually coherent.
Supra AI Photo Studio is built for this kind of scene work. The app can place products into environments like studios, luxury boutiques, and nature settings, which means I can match the background to the channel instead of forcing one photo to do every job.
For the broader asset strategy, How I Turn One Product Photo Into a Channel-Ready Shopify Asset Set is a good companion read.
4. Add Motion After The Stills Are Right
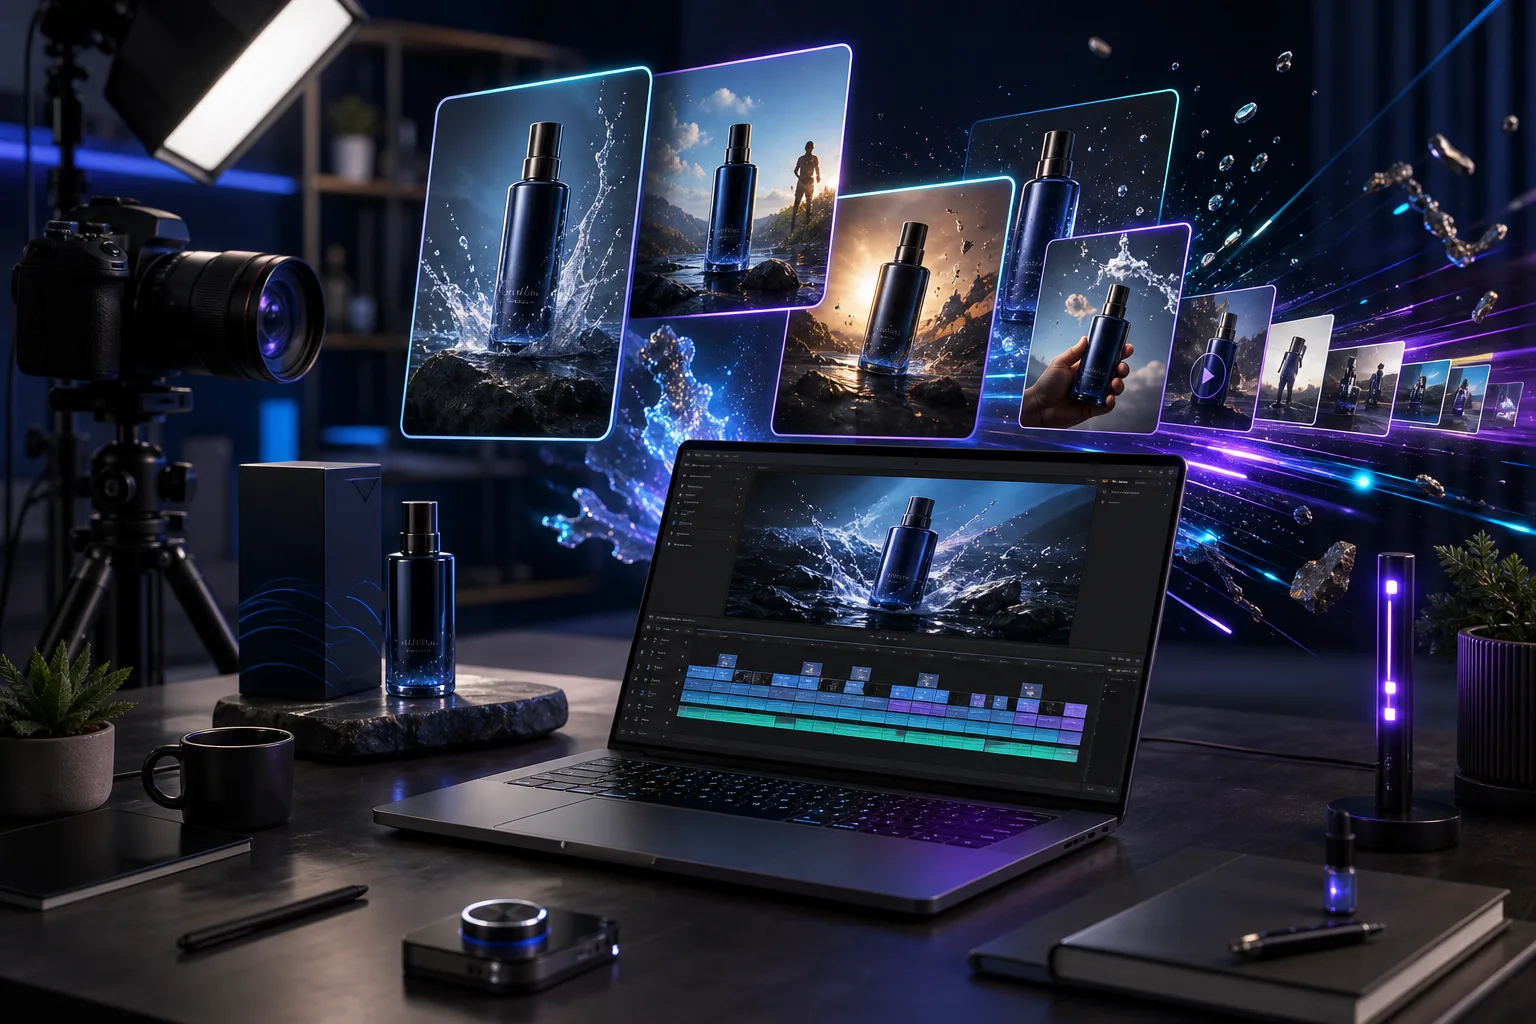
Short-form motion is usually where a still-image workflow starts to pay off in ads and social. Once the base photo is cleaned up, the same product can become a UGC-style clip or a b-roll shot for paid media.
That matters because ad fatigue is real. A strong still image can support the page, but a short video can give you a different angle for TikTok, Reels, or a prospecting ad. The point is not to replace the photo. The point is to turn one good source asset into a small set of channel-specific creatives.
Supra AI Photo Studio includes UGC videos and b-roll videos for exactly that reason. It gives me a path from static image to motion without leaving the product workflow or starting a separate production process.
If you want the pipeline view, How I Build a Shopify Product Photo Pipeline That Feeds Every Channel shows the bigger system around this step.
5. Keep The Sequence Small And Repeatable
The workflow only stays useful if it stays simple enough to repeat:
- Remove distractions and fix the source image.
- Decide whether the product needs a model, a scene, or motion.
- Generate only the variants that solve the channel problem.
- Review the result against the real product.
- Export the smallest useful set instead of chasing endless variations.
That sequence keeps me from over-editing. It also keeps the decision-making visible. I am not trying to make every image the most dramatic image. I am trying to make the right image for the job.
The other related post that helps here is How I Build a Shopify Product Photo Workflow Without a New Shoot. That one is more about the operating rhythm. This one is about choosing the output.
Bottom Line
If I only have one product photo, I do not ask it to do everything at once. I decide whether it needs to be cleaner, more contextual, more wearable, or more persuasive in motion, then I generate the smallest set of outputs that covers those jobs.
That is the real value of Supra AI Photo Studio: it turns one input into a usable photo stack without forcing me into a full redesign of the creative process. The free plan is enough to test the workflow, and the demo trailer is a quick way to see how the pieces fit together before you install anything.