
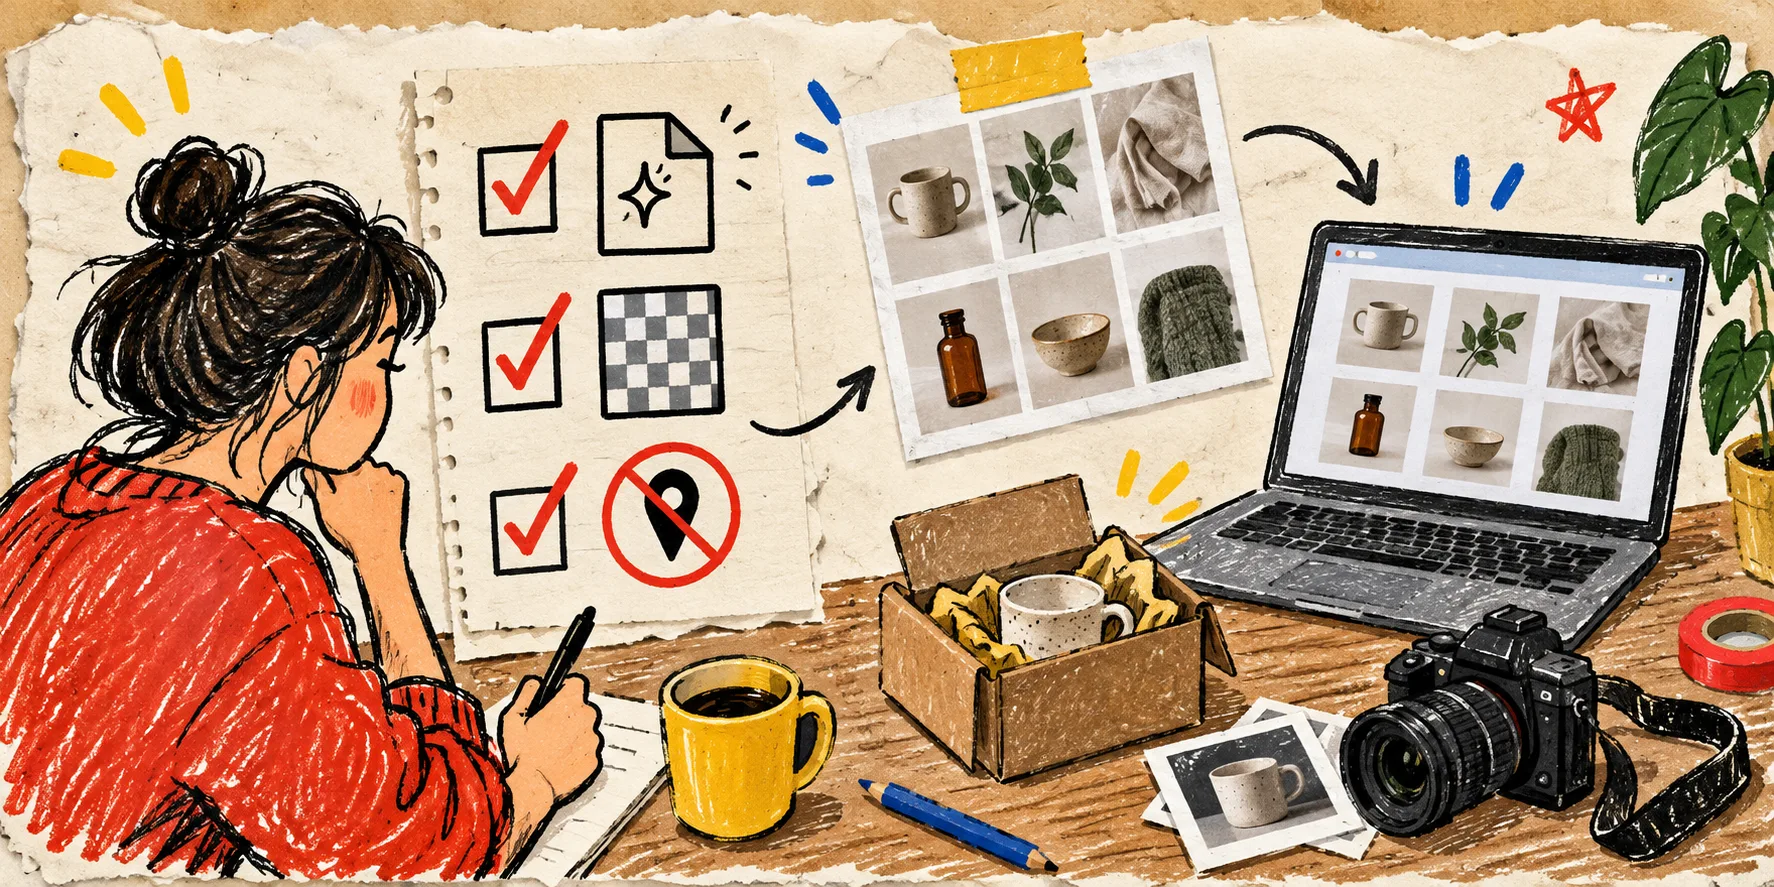
I used to treat a supplier image folder as a simple handoff: unzip it, rename a few files, send the best shots to Shopify. Then I had a “JPEG” that was really a PNG, a supposedly transparent cutout with a fuzzy edge, and a phone photo that still carried location data. None of those are glamorous failures. They are exactly the kind that cost an afternoon when they slip into a catalog.
So I now run a five-minute check before any new product-media batch gets near a product page. It is not a giant DAM process. It is three tiny browser checks, plus one folder rule. I use Tiny Online Tools because the jobs are narrow, free, and browser-based without an account.
The little handoff card I keep beside the upload queue
My rule is simple: inspect what the file is, inspect what the shopper will see, then inspect what the file may accidentally reveal. I only need a representative sample unless the supplier has already given me a reason to distrust the batch.
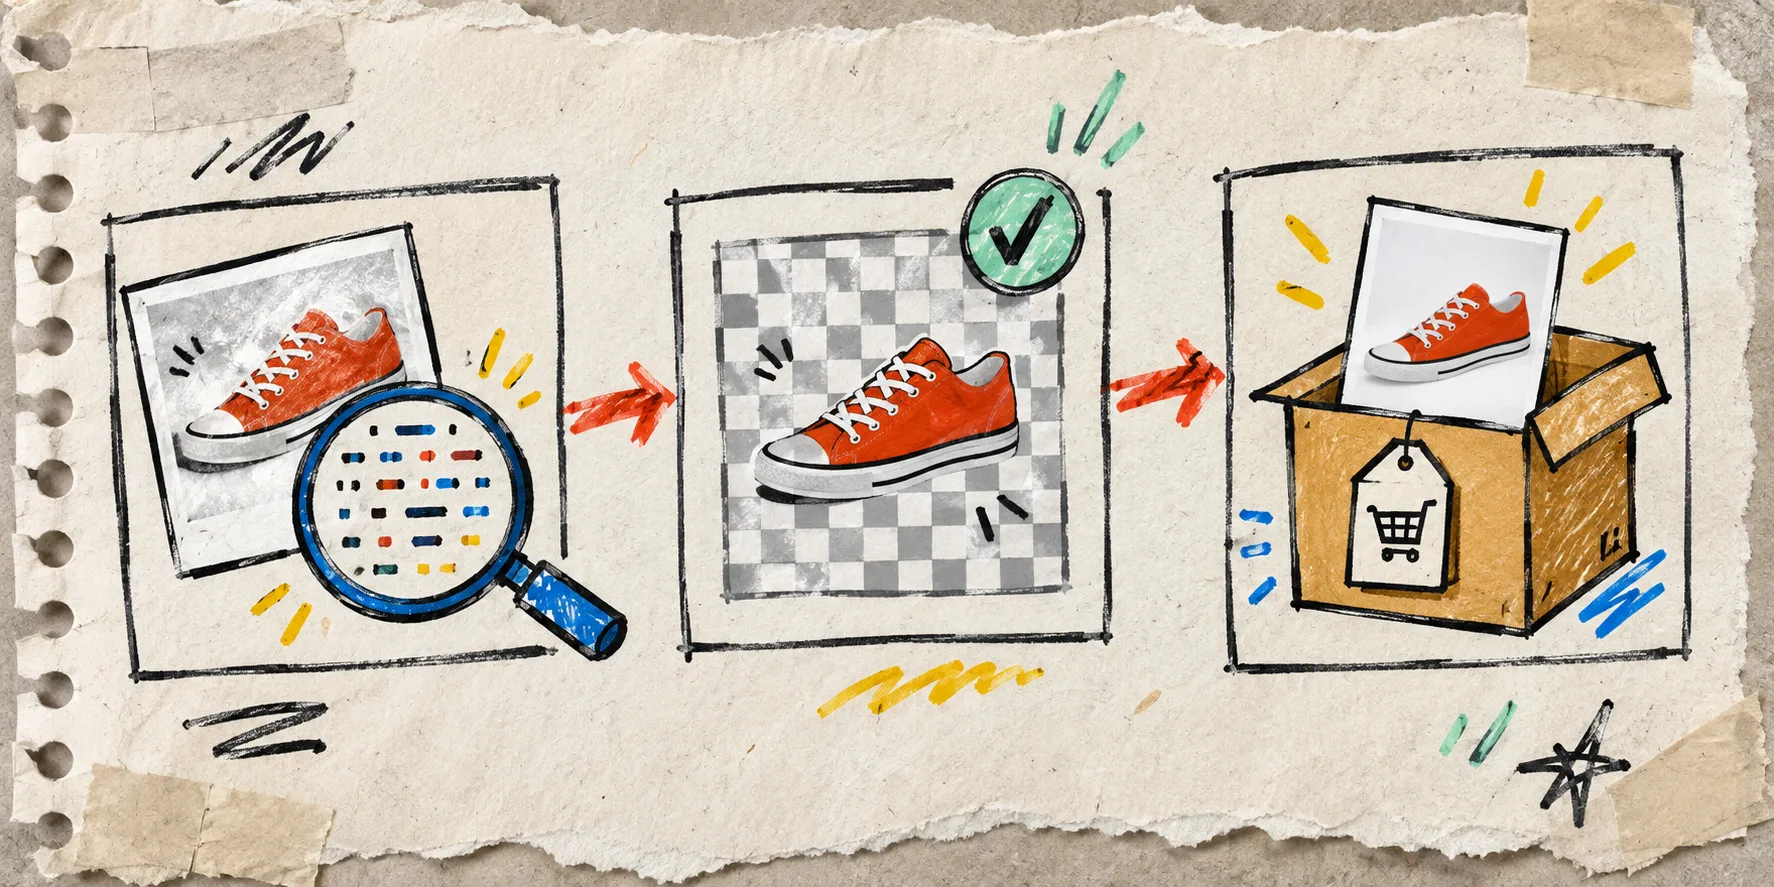
Here is the sequence.
- Pick one hero image, one transparent cutout, and one lifestyle or phone image.
- Verify the actual file format instead of trusting the extension.
- Inspect the alpha channel for cutouts.
- Check metadata on photos, then make a cleaned copy when it belongs in the public catalog.
- Put only the approved copies in the upload folder.
That last step matters more than it sounds. I do not overwrite the source folder. Keeping supplier-originals/ separate from shopify-ready/ means I can explain which version went live and redo a derivative later without asking a supplier to resend files.
1. Check the file signature before changing anything
First I drop a questionable file into Image Format Detector. It reads the file’s magic bytes and identifies whether it is actually PNG, JPEG, WebP, GIF, TIFF, HEIC, AVIF, SVG, or another supported format. It also warns when an extension and the content do not match.
This is not a lecture about file headers; it is a useful guardrail. A mislabeled asset can make a CDN, image optimizer, or an upload troubleshooting session much more confusing than it needs to be. If the detector says the supposed JPG is really PNG, I rename it honestly or make a deliberate conversion instead of quietly carrying the mismatch forward.
For a new collection, I put this beside the shot planning work in my Shopify product photo shot-list routine. The shot list prevents missing views; the file check prevents a tidy folder from hiding messy assets.
2. Look at transparency, not just the white canvas
A cutout can look fine on a white desktop background and still show a pale fringe over a colored collection tile. That is why I open the sample in Image Alpha Viewer. It renders transparency as a grayscale mask: white is opaque, black is transparent, and gray is partial transparency.
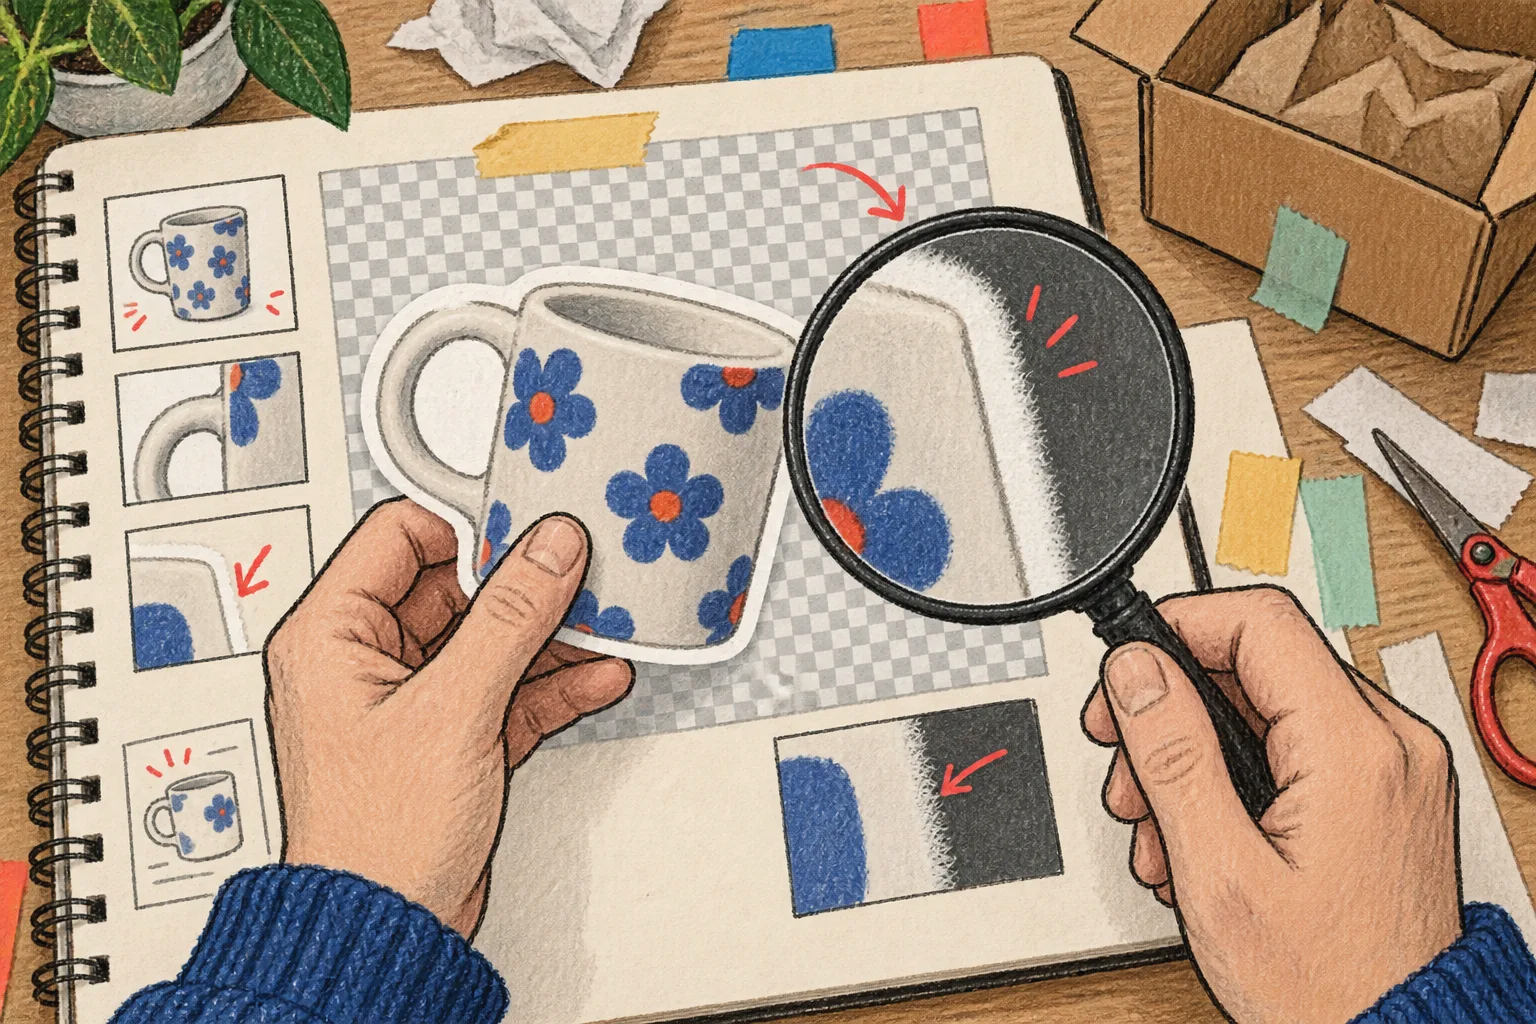
I am looking for three things: a clean silhouette, no unintended translucent halo, and no huge transparent margin that makes the product look tiny next to its neighbors. The tool also reports the transparent-pixel percentage, which is a quick clue when a file feels strangely empty.
This is especially useful when you are deciding whether a product needs a crisp cutout, lifestyle context, or a richer media treatment. I use the same decision mindset in my first AI lifestyle photo test: the image style should earn its place on the page, not merely fill a slot.
3. Treat metadata as a publishing choice
Next, I use Image Metadata Viewer on a phone or camera image before sharing it beyond the working team. It can display EXIF and metadata from JPEG, PNG, and WebP files, including GPS coordinates. A direct original download can preserve details that a platform preview may not show.
If the file has information we do not want traveling with the public asset, I create a separate cleaned derivative with Remove Image Metadata. The tool is designed to strip EXIF, GPS, and metadata; its page says it can process JPEG, PNG, and WebP images. Keep the original in the source archive, then name the derivative clearly, such as linen-shirt-blue-front-web-clean.jpg.
This is not about treating every image as secret. It is about making an intentional choice. Product photography can expose a studio location, a home address, a timestamp, or simply old editing history that does not belong in a public catalog.
4. Run the check before the upload, not after the support ticket
Here is the actual preflight checklist I use:
- One sample per source or file type gets a format check.
- Every transparent hero cutout gets an alpha check on a dark and a colored background in the storefront preview.
- Every phone or camera original gets a metadata look before it becomes public.
- Approved derivatives get predictable names and go in the upload-only folder.
- I open one product page and one collection card on a phone before calling the batch finished.

If the collection also uses swatches, I add a quick scan of whether the media makes those choices easier to recognize. Color swatches can make a collection page easier to scan, but only when the underlying images and color names are consistent. If you are working toward richer product media, the same small-batch discipline also helps with testing one Shopify 3D model before scaling.
A tiny habit that keeps product media boring
The goal is not to turn every supplier folder into a forensic investigation. It is to keep bad surprises from becoming live merchandising problems. Start with one incoming batch today: check one file signature, one alpha mask, and one metadata record. Then make a clean shopify-ready folder and upload from that folder only.
That five-minute pause is usually enough to turn product-image handoff into the boring, repeatable part of catalog work it should be.