

I keep running into the same problem: the product photo is technically fine, but it stops being useful the moment it has to do more than one job. The fix is not to generate a pile of random variations. It is to clean the source shot, pick the right output mode, and review the result like a merchandiser rather than a prompt-tweaker.
Supra AI Photo Studio is the Shopify app I would use for that loop. It handles background cleanup, upscaling, lighting correction, object placement, model try-ons, and short video assets from the same source photo. If you want to see the workflow first, start with the Shopify App Store listing, the landing page, and the demo trailer. The free plan is enough to test one product before you decide whether to roll it out.
What you will learn:
- Which source photo to start from
- What to clean before you stylize
- When to use try-on versus placement
- How to keep the catalog consistent
- What to check before you publish
1. Start With The Strongest Source Photo
I usually begin by asking which image already tells the truth most clearly. That is the same triage I wrote about in How I Prioritize Shopify Product Photos for AI Editing. If the edges are sharp, the product is centered, and the lighting is at least readable, you have something worth improving.
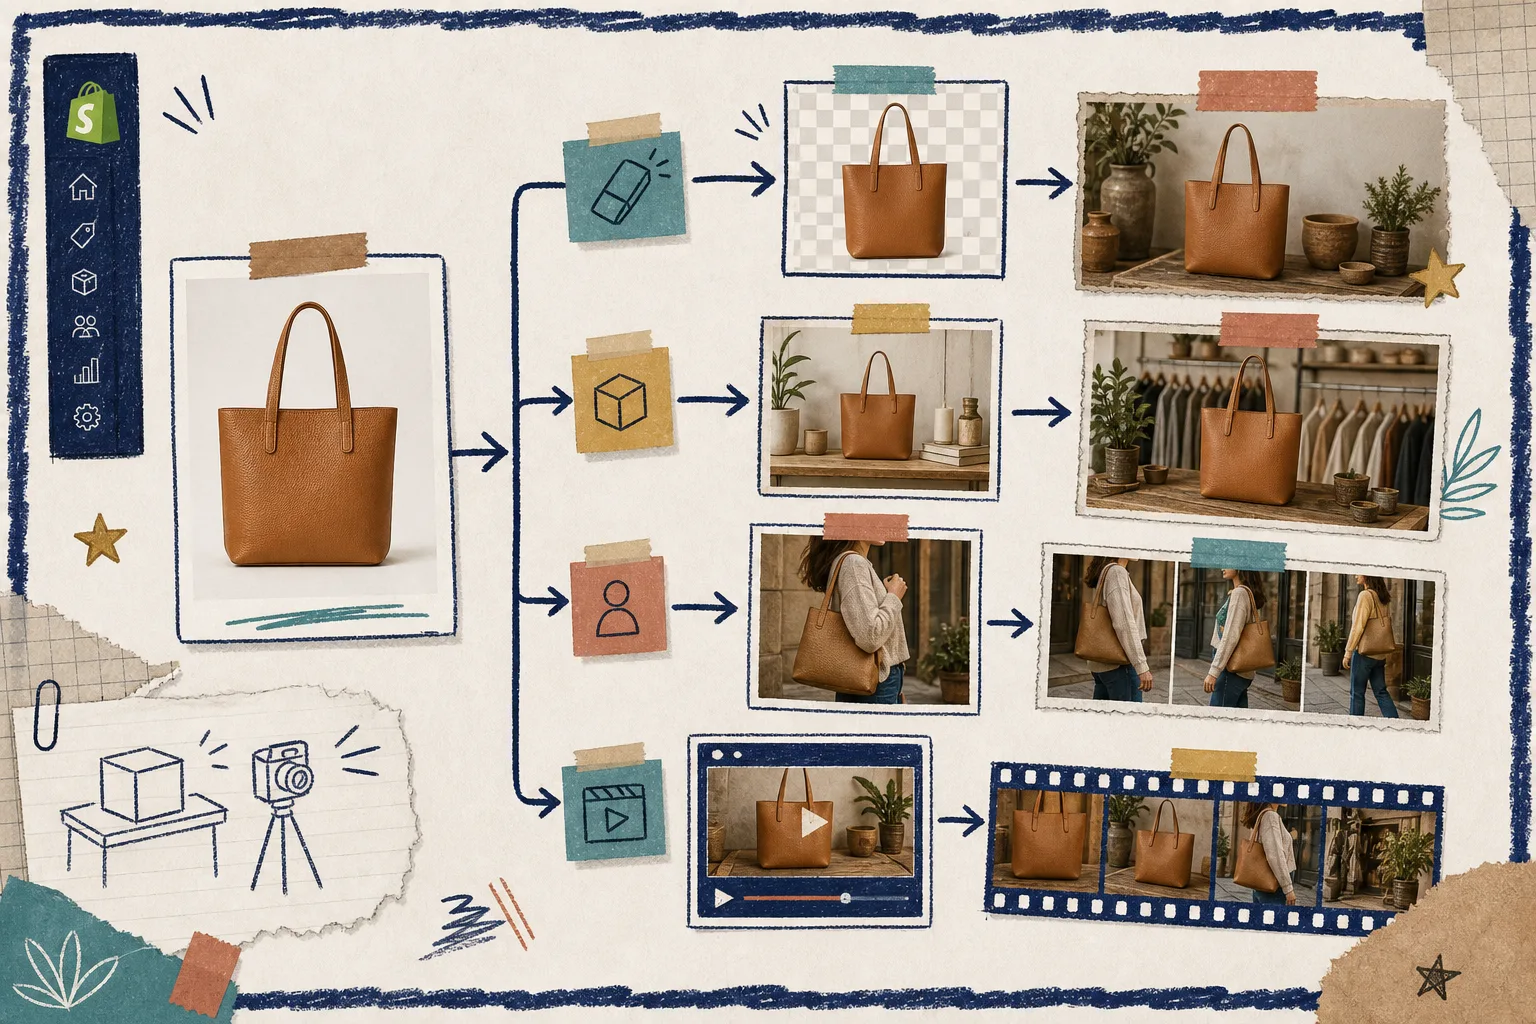
If the source is blurry, cropped too tight, or missing part of the product, fix that first. AI editing can refine detail, but it cannot invent a clean silhouette from a bad capture.
2. Clean The Base Image Before You Add Style
Background removal, upscaling, deblurring, denoising, and lighting correction are the first edits I would make on a new image. The editor view makes that sequencing obvious: tools on the left, canvas on the right, and the image gallery at the bottom.
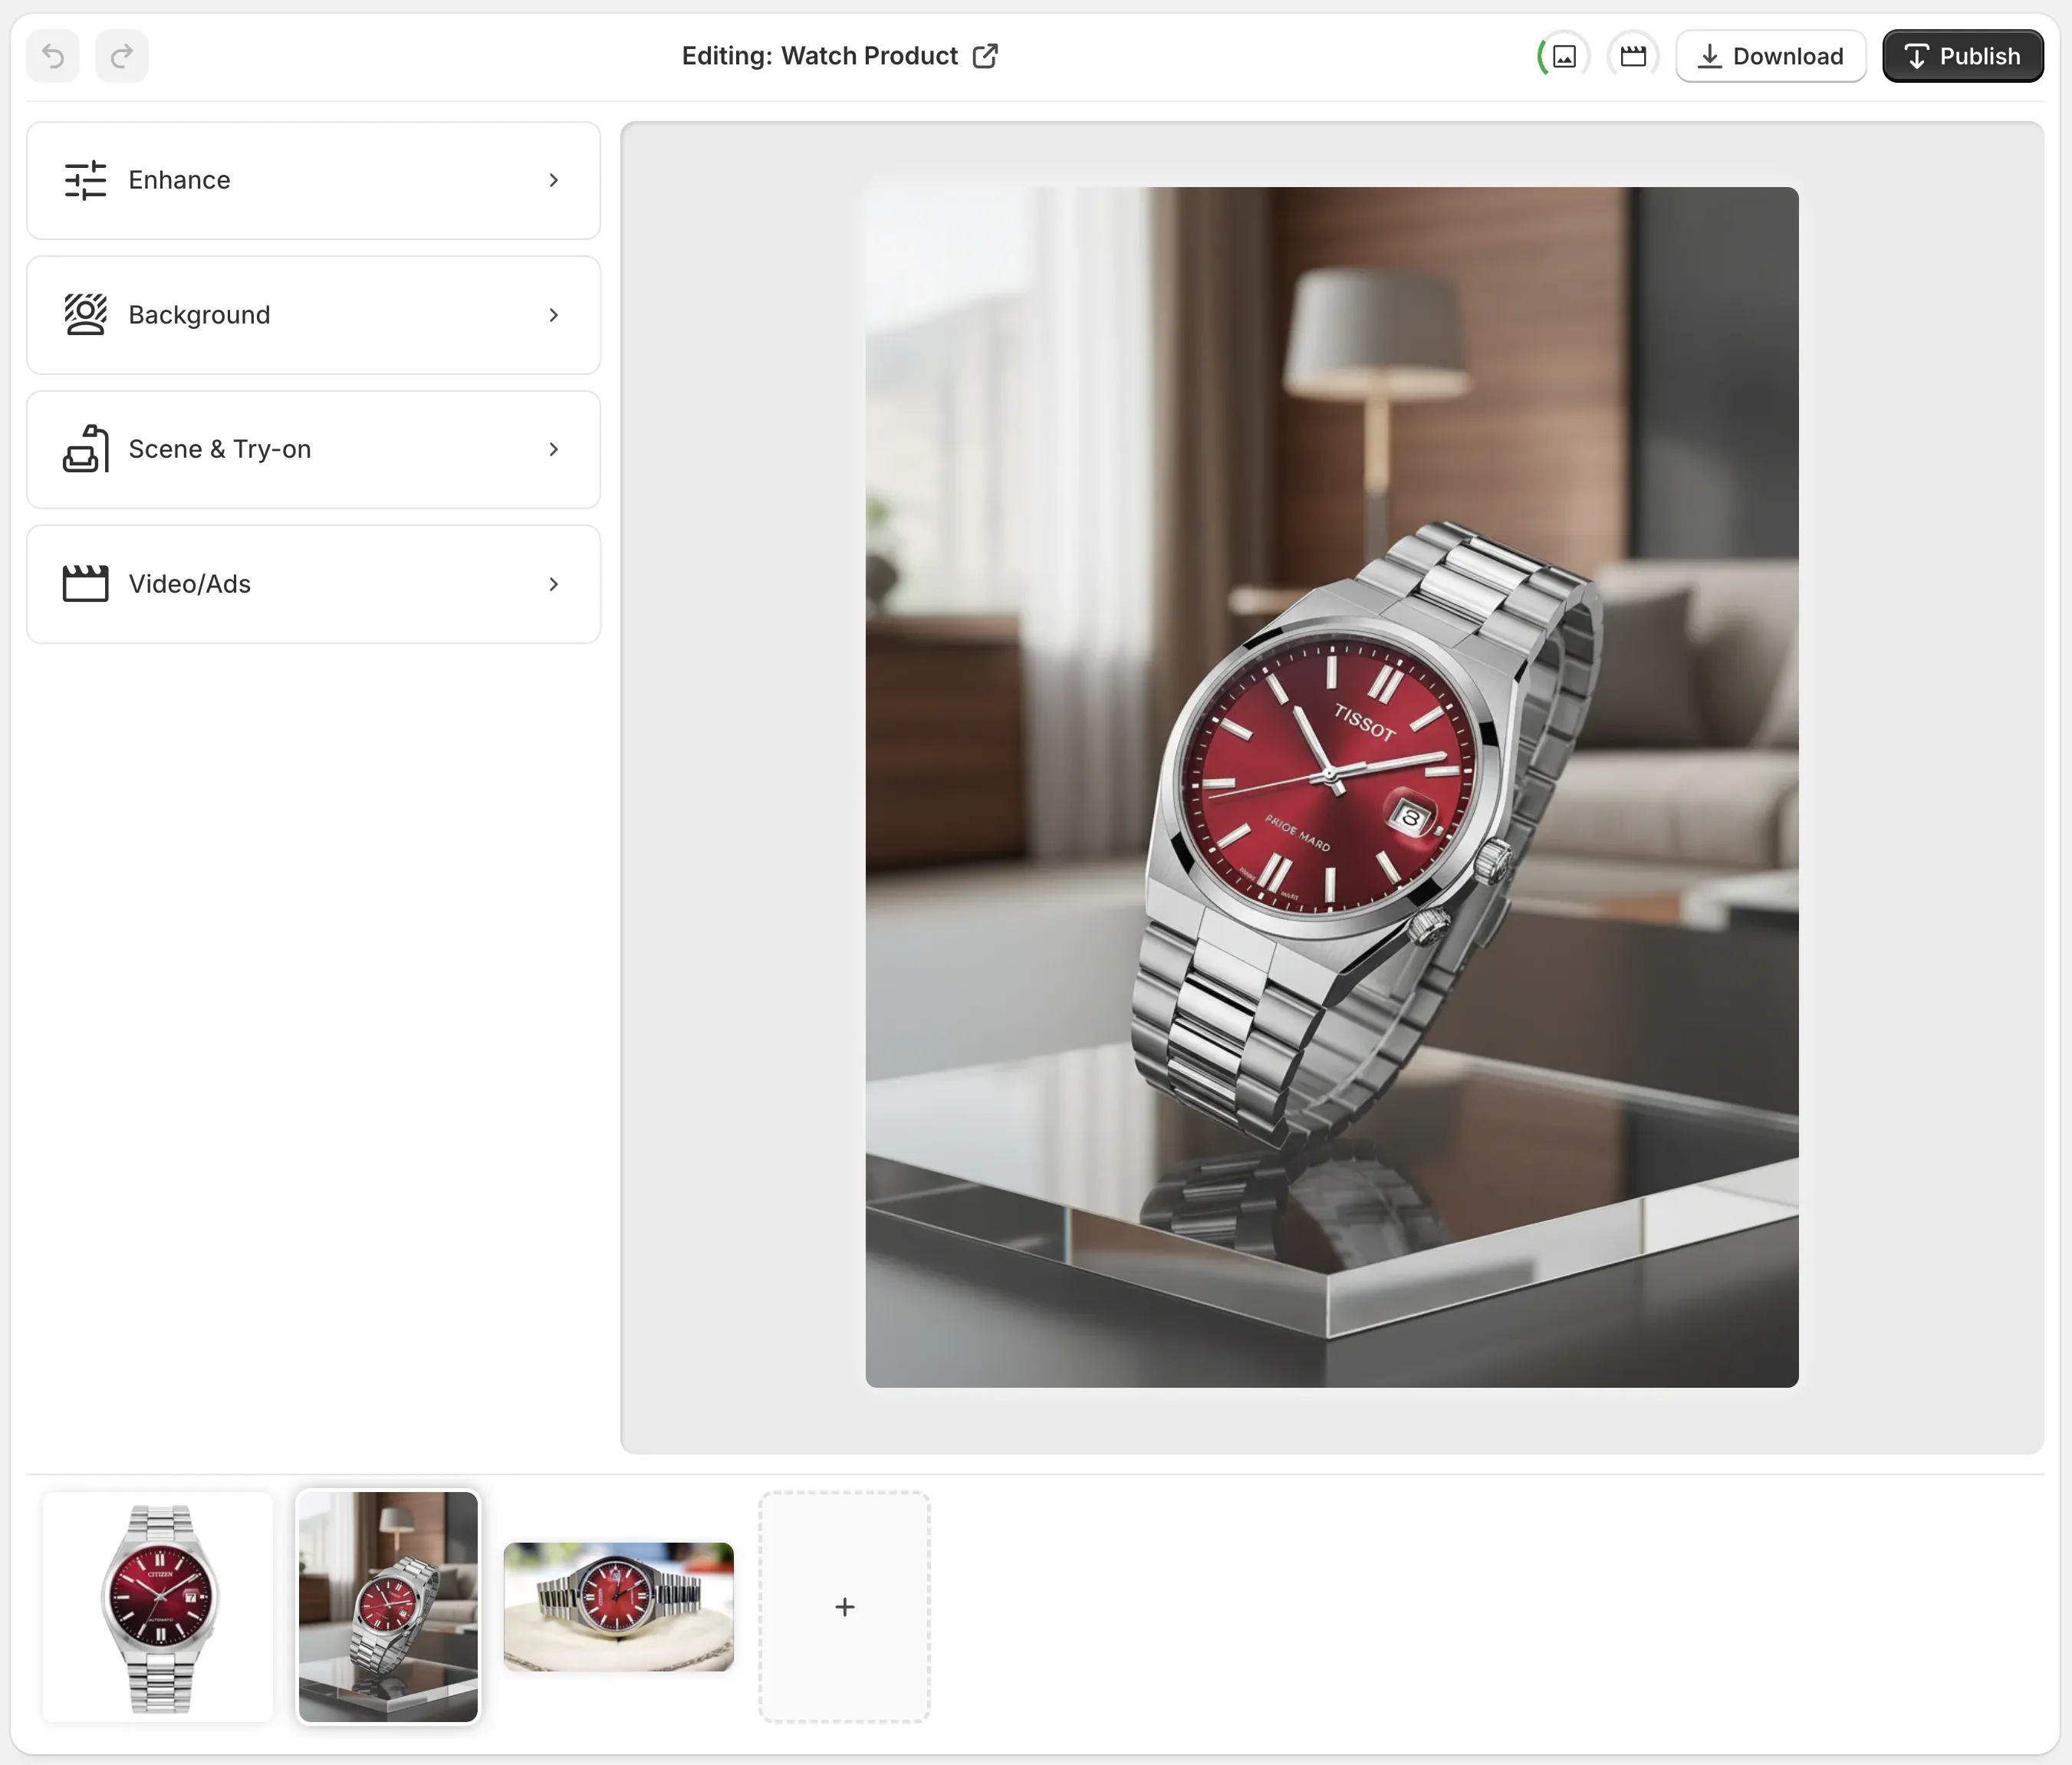
The point of this step is not to make the image pretty. It is to make the product easy for the model to understand so the final scene still looks like the same item. If you need a fuller example of the cleanup-first approach, How to Turn Plain Product Photos Into High-Converting Shopify Visuals is the closest companion read.
3. Match The Output To The Product Type
Not every product should use the same output mode. That is the same decision tree I used in How I Decide Which AI Edit a Shopify Product Photo Needs.
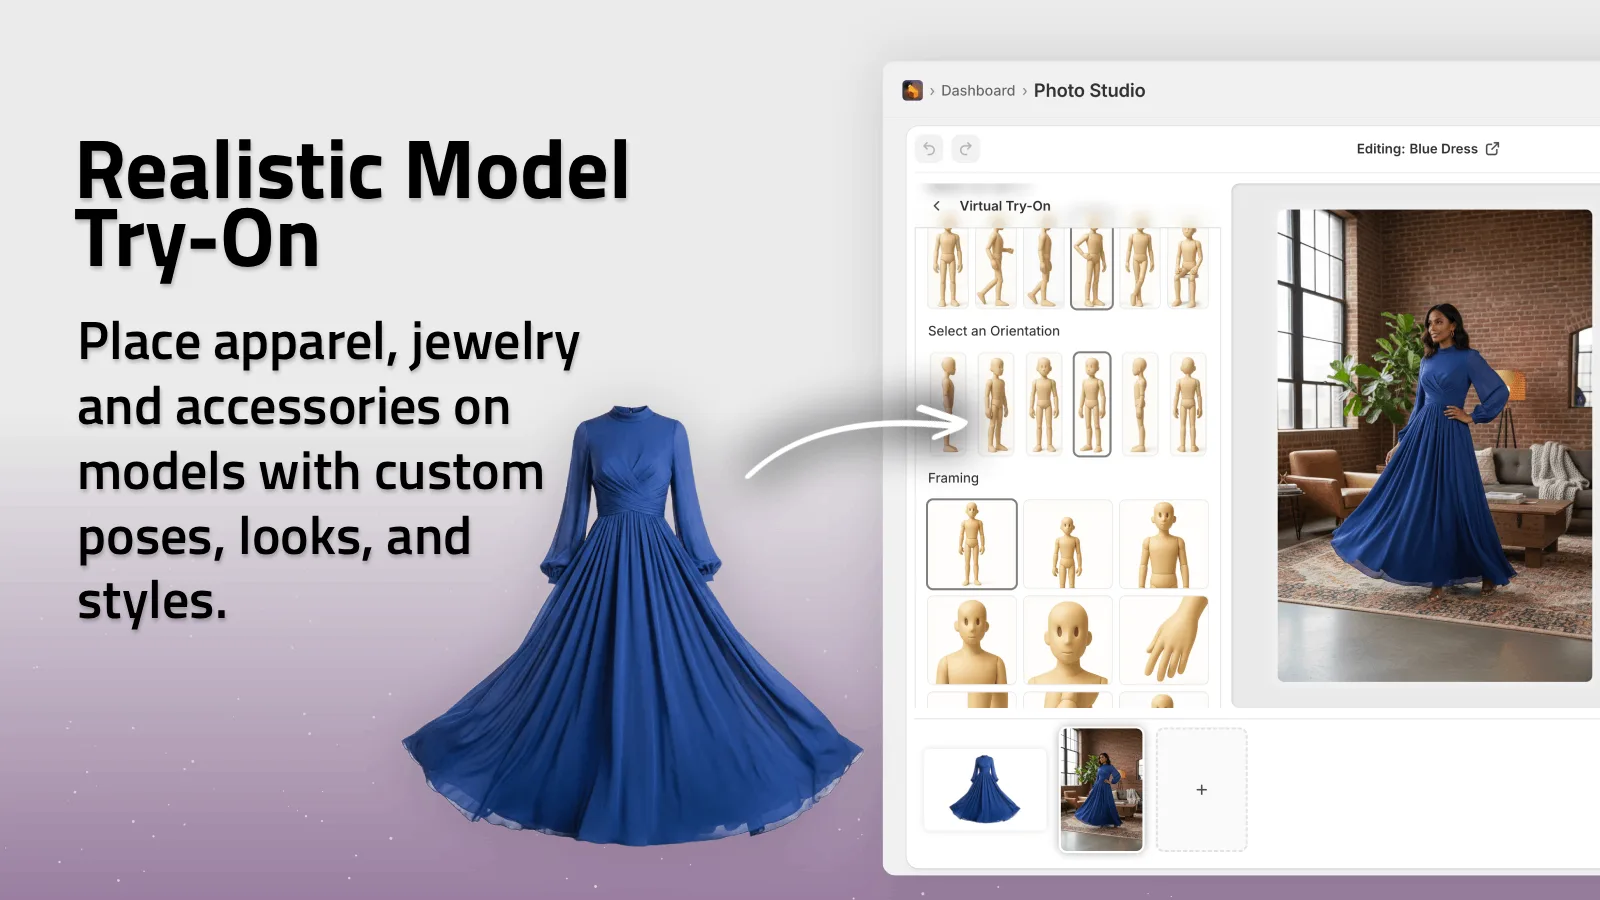
- Apparel, jewelry, and accessories usually work best with try-on images.
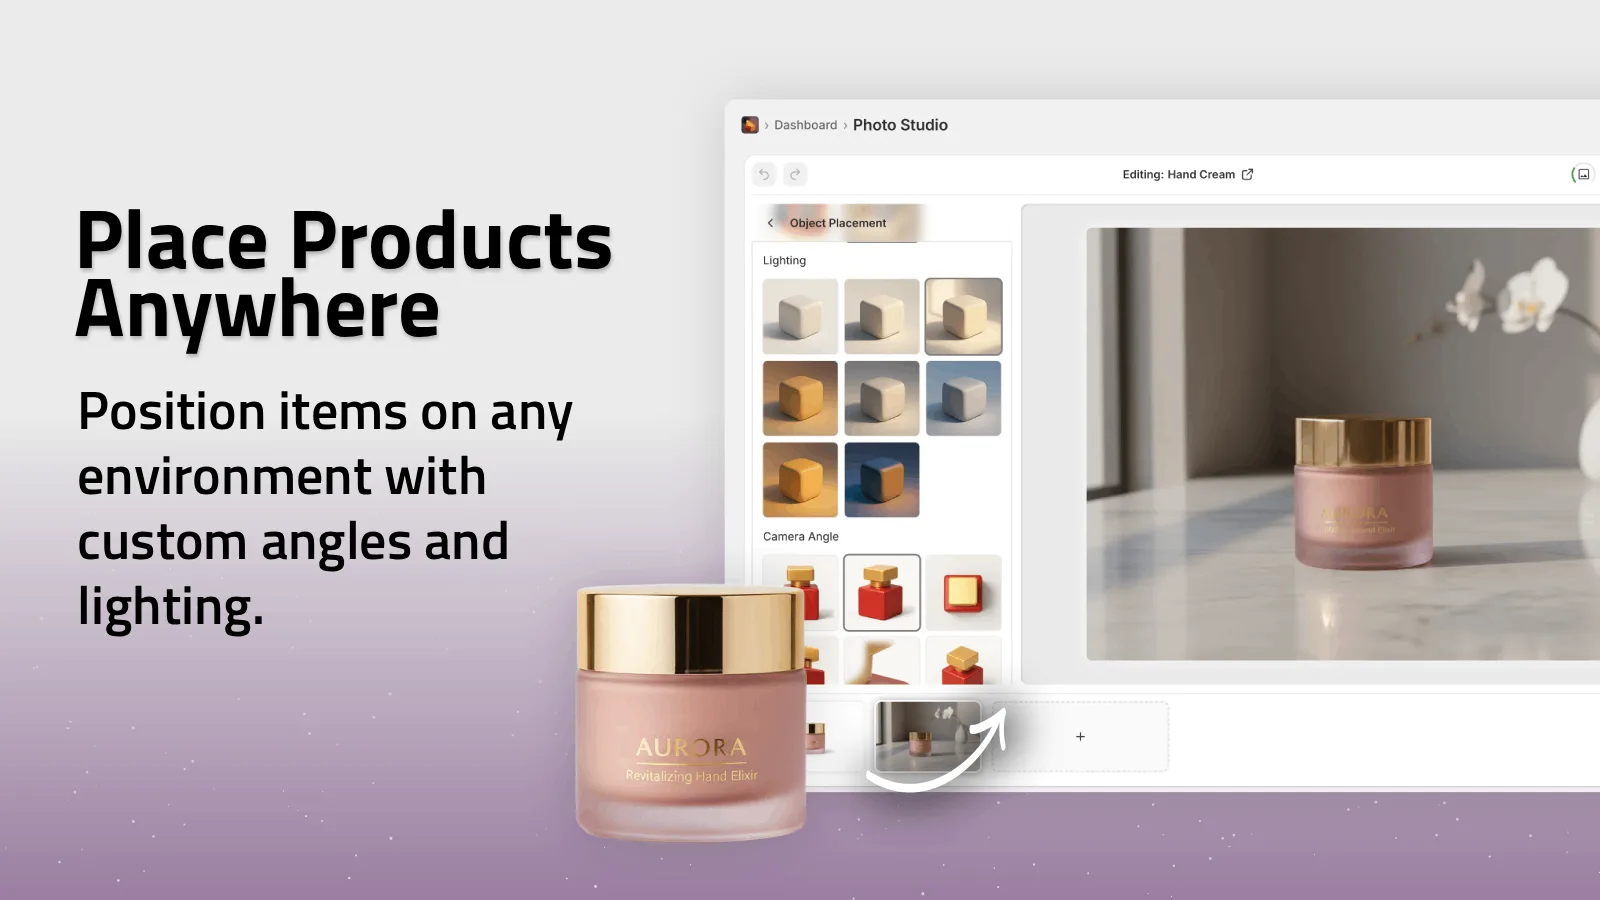
- Bags, home decor, and lifestyle goods usually work best with object placement.
- Logos and printed designs usually work best with mockups.
- Social ads and retention content often benefit from short UGC-style clips or b-roll after the still image is approved.
The important part is not choosing the fanciest feature. It is matching the product to the format that customers expect. A tote bag on a person reads differently than a tote sitting on a shelf.
4. Keep The Scene Believable On Purpose
Once the output mode is right, I tune the scene so it still fits the brand. Warm boutique scenes work for some stores. Clean interiors work for others. A premium brand should not suddenly look like a camping catalog, and a minimal store should not end up with a cluttered set just because the generator can make one.
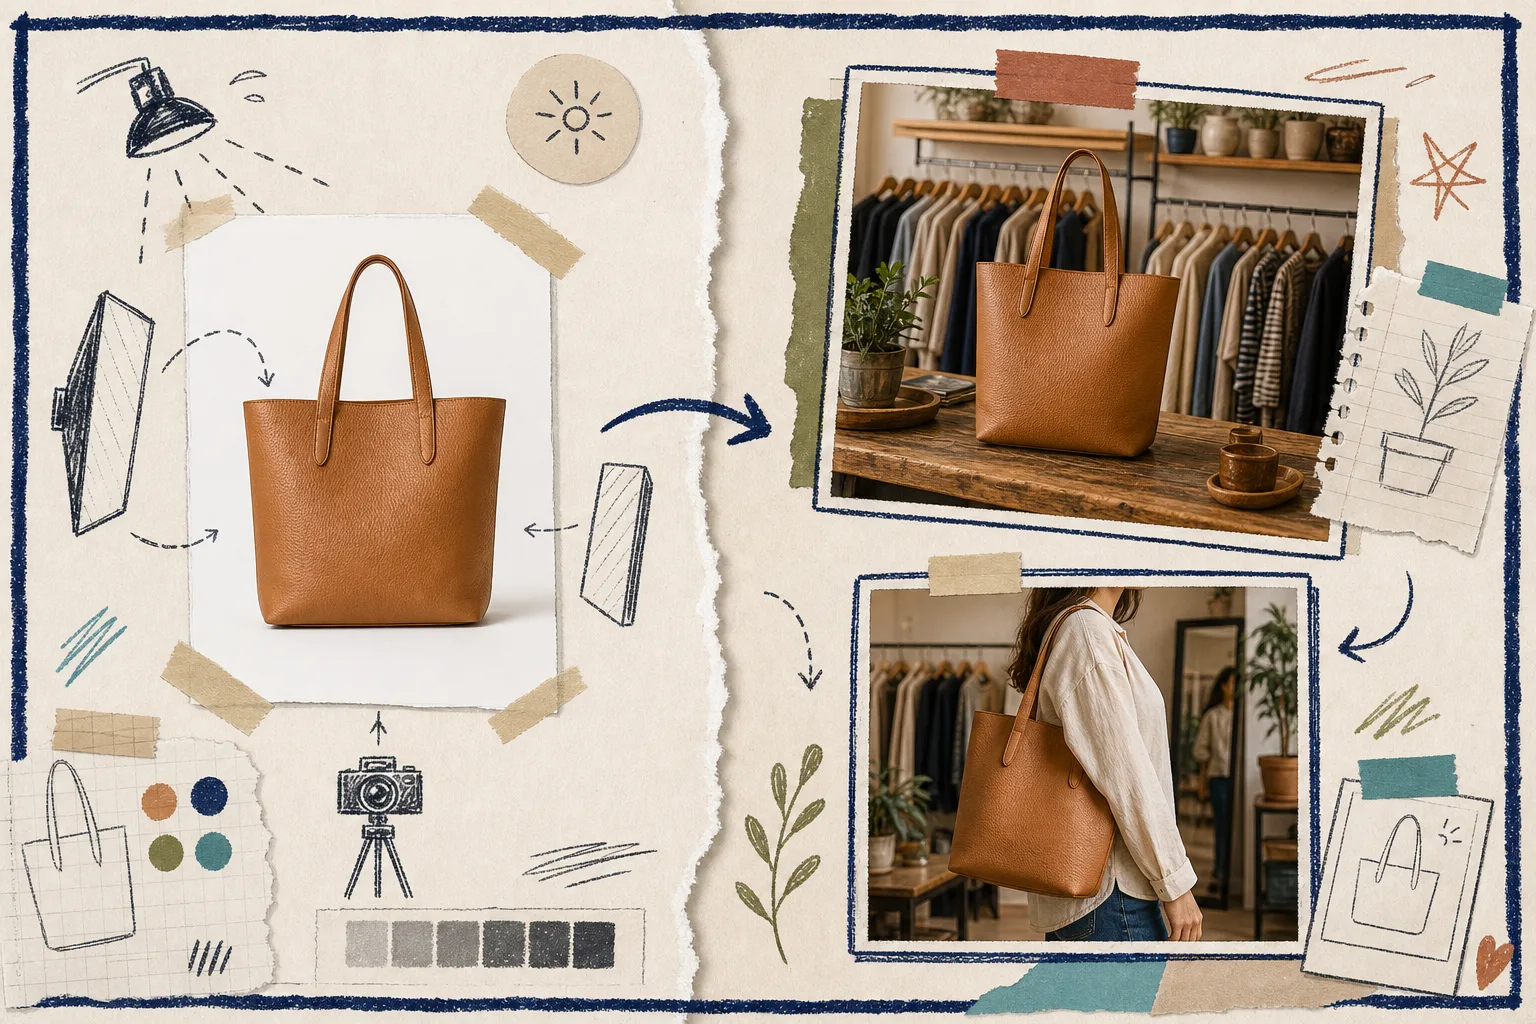
This is where consistency matters more than novelty. If the lighting changes too much from one product to the next, the catalog starts to feel patched together. For a broader view of building around one source image, How I Build a Shopify Product Photo Pipeline That Feeds Every Channel shows the system-level version of the same idea.
If you want the one-photo version of that pattern, How I Turn One Product Photo Into a Channel-Ready Shopify Asset Set shows how I split one source shot into multiple deliverables.
5. Add A Small Review Gate Before You Publish
I keep the review pass simple: compare the output against the original and check color, silhouette, logo placement, texture, and scene fit. If one thing is off, change one thing at a time. That makes it much easier to tell whether the source photo, the prompt, or the scene choice was the real problem.

That same discipline is useful on the publishing side too. If the output will support a product page, a blog post, and an ad, it needs to survive a second look. The free plan makes this easy to test on a single SKU before you touch the rest of the catalog.
6. Where Supra AI Photo Studio Fits In
If you already know which image needs cleanup versus placement versus try-on, the app is a good fit because it keeps the whole workflow in Shopify admin instead of bouncing you across separate tools. It is useful when you want to keep product pages visually consistent, make blog images feel like store assets instead of stock art, create a few test outputs from the same photo, and generate short video versions after the stills are approved.
For a more detailed example of the broader asset set, How to Build a Shopify Creative Stack From One Product Photo is worth reading after this.
If you want to try it, open the landing page or install the app from the Shopify App Store. Run one product through cleanup, one through placement, and one through try-on. Keep the version that still looks like a real storefront asset, not the one that just looks the flashiest.
Wrap-Up
The shortest path is simple: start with the best photo you already have, clean it before you stylize it, and choose the output mode that gives the customer the context they were missing. Do that, and the product photo stops being a dead end and starts feeding the rest of the store.
If you want to try the workflow on your own catalog, install Supra AI Photo Studio, run one product through cleanup and placement, and publish the first version that still looks believable.