
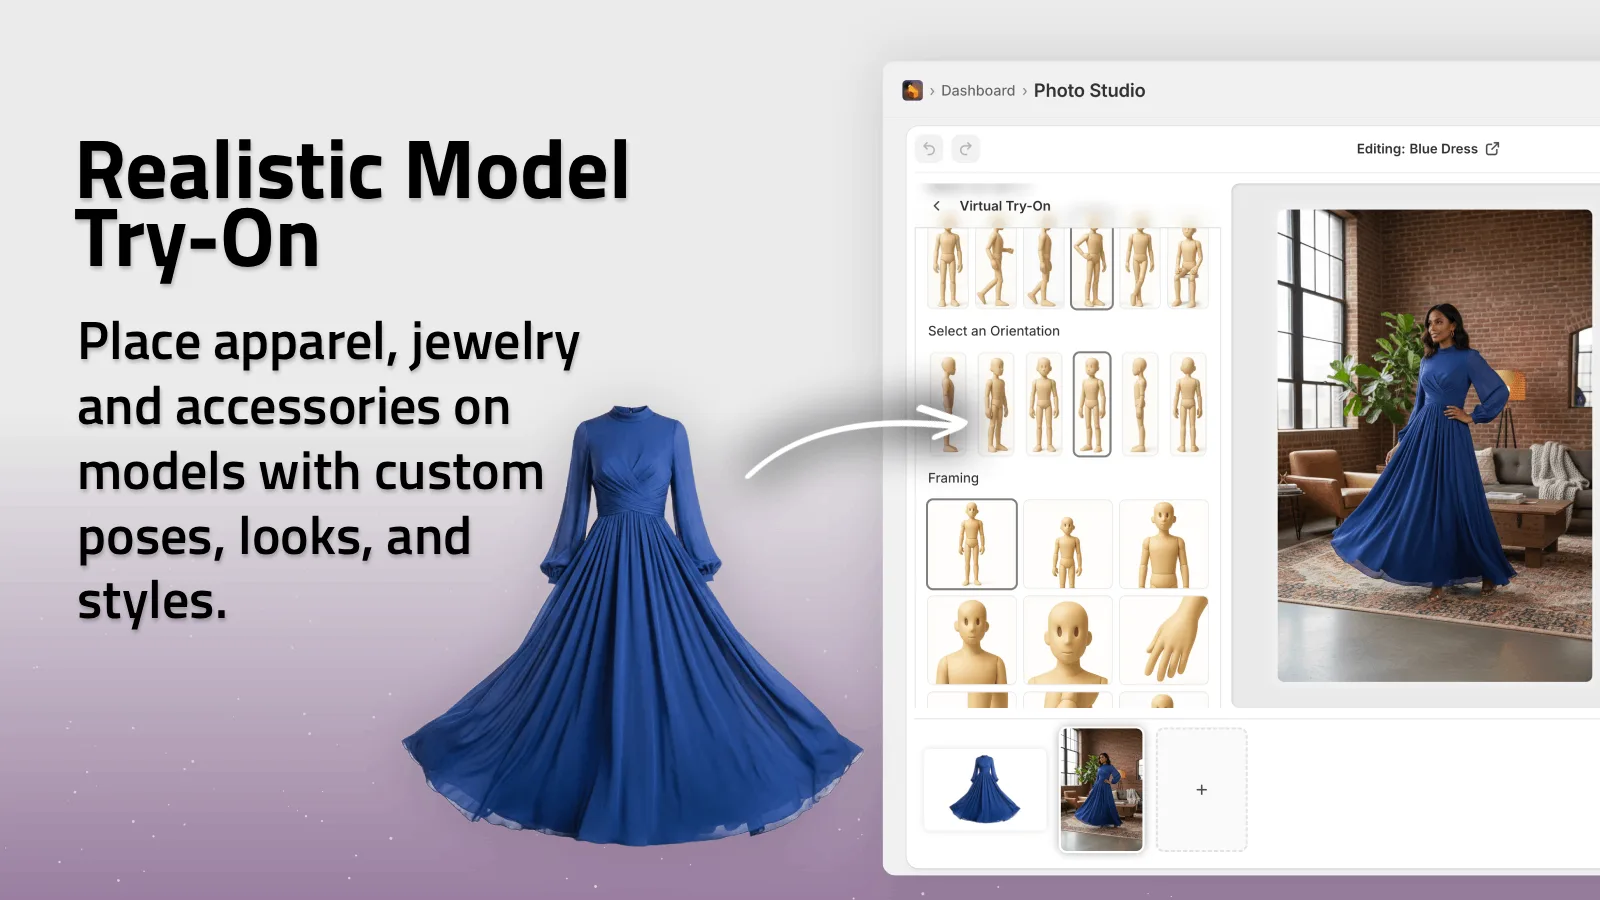
I keep seeing the same failure mode in small Shopify stores: the product is fine, but the photo does too little. The image is cropped awkwardly, the background fights the product, and the one good shot has to do all the work for the store, the ad, and social. Supra AI Photo Studio is the first tool I’ve found that makes that workflow feel like one pass instead of four separate jobs. Its landing page says the quiet part out loud: turn basic product photos into studio-grade visuals, model try-ons, lifestyle scenes, mockups, and short videos.
I like that there is a free plan, because the right way to test this is not with a massive launch asset list. It is with one ugly SKU photo, one pass through the editor, and one honest question: did this become easier to ship?
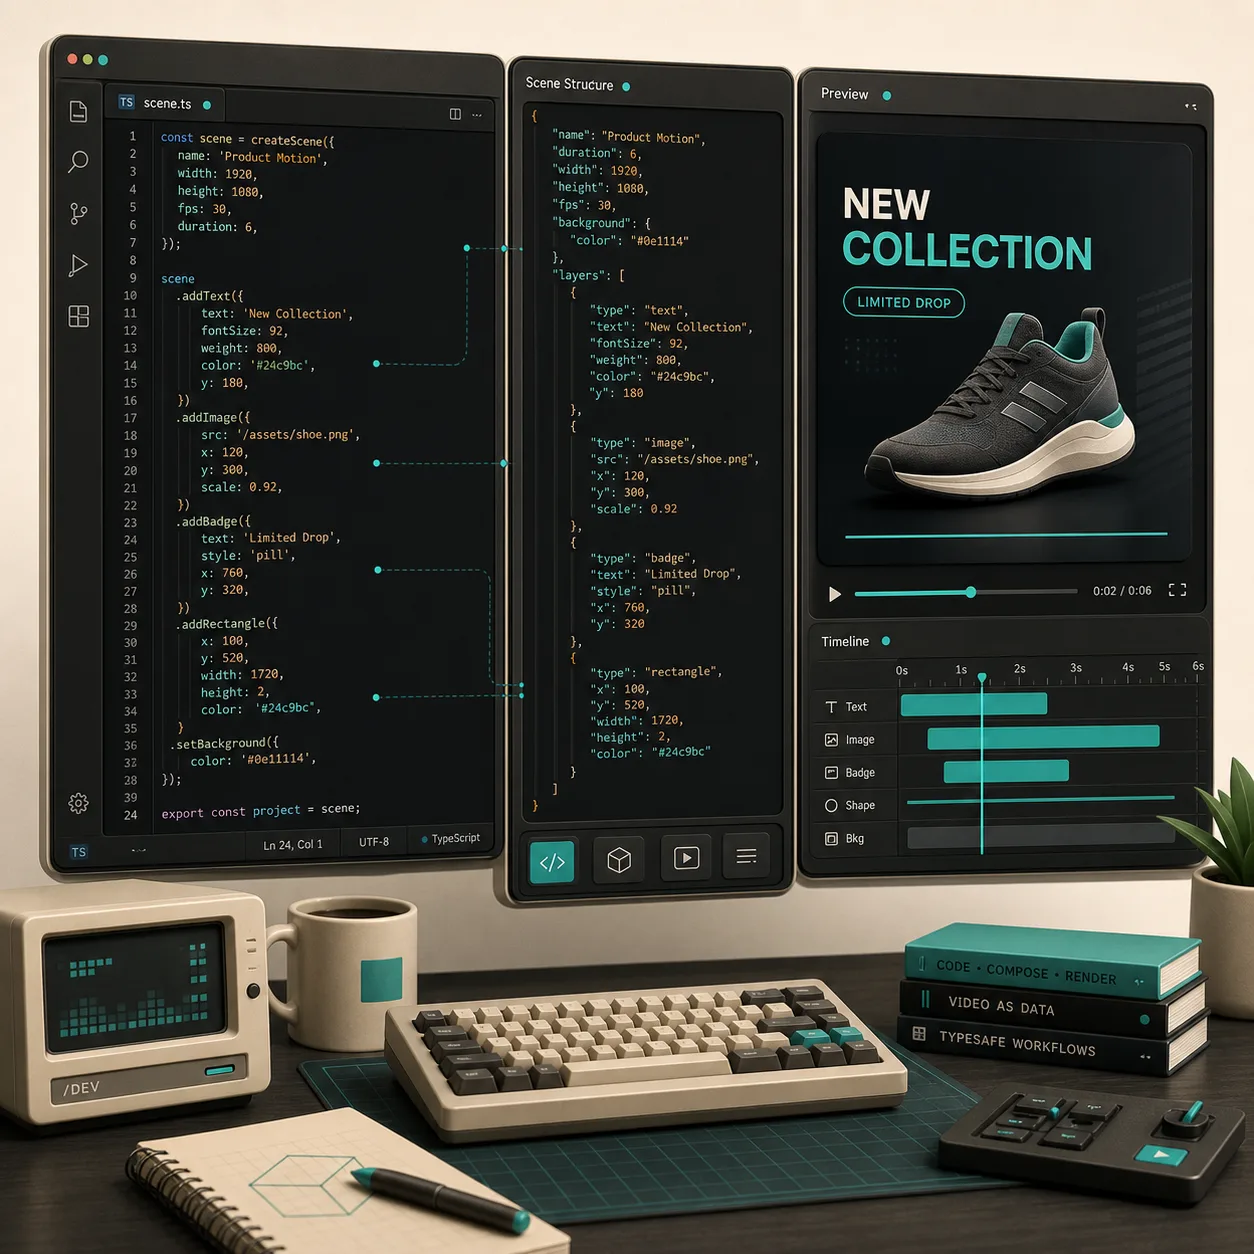
If you want the longer version of this systems view, I wrote about how I build a Shopify product photo pipeline that covers every channel and how I turn basic Shopify product photos into better assets. This post is the shorter field note: what I fix first, what I leave for later, and what I actually export.
1. Fix the source before you invent the scene
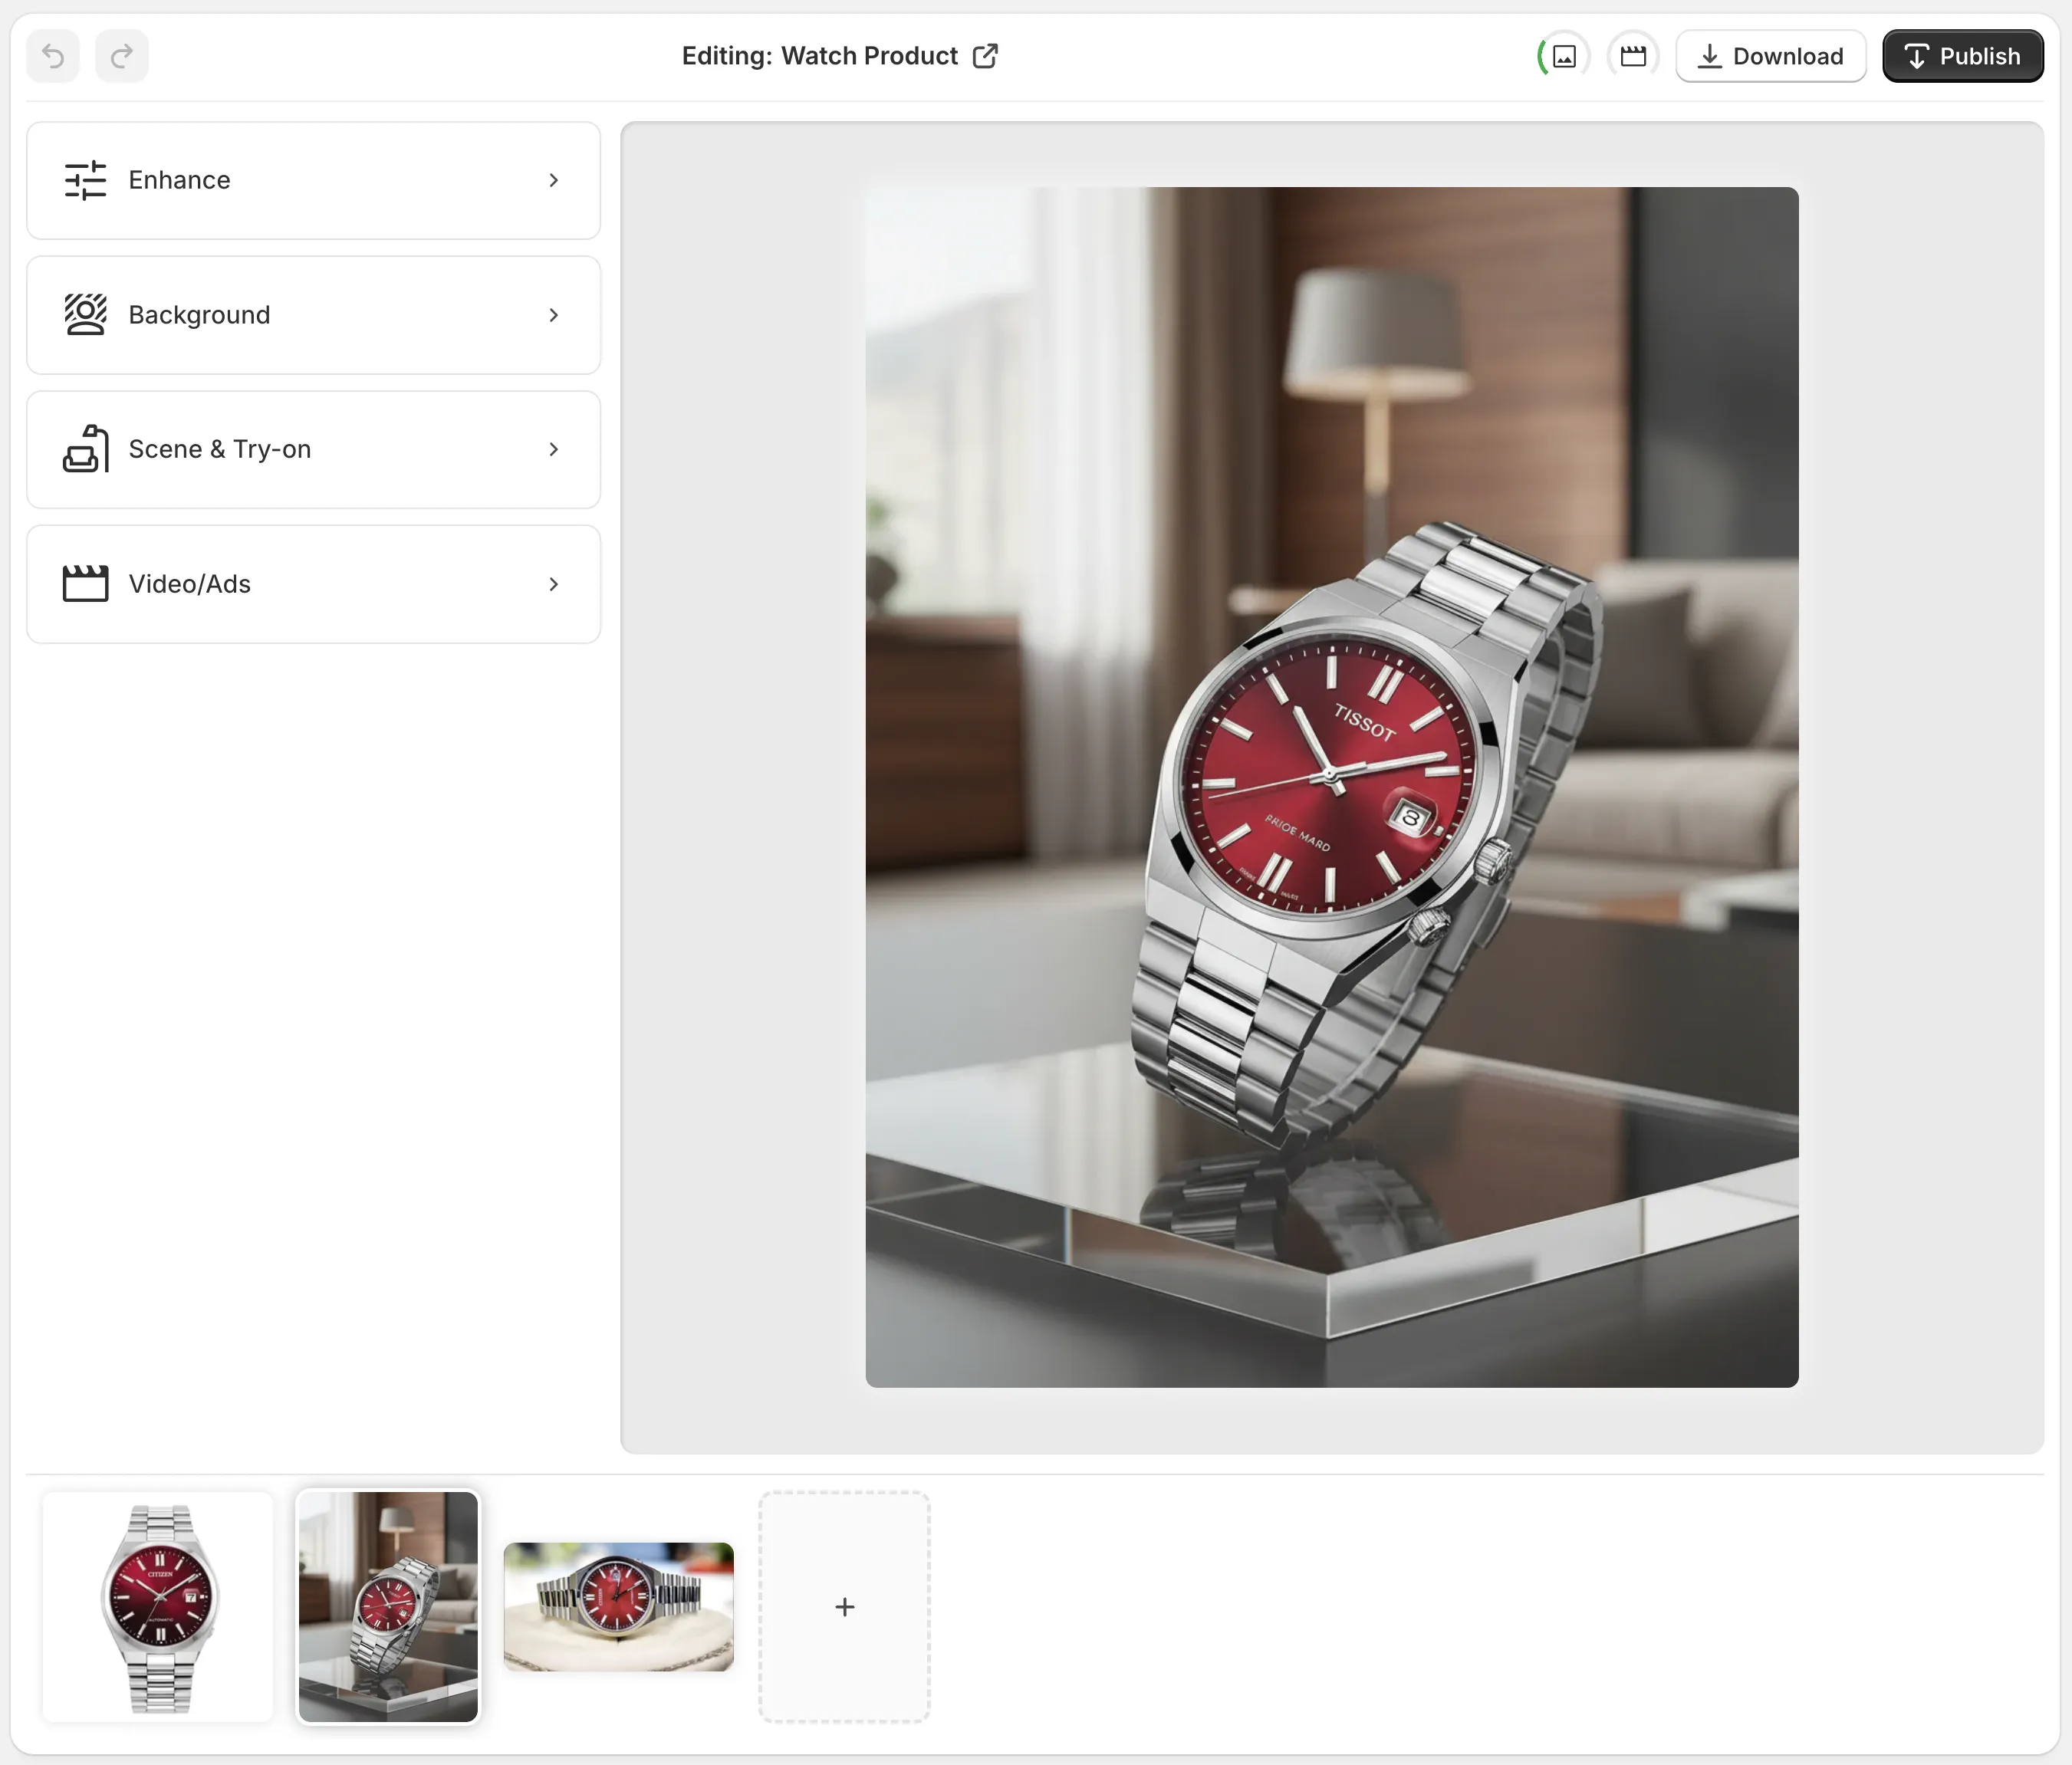
My first pass is boring on purpose. If the source image is blurry, noisy, or dull, I start with enhancement before I touch anything theatrical. Supra AI Photo Studio gives me the basic tools I want first: background removal, upscaling, and auto-enhance for color, lighting, and clarity.
That matters because every later step inherits the same base file. If the edges are rough, try-on looks rough. If the product is dark and muddy, placement scenes do not rescue it. If the crop is off, the ad still feels off. I would rather spend two minutes cleaning the base image than ten minutes trying to hide a bad original inside a fancier layout.
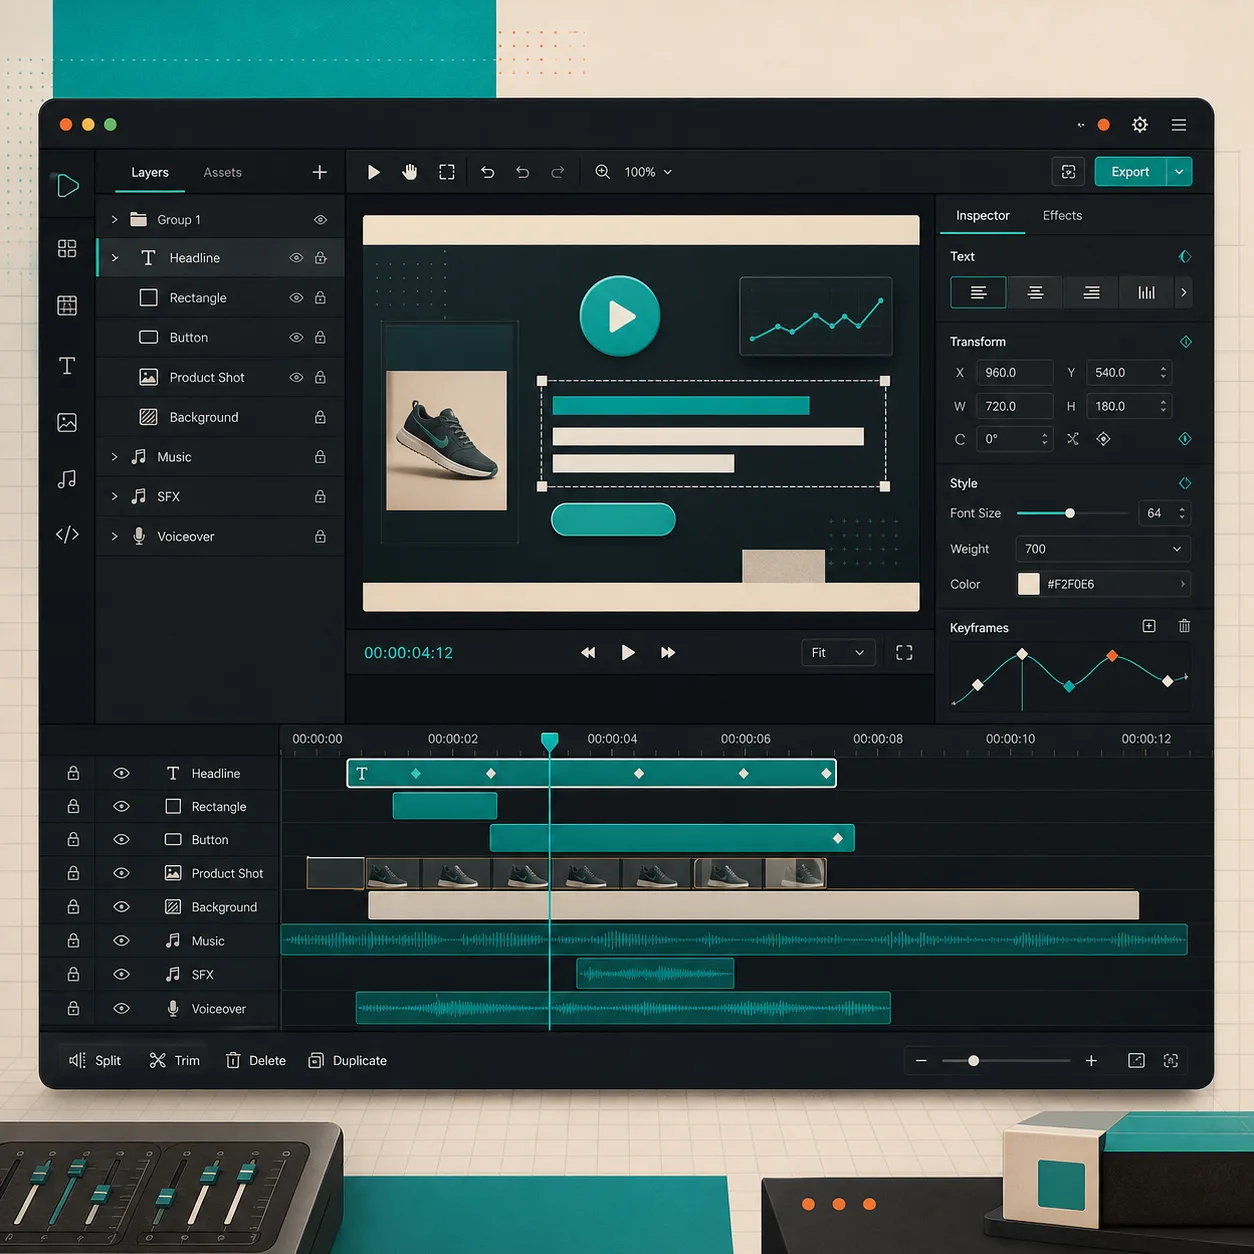
The editor view in the help docs is useful here because it reminds me that this is an editing workflow, not a magic button. The tool panel, canvas, and image gallery are all visible in one place, which is exactly how I want to think about the job.
2. Pick the output by job, not by feature
I do not start by asking which feature is coolest. I start by asking what the image has to do.
- If the product page just needs a cleaner catalog shot, I use enhancement, background removal, and upscaling.
- If fit, drape, or body context matters, I use try-on.
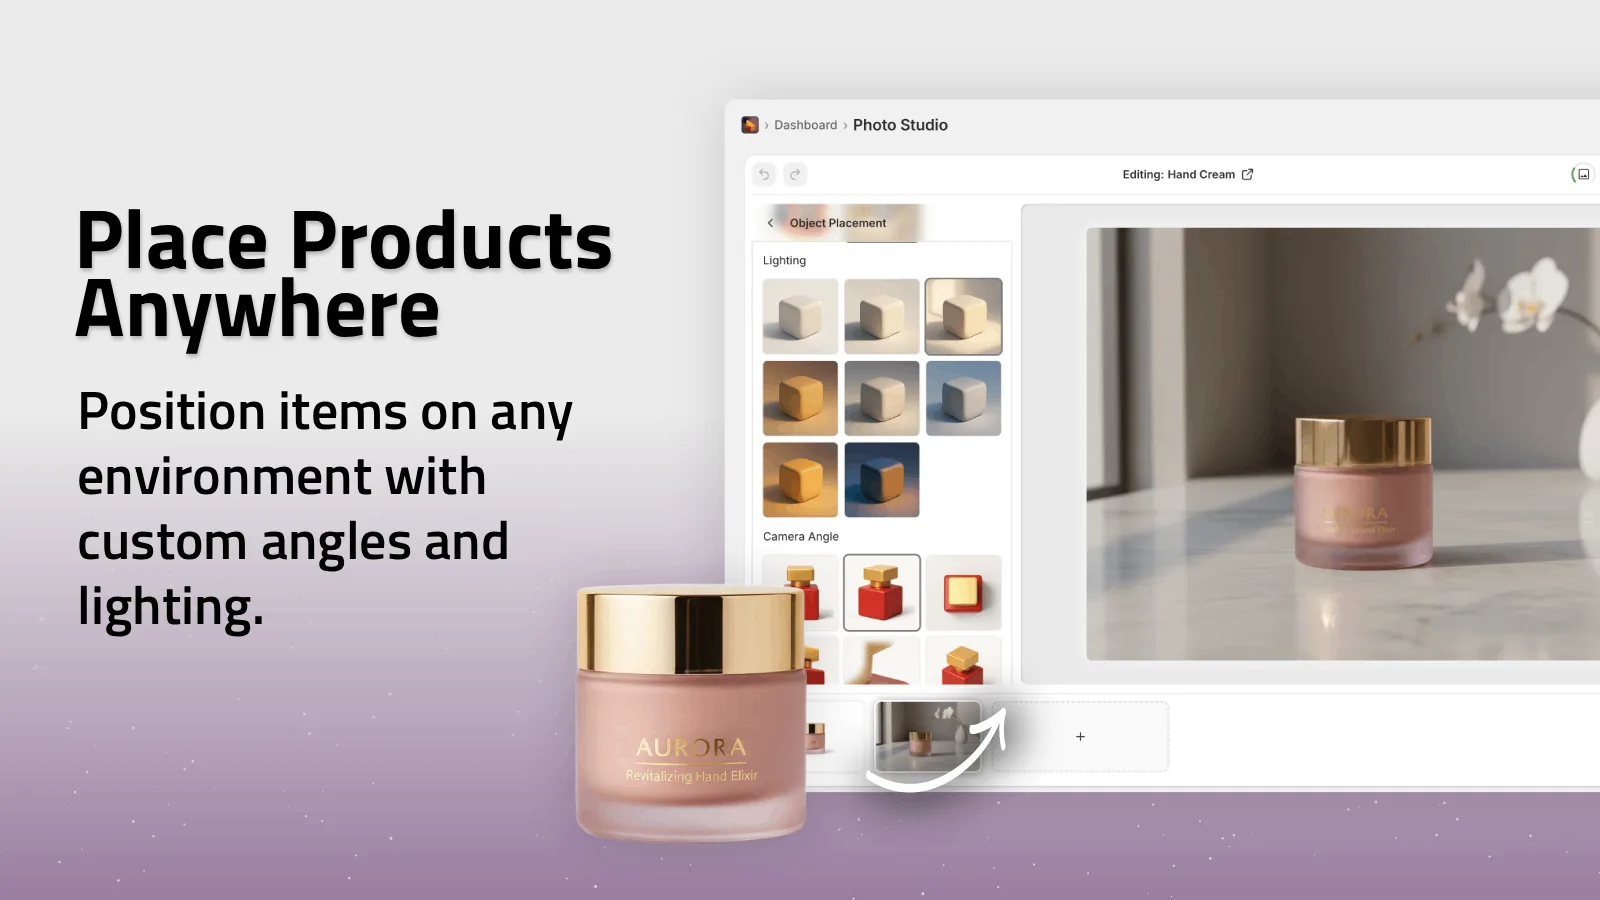
- If the product sells better in a room, kitchen, studio, or outdoor setting, I use object placement.
- If the static image is not enough for the ad channel, I move to motion.
That sounds obvious, but it is the decision that keeps the workflow from turning into random experimentation. A lot of teams open an AI image tool and immediately start chasing style. I get better results when I treat each output as a job-to-be-done.
When I want the fuller version of that decision tree, I cross-check it against how I turn one product photo into try-on, lifestyle, and ad assets and how I turn one product photo into a Shopify creative kit. The value is not the feature list. The value is choosing the smallest useful output.
Try-on and placement solve different problems
Try-on answers a human question: what does this look like on a person? Placement answers a context question: what does this look like where someone would use it? Those are not the same thing, and I do not force them to be.
If I am working with apparel, jewelry, or accessories, the try-on branch usually comes first. If I am working with home goods, cosmetics, or electronics, placement scenes usually give me more value. The app listing’s examples make that split easy to see, especially the model try-on and environment placement shots.
3. Use motion after the stills are stable
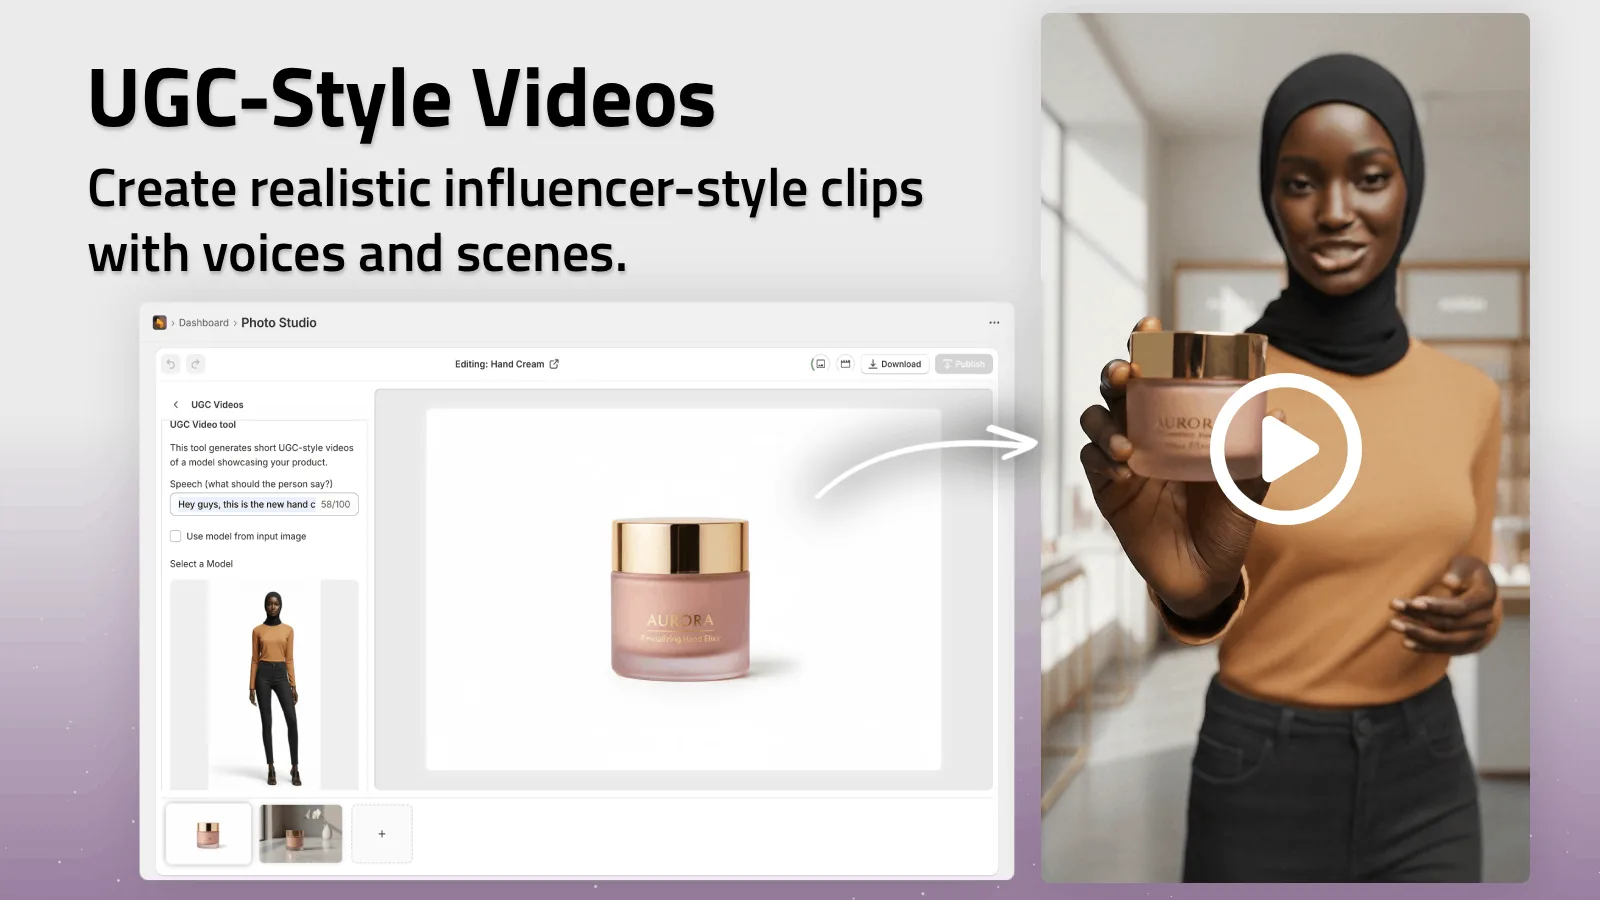
Only after the still images are clean do I think about motion. That is the branch where Supra starts acting like a lightweight creative engine instead of a photo editor. The product page calls out UGC videos and b-roll, and that is the right framing. I am not trying to replace a production team. I am trying to make one still shot usable in more places.
For me, motion is usually the last mile: a short clip for a paid social test, a product drop effect for launch week, or a b-roll variation that gives the ad team a second option without another shoot.
If you want the video-only version of this play, the closest match in the archive is how to create UGC-style Shopify product videos without a shoot. That post is the reminder I need when I am tempted to overcomplicate a clip that only needs to survive a paid test.
4. Package the set, not the hero image
The part people usually skip is the packaging. I do not want one good photo. I want a small creative kit: one clean catalog shot, one lifestyle version, one try-on or placement version, and one short motion asset. That gives me enough material for the product page, social, ads, and email without starting from scratch every time.
That is also where Supra AI Photo Studio feels practical instead of aspirational. The workflow is simple enough to repeat, but broad enough to cover the channels that actually matter. If you are trying to make a store feel consistent across the catalog, the same logic shows up in how I build a Shopify product photo pipeline that covers every channel and how I turn one product photo into try-on, lifestyle, and ad assets.
The practical test
If you have a pile of product photos that are technically fine but visually weak, do not start by commissioning a full reshoot. Pick three SKUs that already have traffic, run them through the simplest clean-up pass first, and then branch into try-on, placement, or motion only where the product needs it.
That is the smallest useful test I know. It is also the easiest way to see whether Supra AI Photo Studio is helping you ship better assets or just giving you more options to stare at.
If you want to try it, start with the app listing, open the landing page, and make the first pass on one bad photo today.