

I kept trying to solve a small problem with a large tool.
I did not want a new hosted agent layer. I wanted the Claude Code session I already trust, but scriptable from bash and TypeScript. That is the niche dash-p fills.
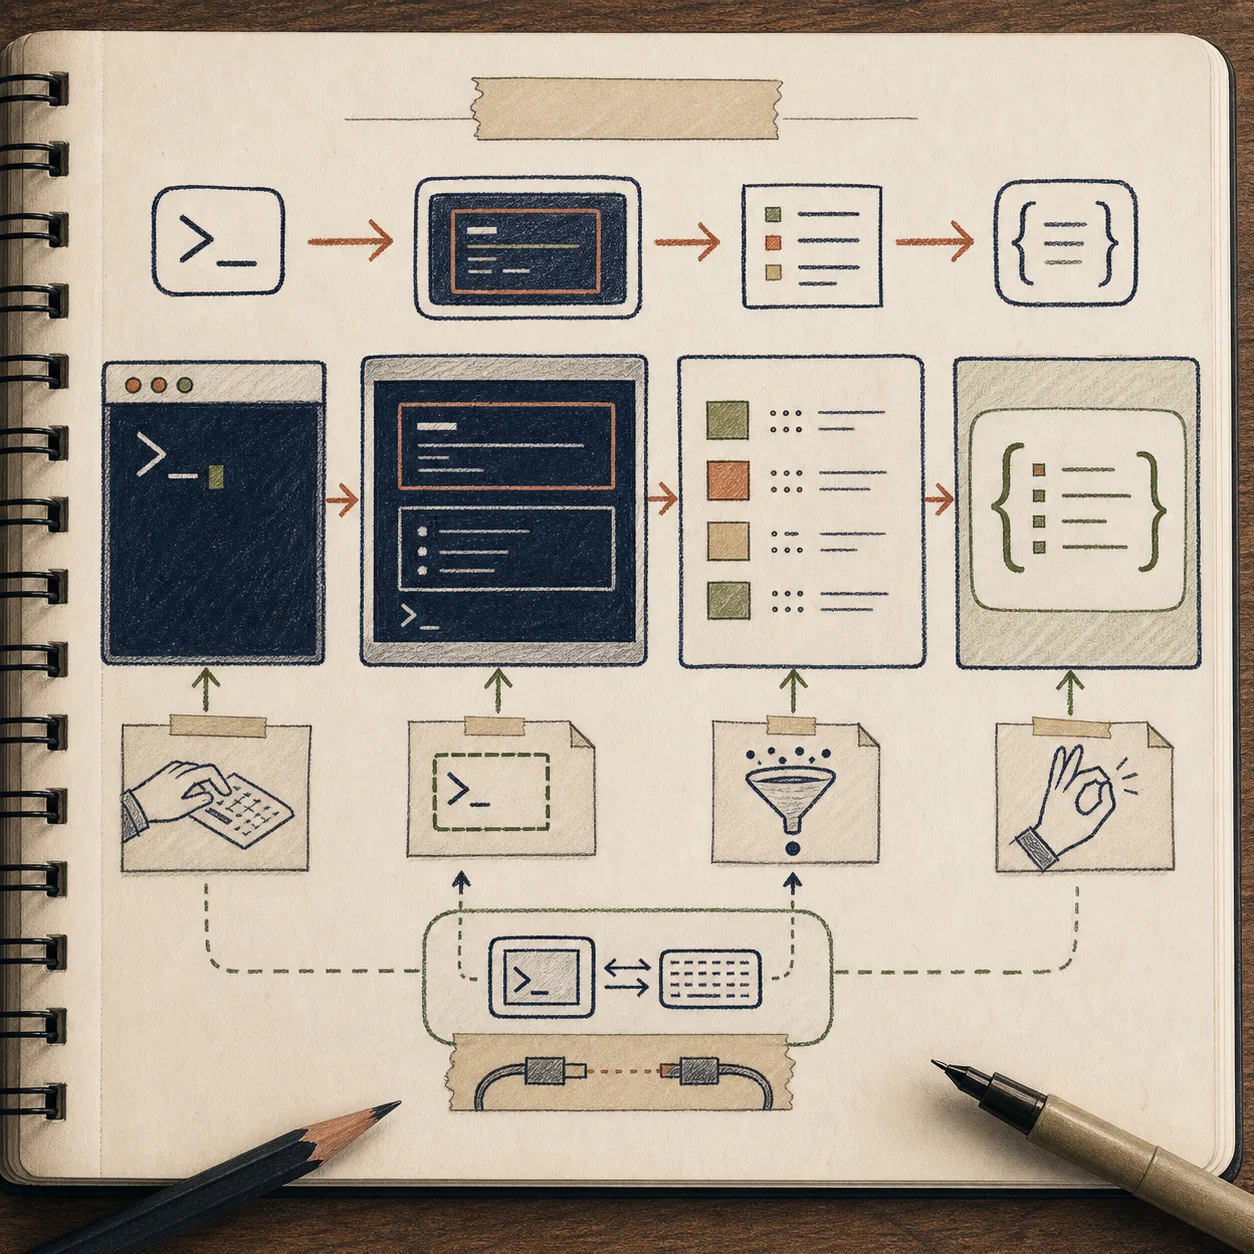
dash-p launches the official claude command, types into the real interactive TUI, and reads the rendered output back into something a script can use. It does not fake the session or swap in an unofficial protocol. It makes the terminal itself composable.
If you want the bash-only version of this idea, I wrote the short form in How I Script Claude Code From Bash Without Switching to the Agent SDK. If you want the more general local-wrapper angle, How to Automate Claude Code From a Local Script With dash-p is the companion piece.
Why I Reach For It
When I use a tool like this, I am usually after one of three things:
- run a repo summary from a shell script
- turn a local prompt into structured output I can pipe somewhere else
- keep my normal Claude Code login and permissions instead of rebuilding the workflow around a separate automation path
That last point matters. Anthropic’s current help docs say paid-plan usage is shared across Claude and Claude Code, and they also call out usage credits if you need to continue past the included limit. They also warn that an ANTHROPIC_API_KEY on the machine changes authentication to API billing instead of the subscription path. That doc is worth reading before you wire anything into a bigger script.
The Setup I Actually Use
The install path is boring on purpose.
npm install -g @ybouane/dash-p
dash-p "summarize this repo"
If I do not want a global install, I use npx:
npx @ybouane/dash-p "what changed in this repo?"
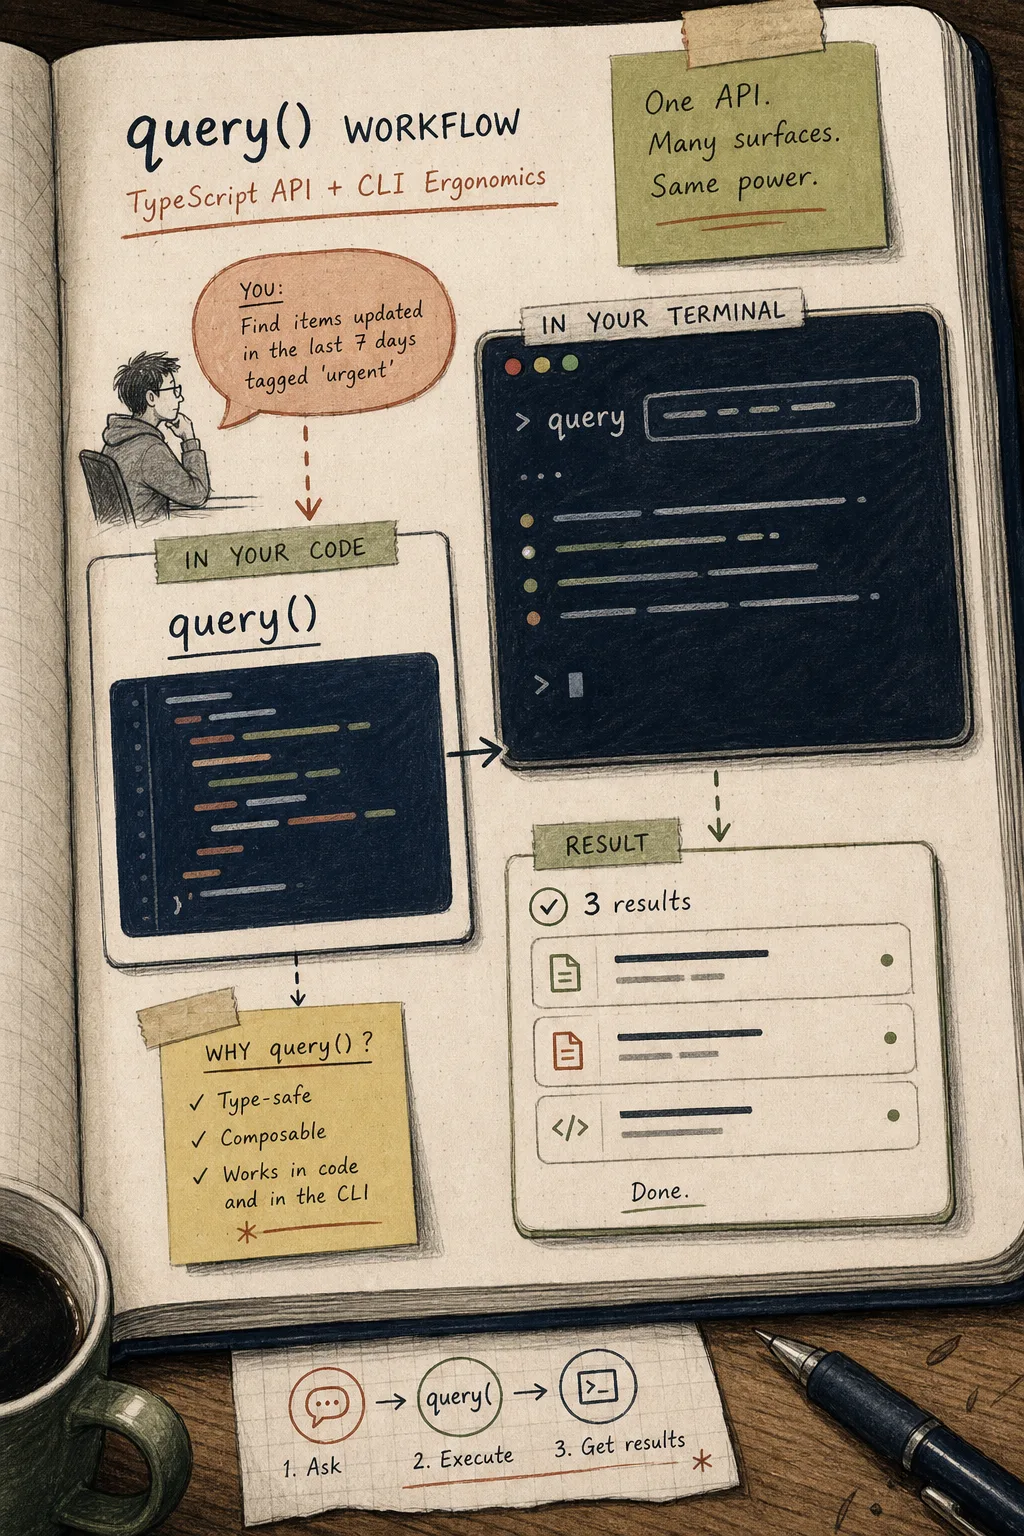
And if I want to compose it into a TypeScript workflow, I use the query() shape:
import { query } from "@ybouane/dash-p";

for await (const msg of query({
  prompt: "Summarize the repo in five bullets",
  options: { model: "sonnet", includePartialMessages: true },
})) {
  if (msg.type === "result") {
    console.log(msg.result);
  }
}
That last example is why I think this tool is more interesting than a shell wrapper. It gives me a small API surface without asking me to abandon the real Claude Code session.
Where I Would Be Careful
The tradeoff is straightforward:
- it requires the official
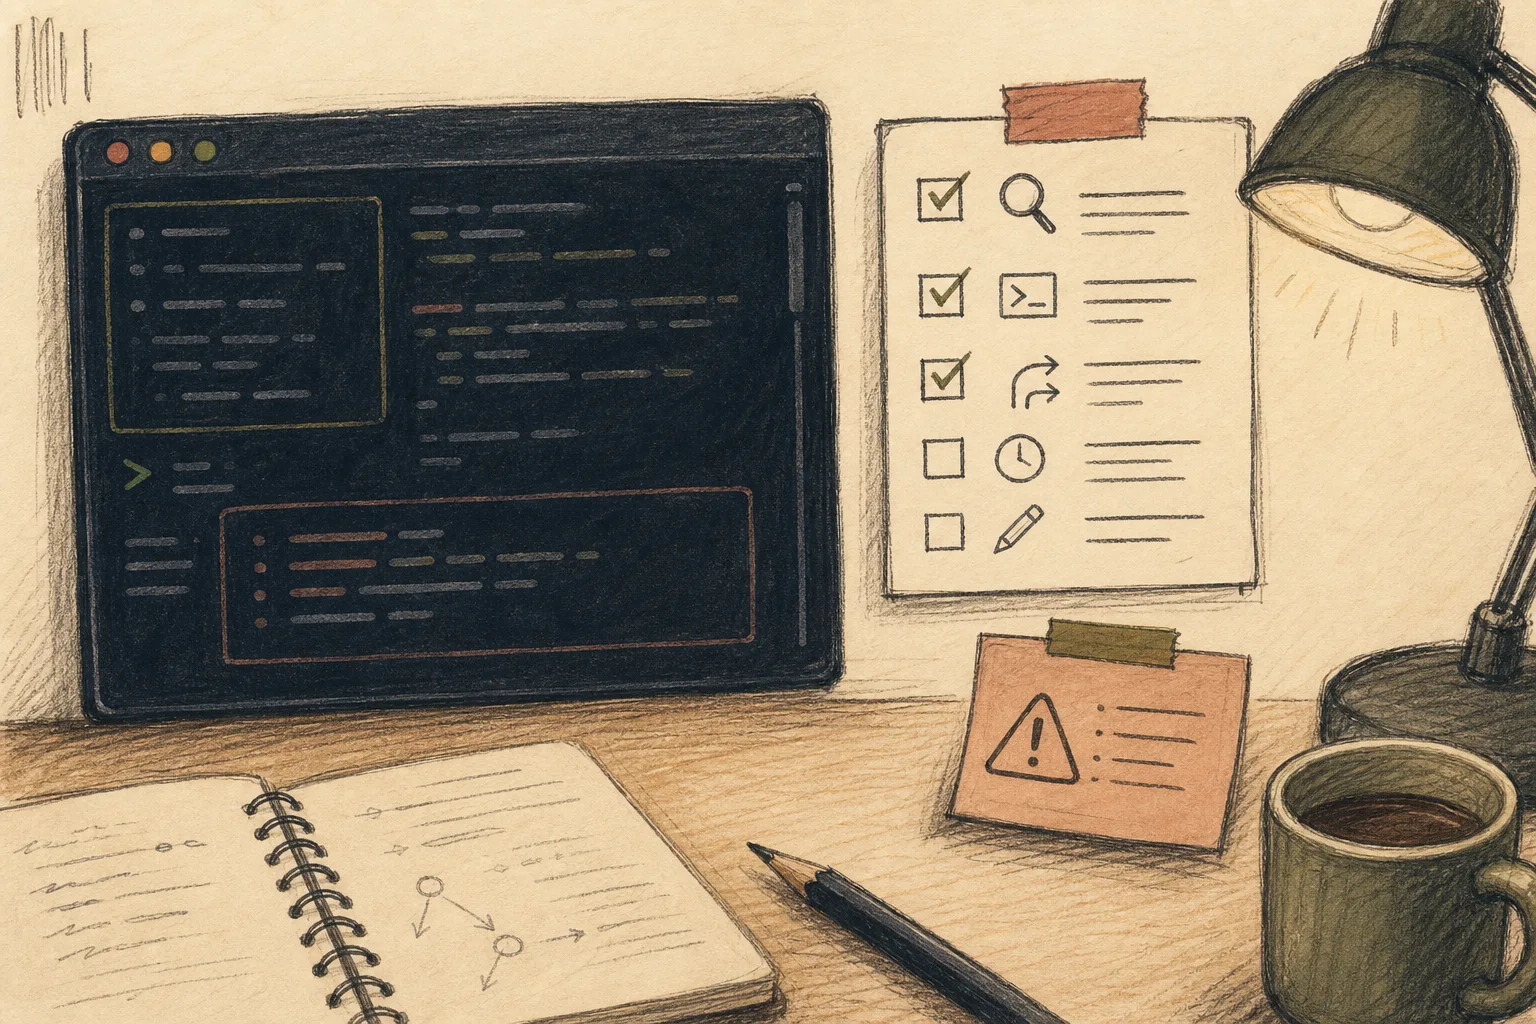
claudeCLI and a logged-in local session - the TUI is still a UI, so a rendering change can break scraping
- it is strongest for local scripts, prototypes, and personal workflow automation, not for a production backend that needs hard guarantees
That is also why I keep the outputs small and inspectable. The same instinct shows up in How to Build Subscription-Aware Claude Code Automations Locally and in How I Turn a Prompt Into Structured VideoJSON With VideoFlow. I want the first pass to be understandable before I let any automation run farther than it should.
What I Would Try First
If I were introducing this into a real workflow today, I would start with one local task:
- summarize the repository
- extract a clean JSON result
- run one prompt from a shell script and inspect the output
- only then chain it into anything bigger
That keeps the failure mode small. It also keeps you honest about why you are using dash-p in the first place.
Bottom Line
If you already trust Claude Code in the terminal, dash-p is a practical way to make that session scriptable without pretending the terminal is something else. Install it, try one local repo task, and decide whether the real value is the API shape, the terminal semantics, or both.
The repo is on GitHub, and the package name is @ybouane/dash-p.