
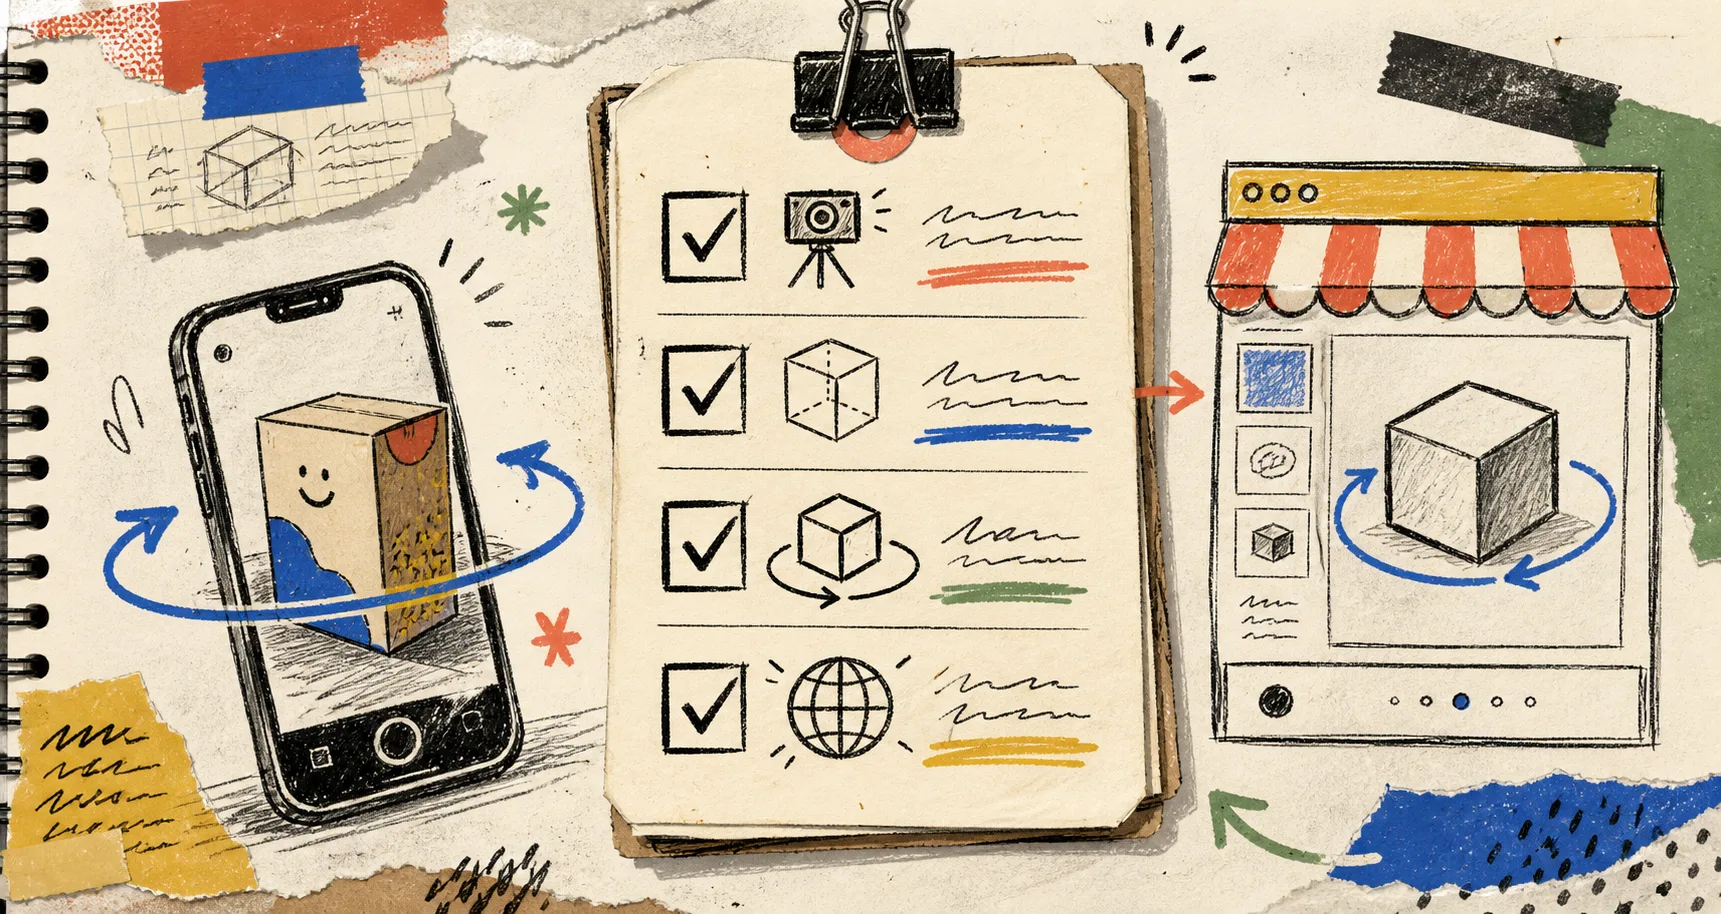
I learned the annoying version of this lesson the usual way: a model can look finished when the GLB arrives and still be the wrong thing to put in front of a shopper. The capture may have a soft edge, the spin may expose a strange seam, or the model may technically publish while doing very little to help someone decide.
That is why I now make a small handoff card between a phone capture and a live Shopify product page. It is not a grand 3D program. It is one practical pause that asks: is this model honest, useful, and placed where a shopper can find it? For merchants using Supra 3D Capture, the workflow stays pleasantly short: take the guided phone photos, let the app process a web-ready GLB, then publish it as Shopify media or through an Online Store 2.0 app block. The card makes the last mile less accidental.
The Card Starts Before the Model Exists
My first box is called capture intent. I write one sentence about the customer question the model needs to answer. For a boot, it might be: show the toe shape, sole depth, and ankle profile better than the photo gallery does. For a ceramic mug, it might be: show scale and handle shape from every angle.
That sentence prevents a common detour: scanning an item merely because 3D is available. The first SKU should have shape, texture, or proportions that static images leave ambiguous. If you are still choosing that first item, my first-SKU pilot notes are the companion exercise.
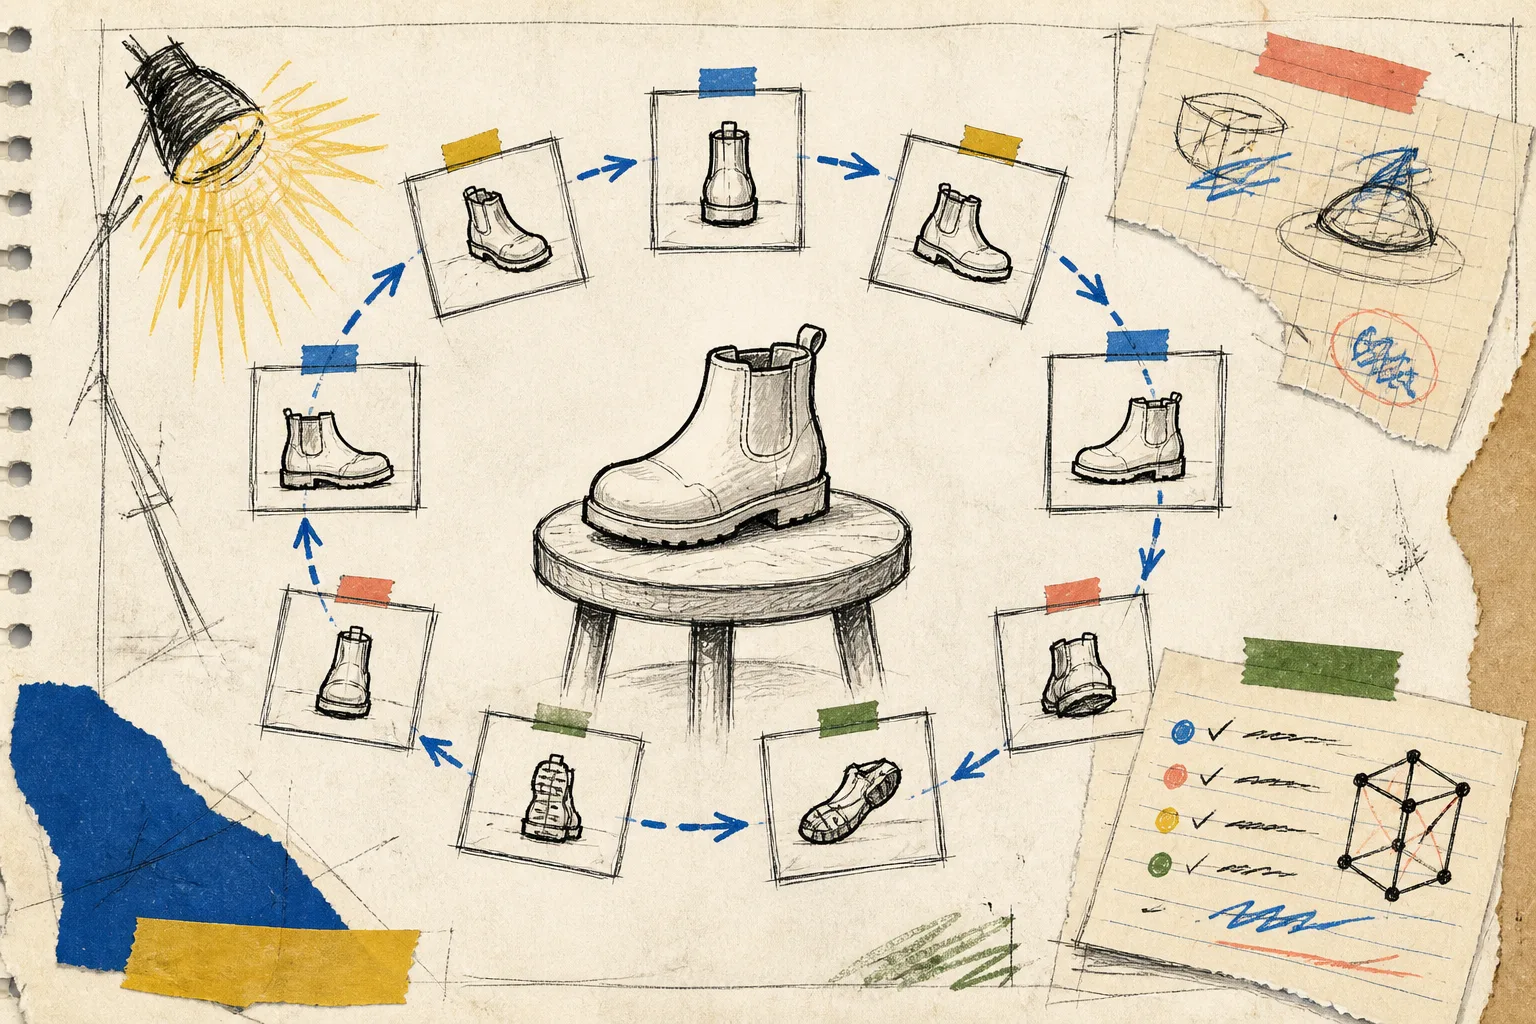
Then I check the physical setup: clean product, stable light, a clear route around the object, and enough room to keep a consistent distance. Supra 3D Capture is designed around 10+ guided phone photos, so I do not improvise a handful of heroic angles. I make one steady orbit. A regular smartphone and decent light are more helpful here than fancy gear or a complicated studio.
My Three-Part Model Review
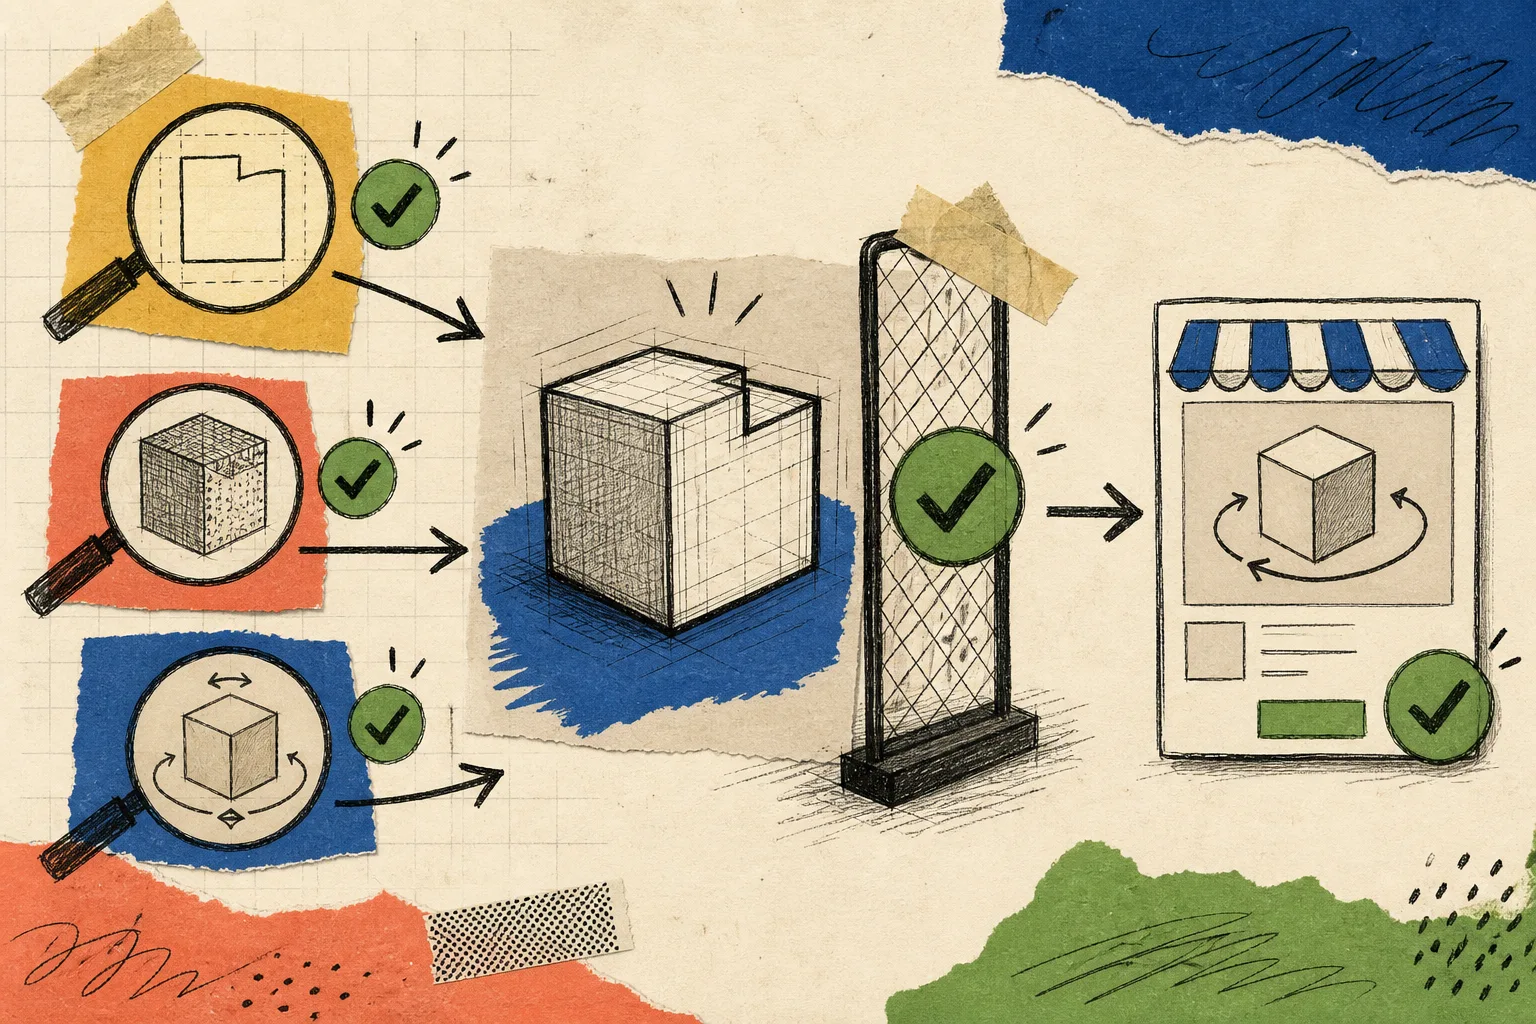
When processing finishes, I do not jump straight to publish. I open the model and make three quick passes.
1. Silhouette
Spin it slowly and look at the outline. Does the product keep its intended shape at the front, sides, back, top, and base? I am looking for dents, floating bits, missing edges, or a wobbly proportion that would make the item feel less trustworthy than the flat photos. A customer cannot name every artifact, but they can feel when an interactive object looks off.
2. Surface and expectation
Next I compare the model with the approved product photography. Color, finish, labels, and material cues should tell the same story. 3D media does not need to replace the gallery; it needs to make that gallery easier to believe. If a reflective, fuzzy, or translucent product loses important detail, I flag it as a harder capture case instead of quietly publishing a weaker model.
3. Shopper usefulness
Finally, I ask someone to drag the model once. Is it easy to rotate? Does the model answer the question from the first box? Does the default view make sense before the shopper knows it is interactive? This is the box that turns a technically valid GLB into product-page media with a job.
Pick One Shopify Placement, Then Check It on the Real Page
Supra 3D Capture can attach a model to Shopify product media, where compatible themes can use Shopify’s native 3D viewer. It also offers a dedicated app block for Online Store 2.0 themes. I pick the placement based on the question I want answered:
- Use product media when the model belongs beside the normal gallery and should feel like another way to inspect the item.
- Use the app block when a model needs a more deliberate section, for example near a fit explanation or product-detail callout.
Either way, I test it on the live product-page layout—not just in the app. I check the mobile page first, then desktop. I make sure the model is visible without a scavenger hunt, the page still reads well around it, and the product photos have not been pushed into a confusing order. Earlier, I sketched the 3D pilot before touching a theme; this is the smaller release check I use once that pilot has earned a place in the store.
Turn a Good Handoff Into a Small System
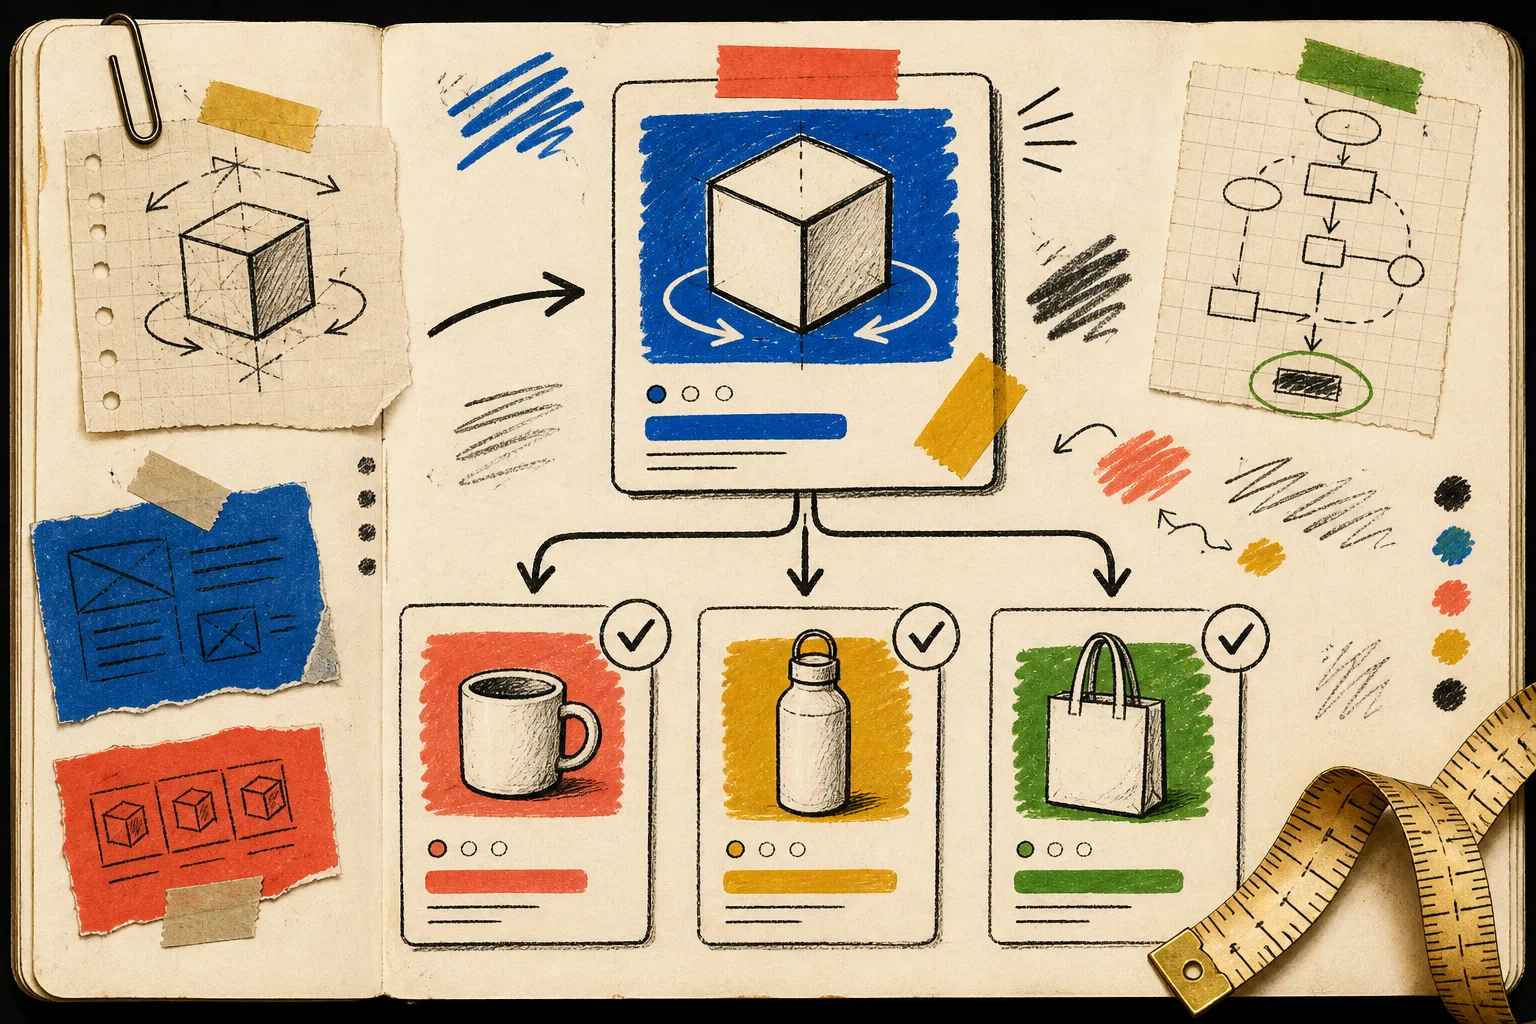
The handoff card matters because it is repeatable. I keep the same four fields for every candidate: product question, capture notes, model review, and live-page check. If a model fails, I know where to improve the next attempt. If it succeeds, I have a concrete example for the next SKU rather than a vague promise to do more 3D.
That is also how I avoid a huge backlog of models with no publishing path. Start with one approved model, record why it worked, then compare the next SKU against the same card. For a wider queue, pair this with the 3D model backlog that actually ships rather than treating every catalog item as equally urgent. And if the team needs a plain-language refresher on the outcome, interactive 3D without a 3D team is a useful starting point.
The Handoff Card I Keep
Before I publish, the card has a yes next to each of these:
- This SKU has a real customer question that a spin can answer.
- The phone-capture orbit is complete, evenly lit, and consistent.
- The processed model has a clean silhouette and truthful surface cues.
- A shopper can rotate it and understand why it is on the page.
- The native Shopify viewer or app block is visible and comfortable on mobile.
- The product photos and interactive model support each other instead of competing.
You can start this workflow on Supra 3D Capture’s free plan, which includes saved models, monthly scans, Shopify-native publishing, and the theme app block. I would use that first model to validate the card, not to chase a catalog-wide rollout.
The next time you finish a capture, resist the urge to call the GLB the finish line. Put it through one honest model handoff card, view it where customers will view it, and let that first approved result tell you what to scale.