
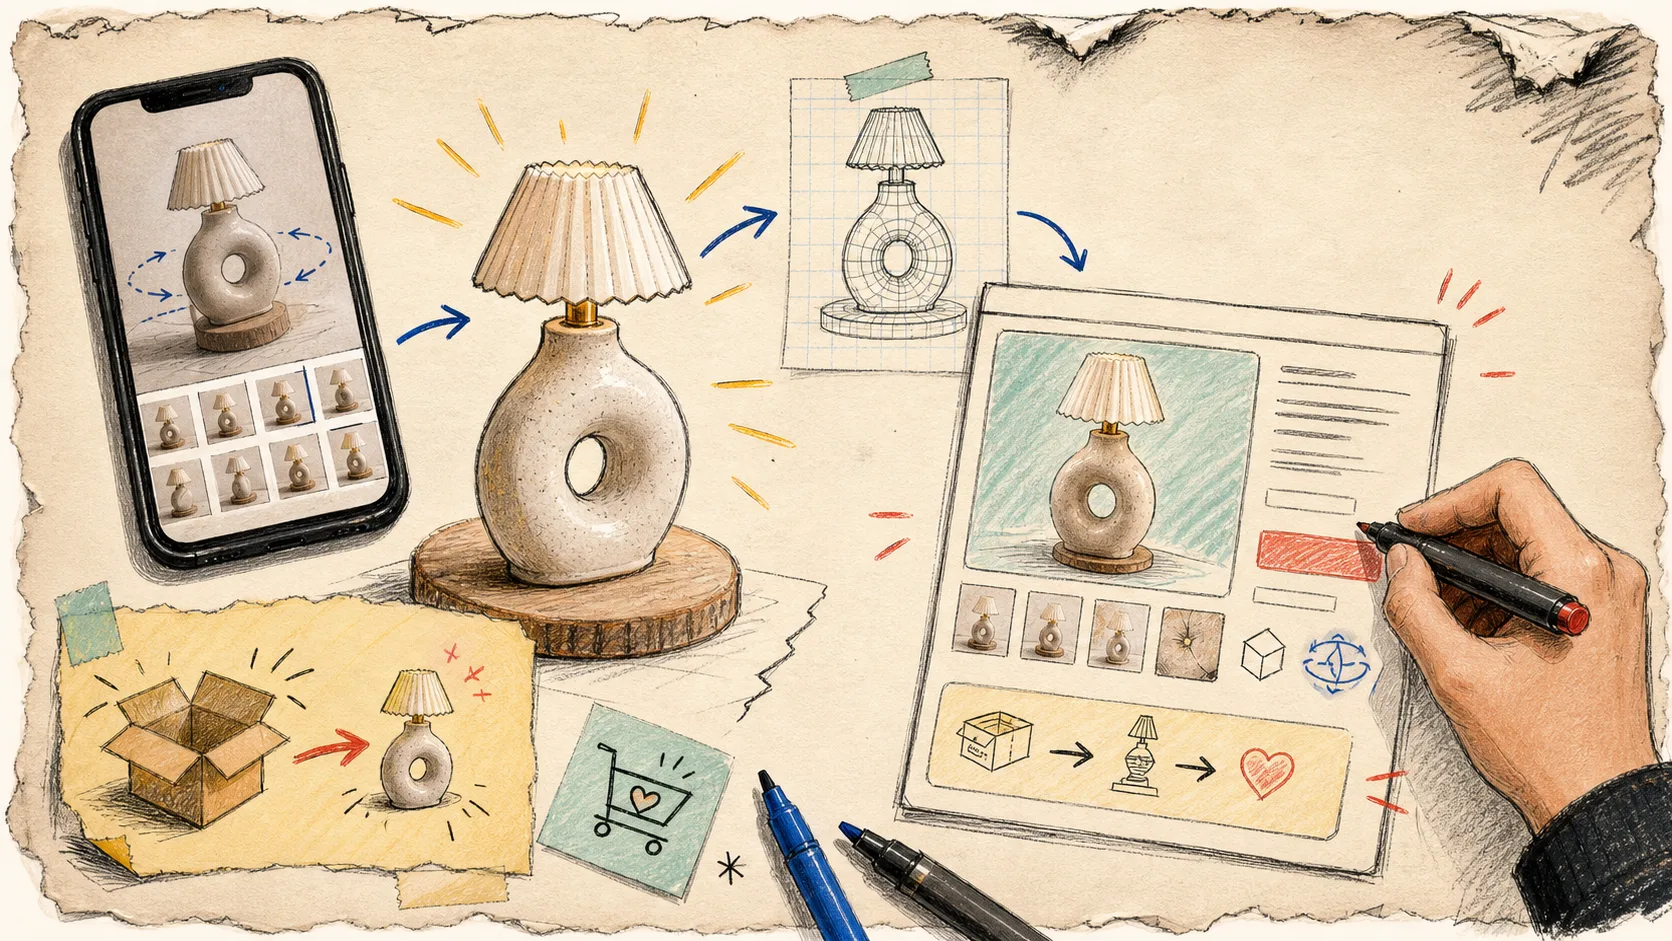
I kept seeing the same kind of product-page wobble: the photos were fine, the copy was fine, and still a shopper had to make one uncomfortable leap. How big is it, really? What does the back look like? Is that texture smooth or ribbed?
My old answer was more photos. My newer answer is narrower: pick one product with a real expectation gap and give shoppers something they can turn around themselves. That is the small, useful job of a 3D model.
I have been using Supra 3D Capture as the bridge between an ordinary phone-photo session and Shopify-native 3D media. It asks for a guided set of 10+ phone photos, processes them into a web-ready GLB, then lets you attach that model to a product or place it with an Online Store 2.0 app block. No 3D artist or special capture rig required.
The tiny test I would run first
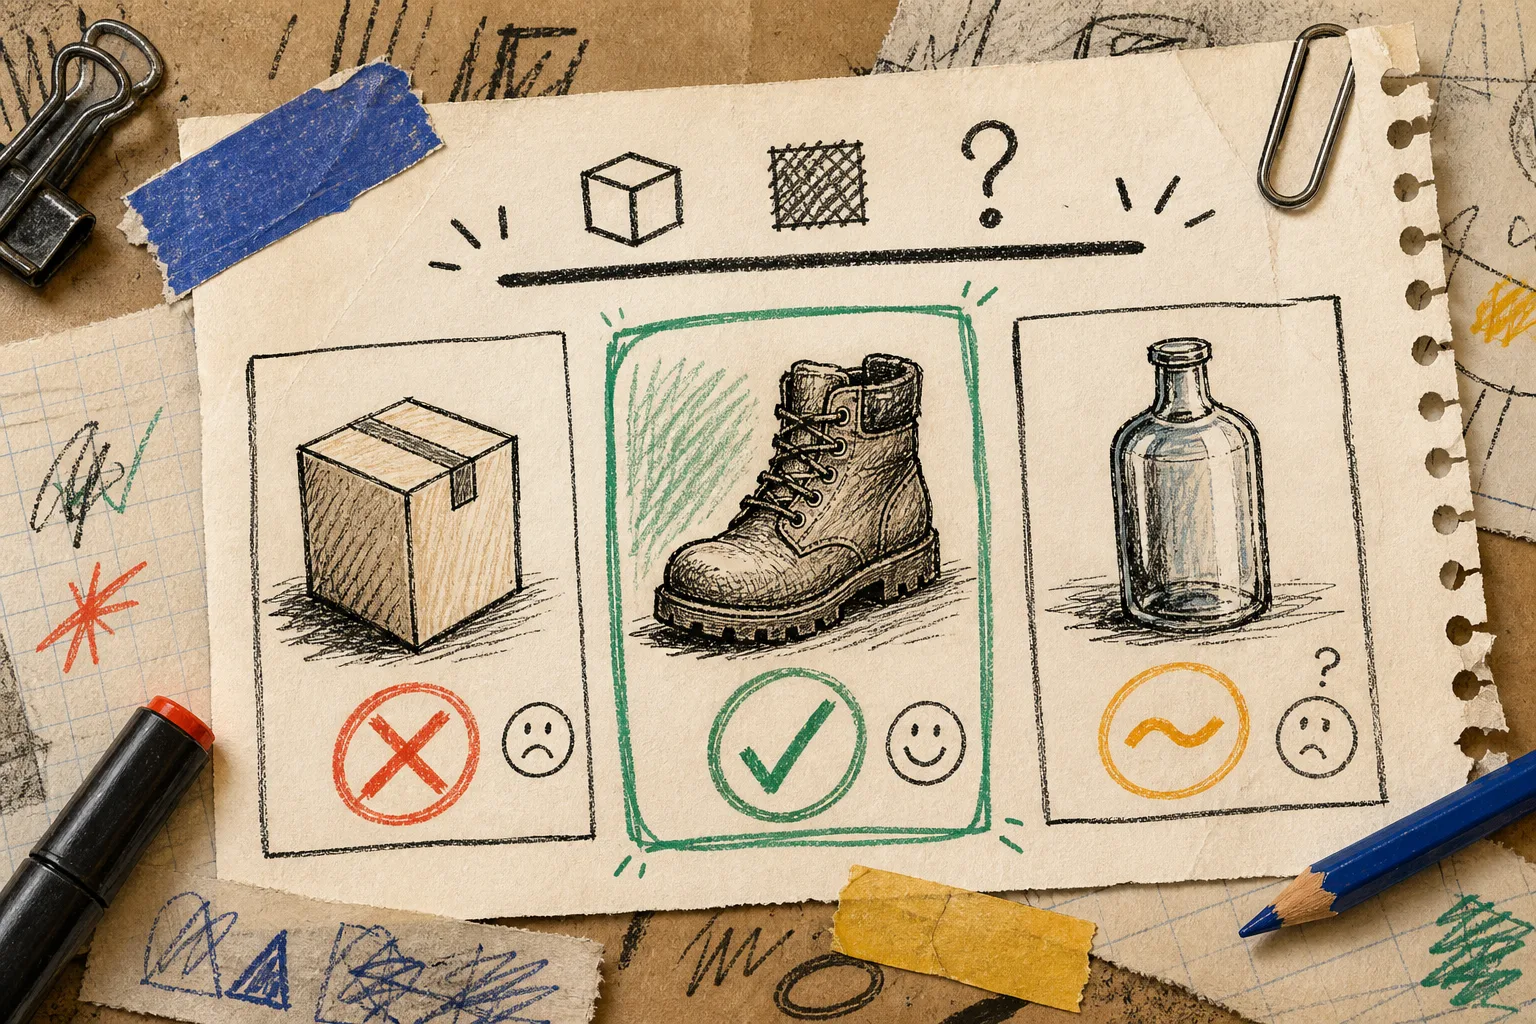
I would not start by trying to make every SKU spin. I would start with the product that gets the most shape questions. Think a boot with a deep tread, a lamp with an unusual silhouette, a bag with pockets on the far side, or anything whose scale and texture are hard to read in a flat gallery.
That is different from chasing the prettiest hero product. The useful candidate has three signals: it has meaningful depth, shoppers need to inspect it from more than one angle, and the item is practical to photograph in a stable, well-lit setup. I made a similar case for beginning with a small pilot in this 3D media sketch: a contained test teaches you more than a giant media migration.
Shiny, clear, or fuzzy products are not impossible, but they are the wrong place to prove the workflow. Their surfaces can make photogrammetry harder. Pick the straightforward object first, get one clean win, then decide if the difficult SKU is worth a more careful capture setup.
My five-note capture plan
The capture part is deliberately boring, which is why it works.
- Clear the visual noise. Put the item on a simple surface with even light. Avoid moving shadows, reflections, and a background that competes with the product edges.
- Keep the product still; move the phone. Orbit around it at a steady height, taking the guided photos from many overlapping angles. The objective is coverage, not an artsy photo shoot.
- Check the problem areas. Give extra attention to handles, soles, seams, backs, and any feature that frequently appears in product questions.
- Process before promising anything. Let the capture turn into a GLB, then inspect it on a real product page. A model that looks acceptable in isolation can still feel awkward beside the gallery.
- Publish it where the question happens. Attach it as Shopify product media when the theme supports the native viewer, or use the app block where that makes the browsing flow clearer.
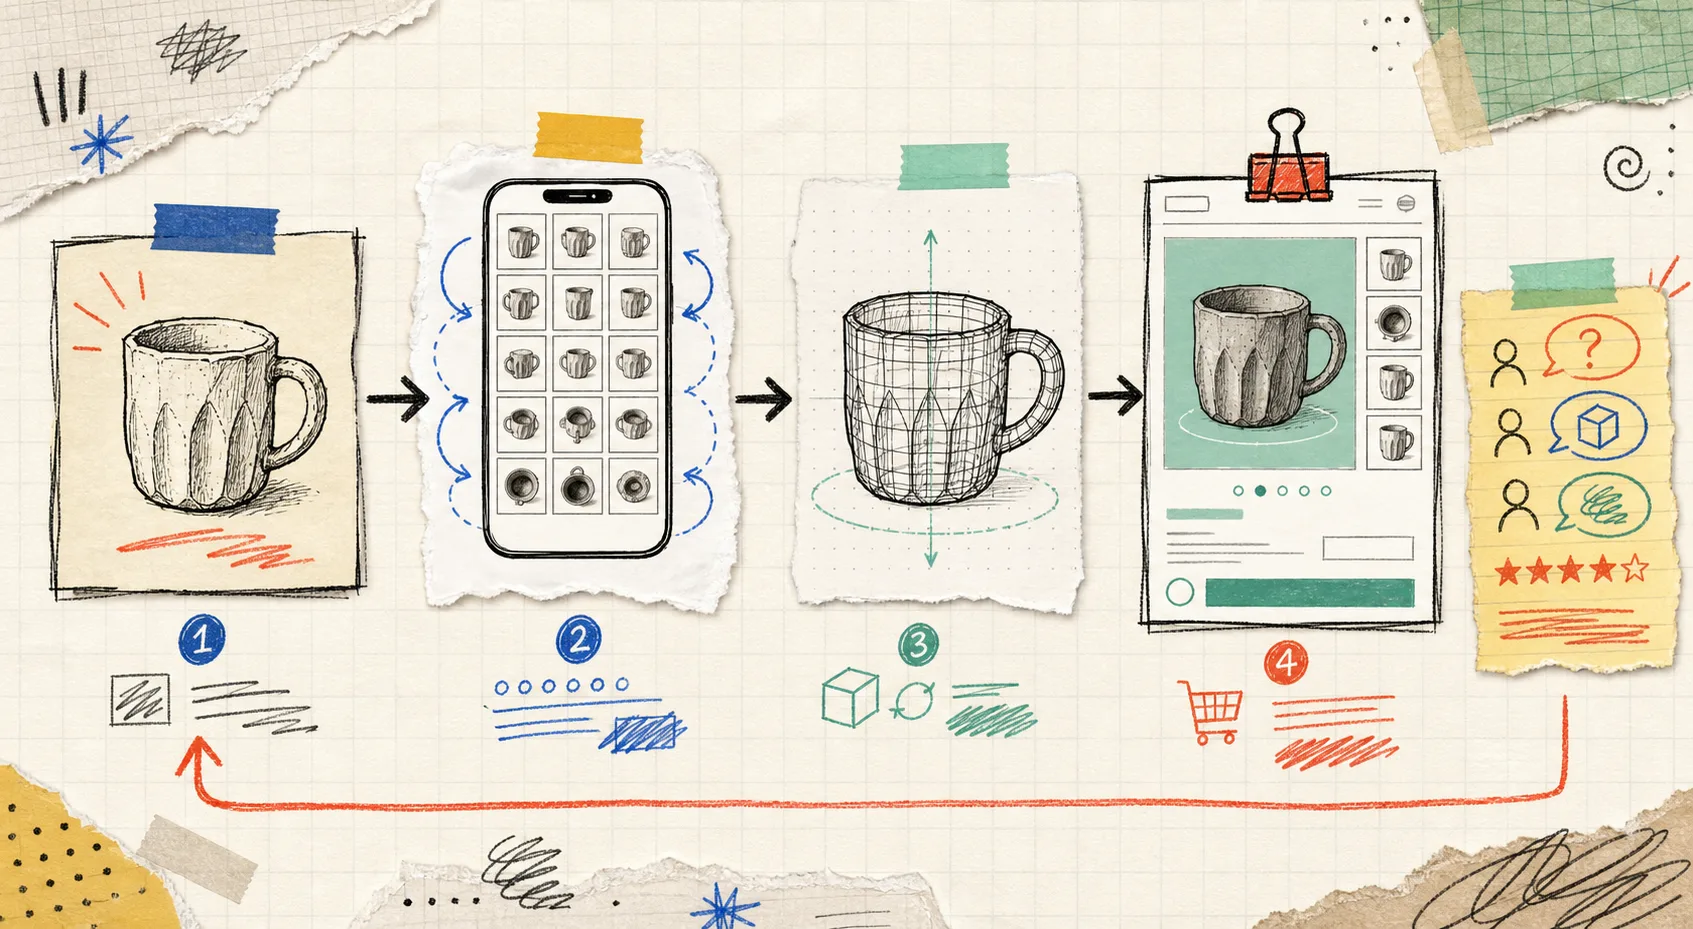
This is the same operator-sized approach behind my pre-scan checklist. A little preparation—clean object, steady light, enough visual overlap—beats trying to rescue a poor capture later.
Put the model next to the decision, not in a novelty corner
A 3D model earns its space when it clarifies the buying decision. I place it in the normal product-media sequence, then check that the rest of the page carries its share of the explanation: dimensions, material details, care notes, variants, and returns information still matter. Interactive media is not a substitute for useful merchandising.
The practical question is: what can a shopper learn by rotating this that they cannot confidently learn from the current gallery? If the answer is proportion, surface detail, underside construction, or an unusual profile, the model has a job. If the answer is “nothing much,” save the scan for another product.
For the Shopify implementation side, this guide to adding a model shoppers can use is a good companion: treat the native viewer or app block as a product-page component, not a decorative experiment.
Review the questions that should get quieter
I do not expect a single model to magically fix conversion or returns. What I do expect is a more honest product page: fewer mysteries about the object in the box. After publishing, I would watch support messages, onsite search terms, review language, and return reasons for the chosen SKU. Are customers still asking about the exact feature the model was meant to show?
That review loop changes the next capture. If shoppers ask about scale, add a grounded reference photo. If they ask about a hidden compartment, make sure the model can show it and add a close-up photo too. If the model is doing its job, use that learning to choose the second SKU. My phone-first pilot notes are a reminder that the repeatable process matters more than a flashy first asset.

The next move
Open your product-question inbox today and circle one SKU whose shape, texture, or back-side detail keeps needing explanation. Capture that one product with Supra 3D Capture, inspect the finished model in your actual Shopify theme, and let the first result decide whether you expand the program.
One clear, turnable product is a much better beginning than another long list of product-page improvements.