

I learned this the slightly embarrassing way: a 3D model can be technically attached to a Shopify product and still make the page less convincing. One model had a soft-looking handle, a missing underside, and a highlight that made a matte finish read as plastic. None of those flaws were obvious until I tried to spin it like a shopper would.
That is why I now treat 3D product media as a small product-page release, not an asset upload. Before I scale a capture workflow, I run a short QA pass that asks one practical question: does this model help someone understand the thing they are about to buy?
Supra 3D Capture makes the starting point much more approachable than a traditional 3D project: capture a guided set of phone photos, let the photogrammetry pipeline produce a web-ready GLB, then publish it into Shopify product media or an Online Store 2.0 app block. The workflow is not a promise that every SKU needs 3D. It is a way to make the right SKUs easier to inspect.
My eight title directions before choosing this one
- I Run a 3D Media QA Before Scaling Shopify Product Models
- How to Check Shopify 3D Models Before Publishing Them
- A Small-Team Checklist for Better Shopify 3D Product Media
- Which Shopify Products Should Get 3D Models First?
- How I Test Phone-Captured 3D Models on a Shopify Product Page
- Shopify 3D Media: The Product-Page Preflight I Use Before Launch
- How to Avoid Weak 3D Product Models From Phone Photos
- A Practical 3D Product Media Rollout Plan for Shopify Stores
I chose the first because it matches the job I actually need done: quality comes before volume.
Start with an SKU that has something to reveal
The best first candidates are not always the best sellers. I look for products where rotating the object resolves a real question that the photo gallery leaves open: a bag with compartments and depth, a shoe with a distinctive sole, a ceramic form with a useful handle, a textured object, or a product whose scale changes by angle.
I skip low-variation flat items and anything that only benefits from a closer photo. That constraint keeps the test honest. If the interaction does not clarify shape, proportion, texture, or construction, it is decoration—not useful 3D. This is the same discipline behind my one-model test before scaling: test the workflow on a candidate that can teach you something.
Capture for coverage, not for a pretty first frame
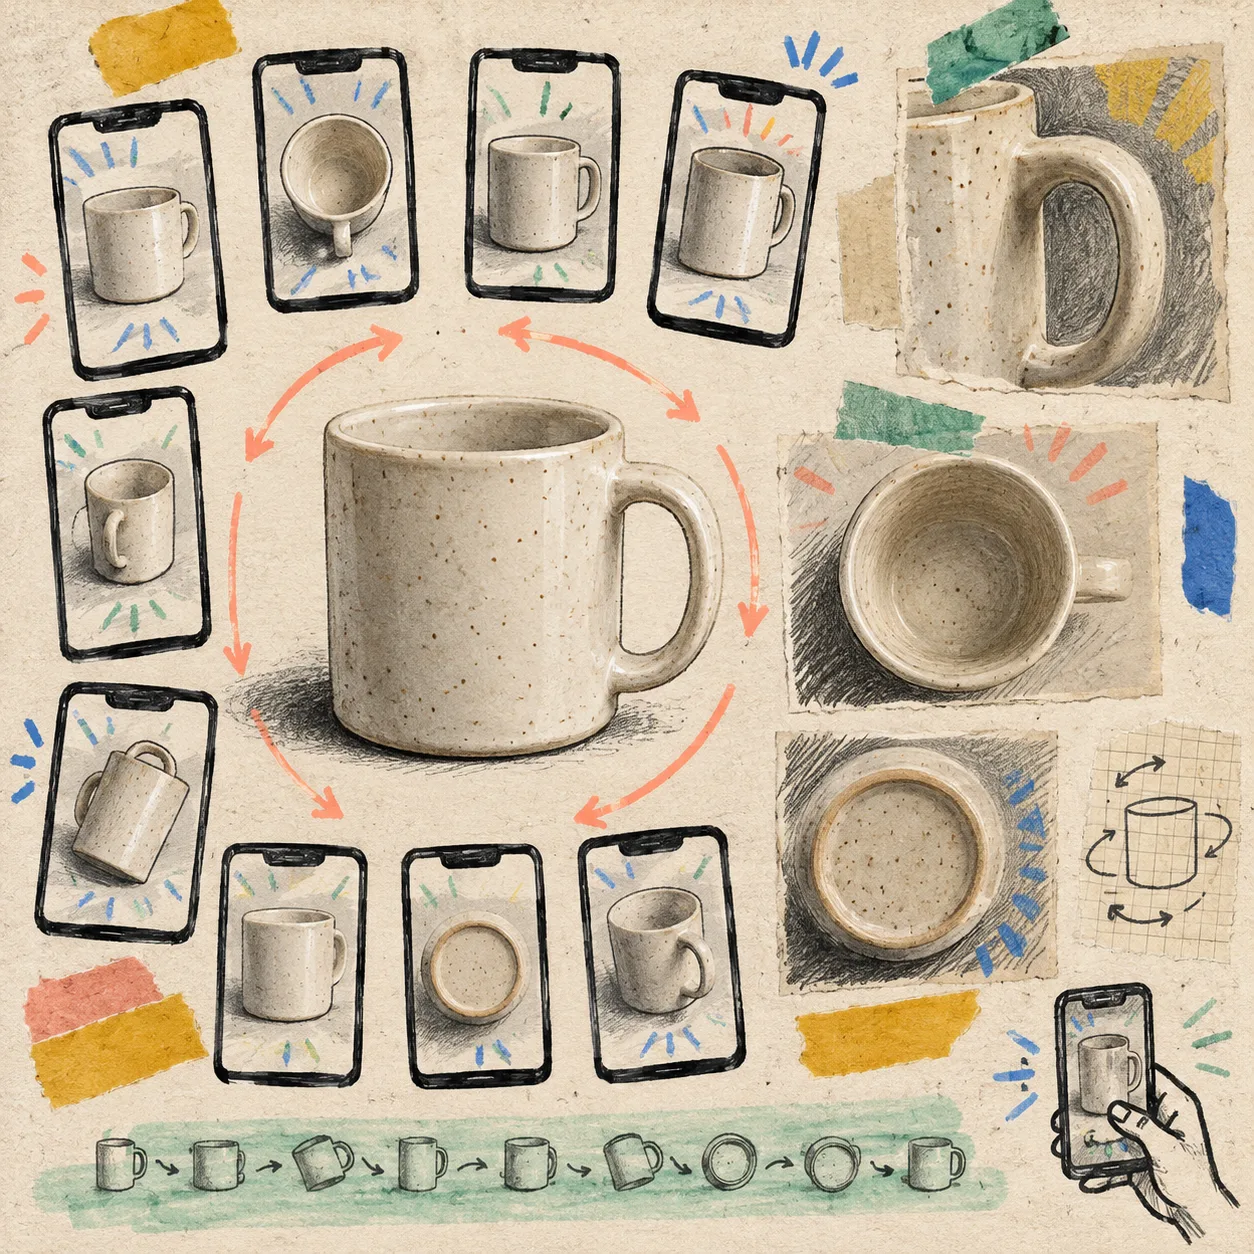
Phone photogrammetry needs consistent visual overlap. I use a well-lit product and move around it deliberately, keeping distance and framing steady enough that each new view has information the last one shares. Supra 3D Capture’s guided capture flow is designed around that practical orbit: take 10 or more phone photos, process them, and start with a clean GLB rather than an expensive modeling brief.
My capture notes are short:
- Clean the product and choose an uncluttered, evenly lit setup.
- Walk the full orbit; do not stop after the hero angle.
- Get the handle, seams, base, openings, and other buyer-check areas.
- Keep shiny, clear, or fuzzy items as a separate test category; their surfaces are simply harder for a reconstruction workflow to read.
- Save the original photo set so a failed model is easy to recapture rather than endlessly patched.
The point is not to make a cinematic turntable. It is to give the model enough evidence to represent the object honestly. For a broader product-page prep habit, my five-minute image handoff is still useful: decide what a customer needs to inspect before you chase production speed.
The 90-second shopper spin test
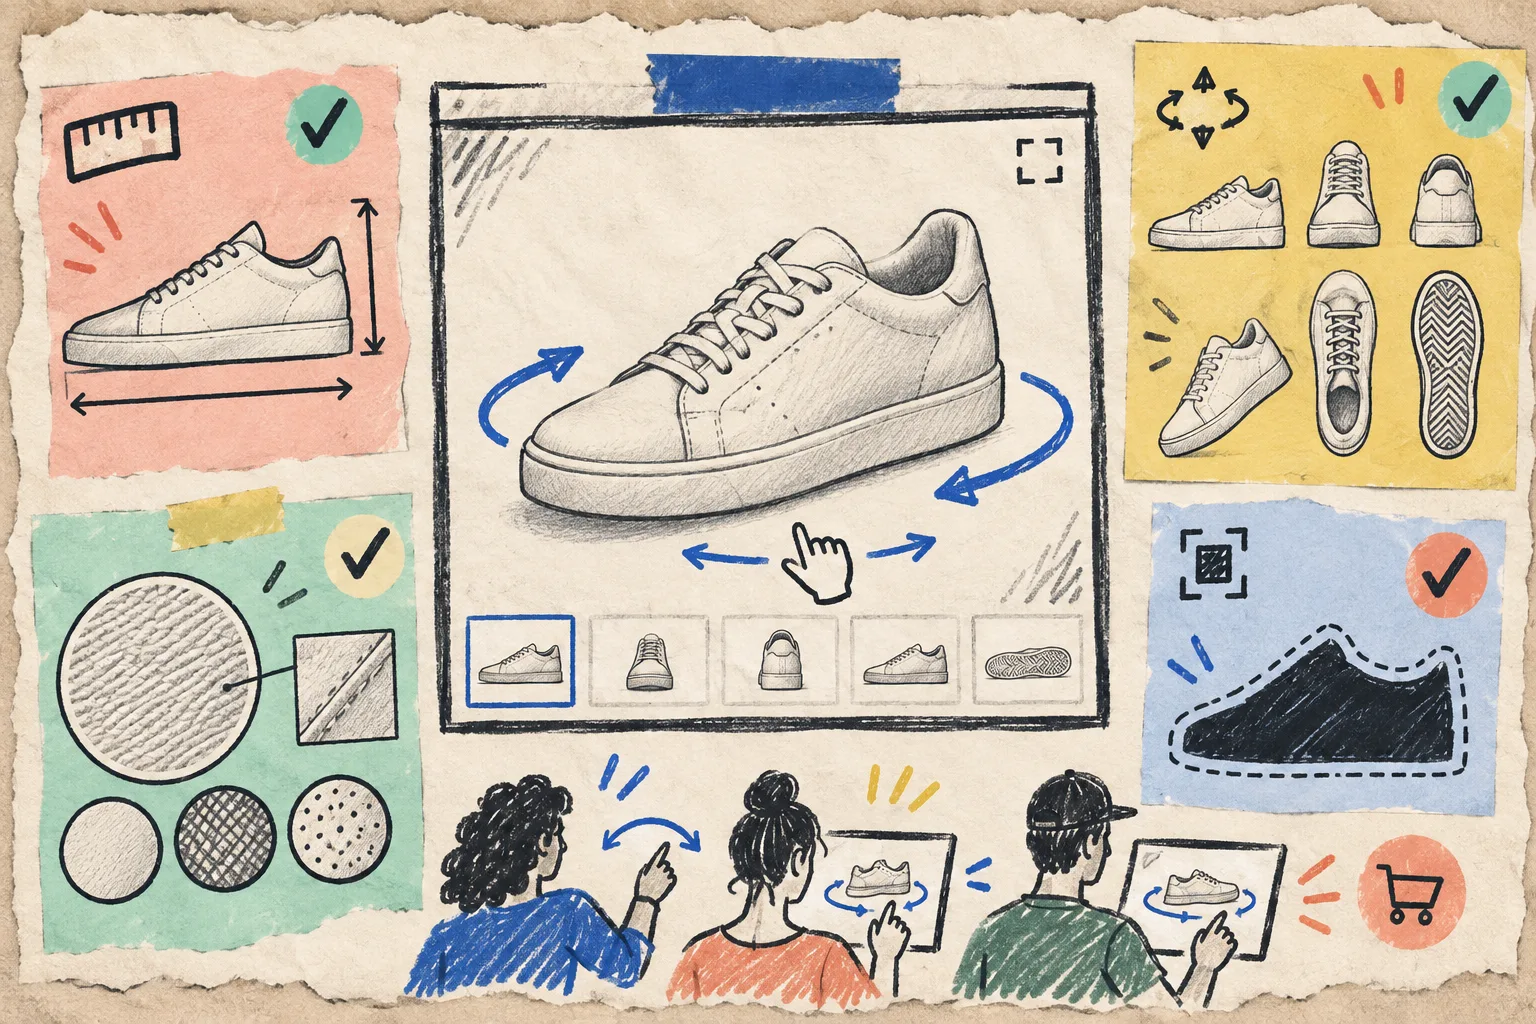
Once a model is processed, I attach it to a test Shopify product and behave badly on purpose: drag quickly, pause on details, rotate to the underside, and compare it with the gallery. I am not checking whether it looks impressive in isolation. I am looking for expectation gaps.
My pass/fail checks are:
- Silhouette: Does the outline stay believable as the object turns?
- Coverage: Are the base, back, openings, and important edges actually present?
- Material read: Does texture look like the product, rather than a smooth approximation?
- Scale cues: Can a shopper tell how thick, deep, or substantial it is?
- Page fit: Does native Shopify 3D media load in a sensible place beside photos and product information?
If a model fails one of these, I do not bury it beneath more assets. I recapture it or choose a simpler SKU. That decision is cheaper than giving shoppers a confident-looking but misleading view.
Make the model part of the page, not a side project
A GLB earns its place when it works with the rest of the product page. I keep the still images that show color and merchandising, then use the interactive model for shape and inspection. If the theme supports Shopify’s native 3D viewer, publish it as product media. If the story needs a dedicated placement, use the Online Store 2.0 theme app block.
The rest of the page needs the same restraint. Clear specs, care information, and delivery details should not vanish because a rotating model is novel. I use the same reusable-content logic described in my specs, care, and delivery system: give each piece of product information one job, then place it where a shopper expects to find it.
Scale by a repeatable rule
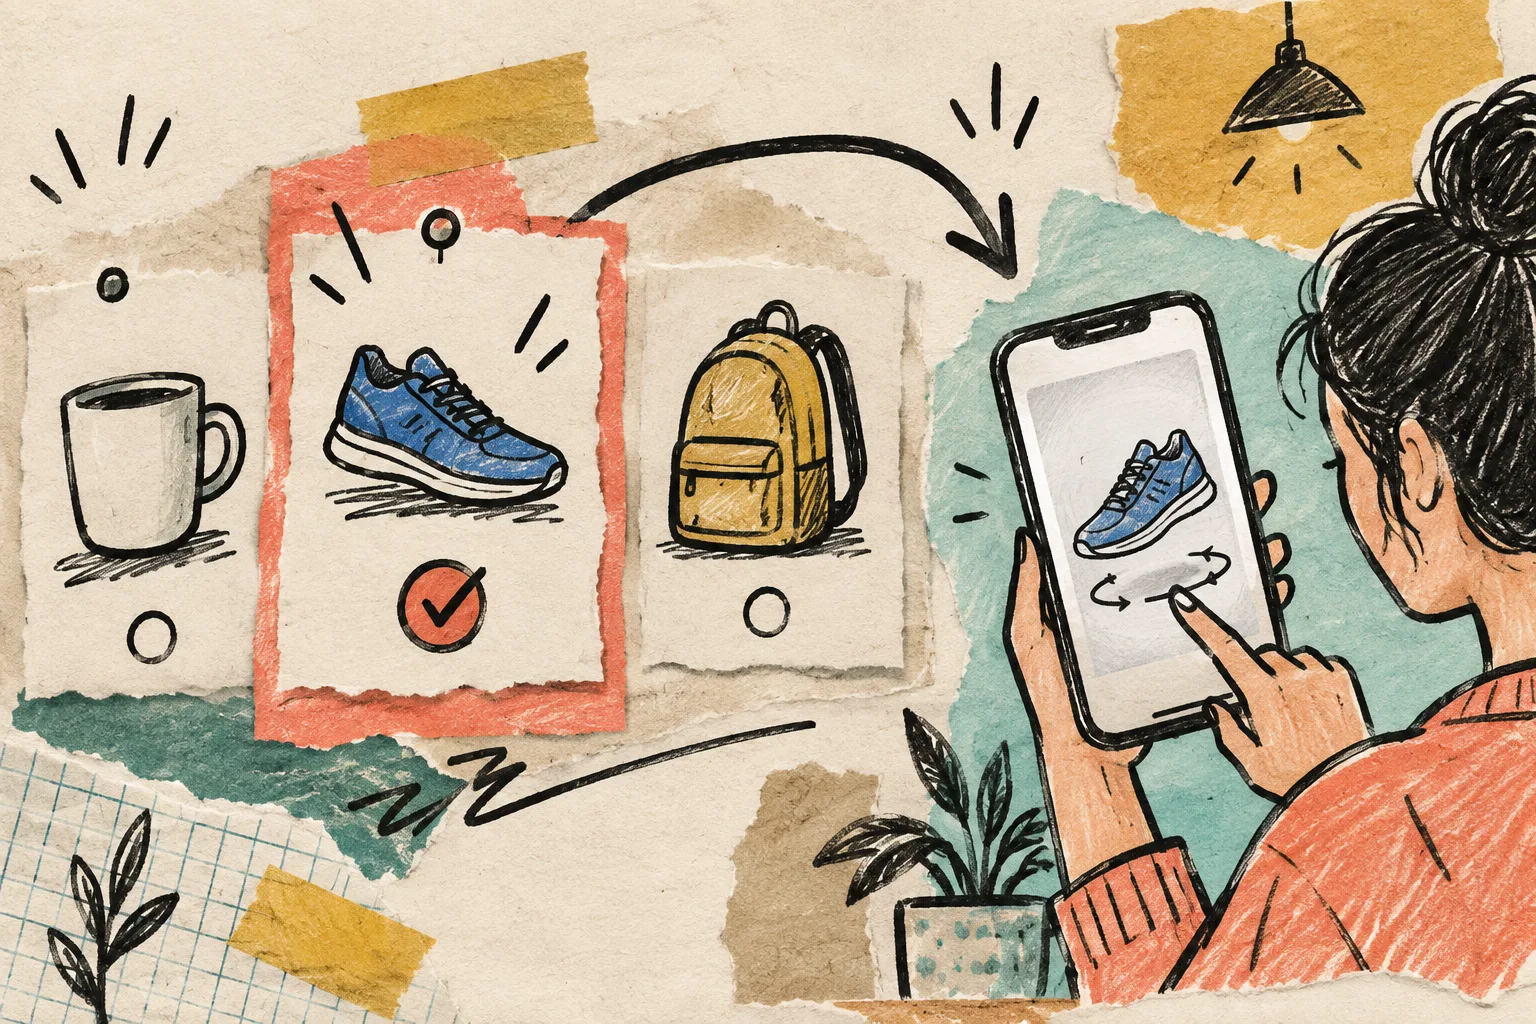
After one model passes, I score the next candidates on three things: inspection value, capture difficulty, and product-page traffic. That gives a small team a sane queue. High inspection value plus manageable capture difficulty goes first; difficult reflective or transparent products become a later learning batch, not a reason to abandon the program.
I also keep a simple record of the photo set, model status, page placement, and what the model clarified. It is less glamorous than a 3D rollout deck, but it prevents the catalog from becoming a pile of mystery files. The same rule-based thinking that helps linked-product swatches survive a growing catalog works here too: define the assignment rule before the catalog gets large.
The next move
Pick one product where angle genuinely changes understanding. Run a guided phone-photo capture with Supra 3D Capture, attach the resulting model to a test product, and do the 90-second shopper spin test before you publish it. One honest, useful model is a much better foundation than ten decorative ones.